
Glitter anti-drop iPhone cases combine style and protection in one dazzling package. Designed to absorb impact, resist drops, and turn heads with shimmering finishes, these cases are a favorite among users who want both durability and flair. However, even the most protective case can fail if not installed correctly. A misaligned snap, trapped dust, or improper pressure during installation can lead to gaps, reduced shock absorption, or even screen damage. Achieving the perfect fit isn’t just about aesthetics—it’s essential for full functionality and long-term device safety.
Understanding Your Glitter Anti-Drop Case Design
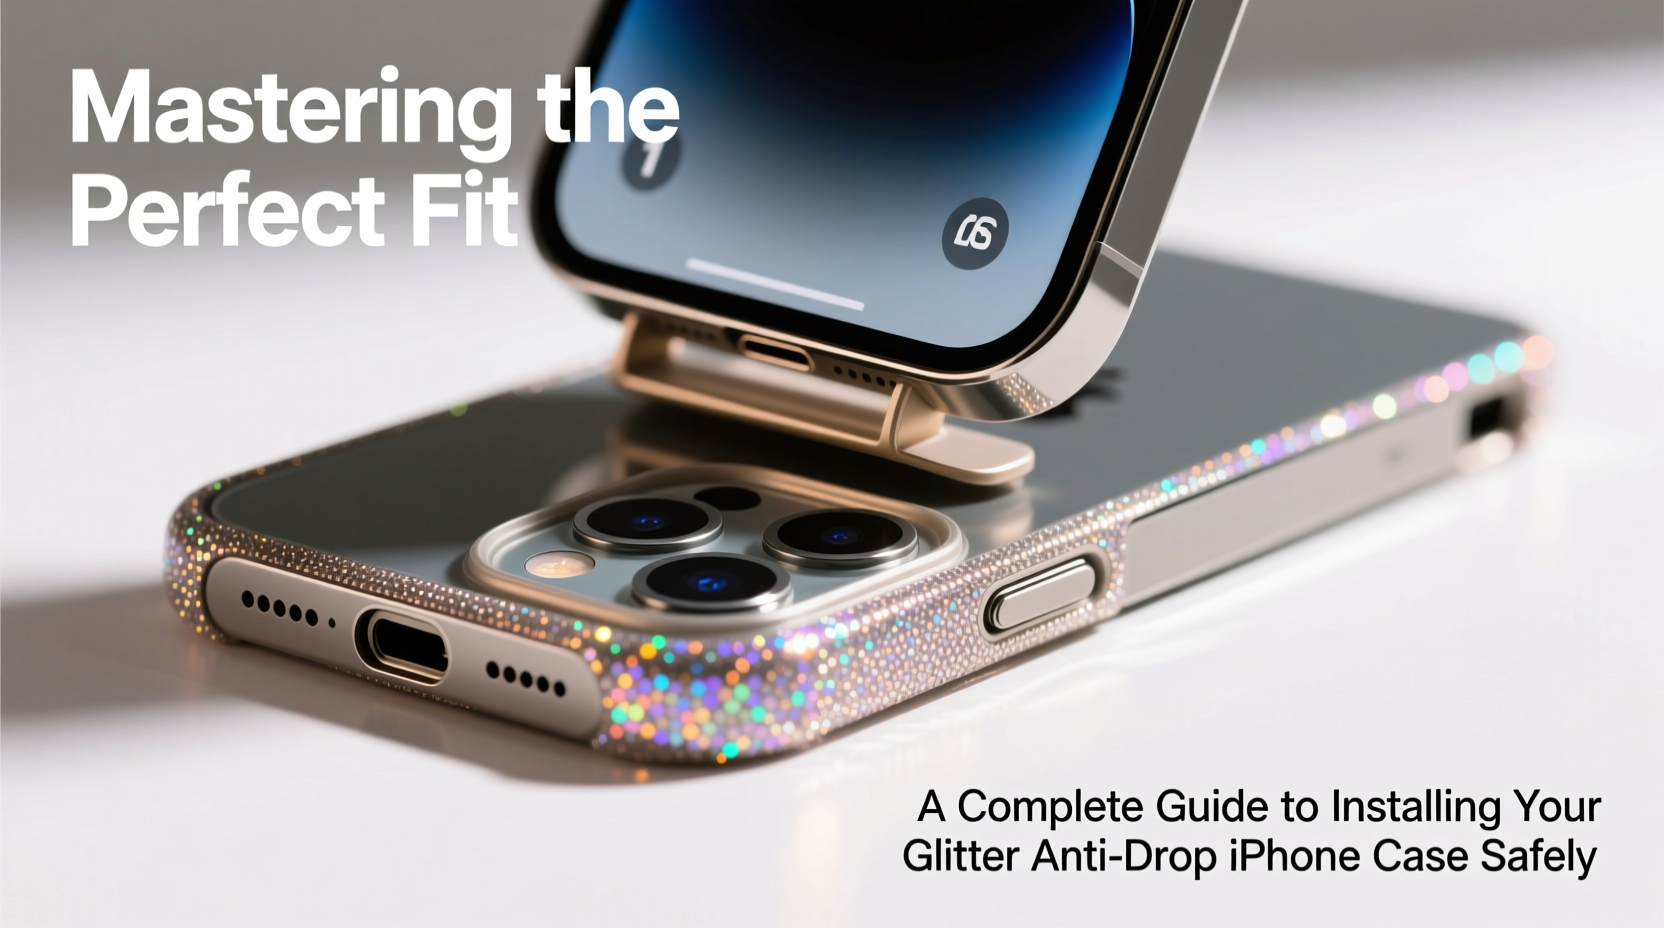
Before attempting installation, it’s crucial to understand the structural components of your case. Most high-quality anti-drop cases feature multi-layer construction: a rigid outer shell, a flexible inner liner (often TPU), and reinforced corners designed to absorb impact. The glitter layer is typically sealed between these materials, preventing flake loss and ensuring longevity.
These cases are engineered with precision cutouts for speakers, charging ports, and cameras. Misalignment by even 1–2 millimeters can obstruct access or interfere with speaker clarity. Additionally, many models include raised bezels around the screen and camera lens—critical features that prevent direct contact with flat surfaces when placed face-down.
“Proper alignment during installation ensures that all protective elements function as intended. A poorly seated case compromises both design and defense.” — Jordan Lee, Mobile Accessory Engineer
Step-by-Step Guide to Safe Installation
Installing a glitter anti-drop case requires patience and precision. Rushing the process increases the risk of cracking the case or damaging your iPhone’s finish. Follow this detailed sequence to ensure a flawless fit.
- Power down your iPhone. While not always necessary, turning off the device reduces the risk of accidental input during installation, especially if buttons are partially exposed.
- Clean your iPhone thoroughly. Use a microfiber cloth and isopropyl alcohol (70%) to wipe down the entire surface, focusing on edges and ports. Any dust or oil residue can create air pockets or reduce adhesion.
- Align the bottom edge first. Hold the case so the Lightning port cutout matches your iPhone’s port. Gently press the bottom edge into place. You should hear or feel a soft click as it seats.
- Work upward along the sides. Using both thumbs, apply even pressure along each side, moving from bottom to top. Do not bend the case excessively—flex beyond its natural range can cause microfractures.
- Secure the top edge last. Once the sides are flush, press the top edge firmly. Pay attention to the camera cutout; it should sit centered over the lens module without obstruction.
- Double-check all ports and buttons. Verify that the volume rocker, side button, and mute switch move freely. Ensure the speaker and microphone openings are fully unobstructed.
Avoid These Common Installation Errors
| Action | Why It’s Harmful | Better Alternative |
|---|---|---|
| Using tools like screwdrivers to pry the case open | Risks scratching the phone or cracking the case | Use fingers with steady pressure; warm the case slightly with hands if stiff |
| Forcing the top edge before bottom is secured | Can warp the frame and misalign internal cushioning | Always start at the bottom and progress upward |
| Skipping cleaning steps | Dust particles may cause pressure points or gaps | Wipe both phone and case interior before joining |
| Over-tightening around buttons | May restrict button responsiveness over time | Ensure snug but not compressed fit; test button function post-installation |
Real Example: When Installation Went Wrong—and Right
Sophie, a graphic designer in Austin, purchased a rose-gold glitter anti-drop case for her iPhone 14. Eager to use it, she skipped cleaning and attempted installation while watching TV. She noticed immediately that the left side didn’t sit flush. After two days, she found a small crack forming near the volume buttons. Upon removal, she discovered a grain of sand had been trapped inside, creating uneven pressure.
She contacted customer support, received a replacement, and followed a meticulous process: cleaned her phone, warmed the case under running water (not hot), and aligned it slowly. This time, the fit was seamless. Six months later, the case survived three drops—from desk height, a gym bag, and once from a café table—with no damage to the phone or case integrity.
Essential Care Tips After Installation
Once your case is properly fitted, maintenance plays a key role in preserving both appearance and performance. Glitter cases are particularly prone to dulling if exposed to oils, lotions, or abrasive surfaces.
- Remove the case weekly to clean both the phone and interior lining.
- Wash the case with mild soap and water; avoid harsh detergents that degrade sealants.
- Dry thoroughly before reinstallation—moisture trapped inside can promote mold or corrosion.
- Rotate cases periodically if you own multiple, reducing wear on any single unit.
“The lifespan of a glitter case depends more on handling than material thickness. Gentle installation and regular upkeep prevent premature wear.” — Lena Torres, Product Durability Analyst at TechShield Labs
Checklist: Perfect Fit Verification
After installation, run through this checklist to confirm optimal fit and function:
- ✅ Screen and camera lenses are fully protected by raised bezels
- ✅ All ports are accessible without obstruction
- ✅ Buttons depress smoothly and return to resting position
- ✅ No gaps or lifting along edges
- ✅ Glitter surface is free of bubbles or cloudiness
- ✅ Case does not creak or flex unnaturally when held
- ✅ iPhone sits flat on a surface without wobbling
Frequently Asked Questions
Can I install the case without removing my screen protector?
Yes, most anti-drop cases are designed to accommodate phones with standard screen protectors. However, ultra-thick or tempered glass protectors with edge coverage may interfere with the case’s front lip. If you notice tightness or screen contact, consider using a lower-profile protector.
Why does my glitter case look cloudy after installation?
Cloudiness often results from moisture or residue trapped between the phone and case. Remove the case, dry both surfaces completely, and reinstall in a low-humidity environment. Also, avoid touching the interior with bare fingers, as skin oils can leave haze over time.
How often should I replace my glitter anti-drop case?
Inspect your case every 3–4 months for signs of wear: yellowing, brittleness, or loosening fit. Even without visible damage, TPU materials degrade over time due to UV exposure and daily stress. For maximum protection, consider replacing annually—or sooner if the phone has endured multiple drops.
Final Thoughts: Precision Protects Performance
The glitter anti-drop iPhone case is more than an accessory—it’s a safeguard built to endure daily hazards while reflecting your personal style. But its effectiveness hinges on correct installation. Taking a few extra minutes to align, clean, and secure the case properly ensures that every protective feature performs as engineered. Whether you’re upgrading your current case or protecting a new device, treat the installation process with the same care you’d give to setting up the phone itself.


 浙公网安备
33010002000092号
浙公网安备
33010002000092号 浙B2-20120091-4
Comments
No comments yet. Why don't you start the discussion?