
Mid-calf snow boots are designed to keep your feet warm, dry, and supported during cold-weather activities. But even the most advanced insulation and rugged outsoles won’t help if the boots don’t fit correctly. A poorly laced boot can lead to pressure points, restricted circulation, blisters, or even ankle instability on icy terrain. Achieving the perfect fit isn’t just about choosing the right size—it’s about how you lace them. This guide breaks down the mechanics of proper lacing, offering actionable steps to ensure your mid-calf snow boots perform as intended.
The Importance of Proper Lacing in Snow Boots
Lacing isn’t just a way to close your boots—it’s a critical component of fit and function. Mid-calf snow boots extend above the ankle, providing added support and protection from snow infiltration. However, that extra height means more zones to secure: toe box, arch, instep, ankle, and calf. Each zone plays a role in overall comfort and performance.
Improper lacing often leads to common winter complaints: numb toes due to overly tight lacing at the top, heel slippage from loose lower sections, or discomfort behind the ankle from uneven tension. The goal is balanced compression—snug enough to prevent movement, but not so tight that it cuts off circulation or creates hot spots.
“Proper lacing technique can make the difference between enduring a winter hike and enjoying it.” — Dr. Lena Torres, Podiatrist & Outdoor Footwear Consultant
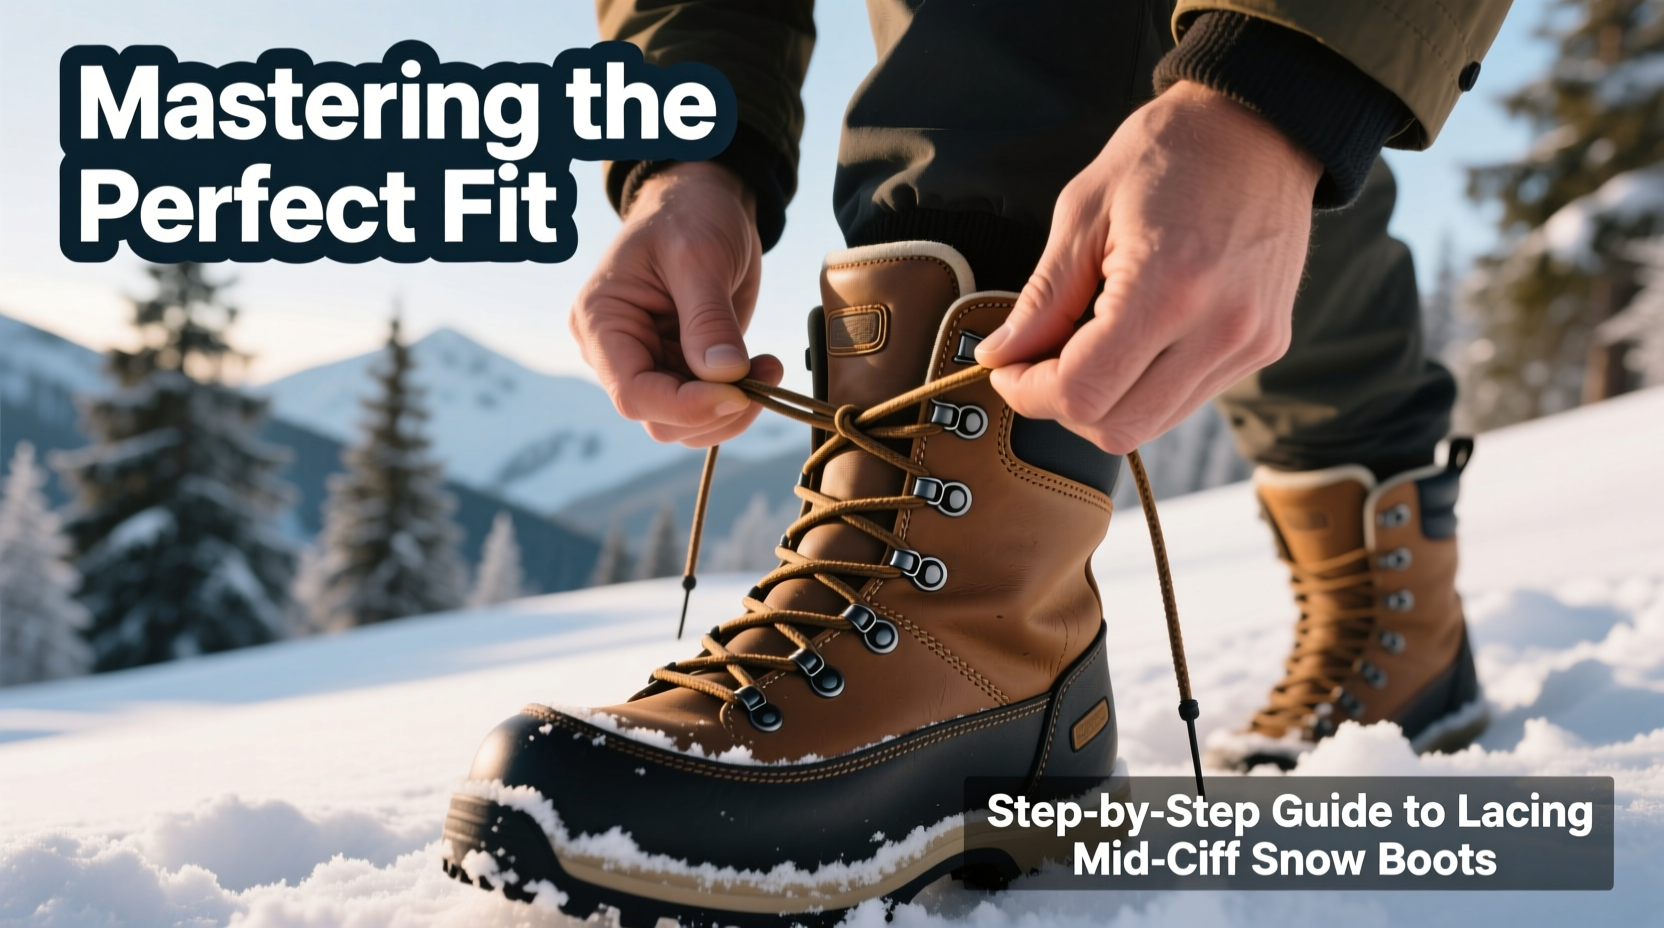
Step-by-Step Guide to Lacing Mid-Calf Snow Boots
Follow this structured approach to achieve optimal fit, support, and comfort every time you put on your snow boots.
- Start with Untied Boots
Begin with completely unlaced boots. Loosen all eyelets to allow your foot to slide in without resistance. This prevents unnecessary strain on the tongue and upper material. - Position Your Foot Correctly
Slide your foot forward until your toes gently touch the front of the boot. Then pull your heel back slightly—about a thumb’s width—to allow for slight forward movement when walking, especially downhill. This prevents toenail bruising while maintaining rearfoot stability. - Lace from the Bottom Up
Begin lacing at the lowest eyelet pair. Pull each side evenly to avoid twisting the tongue. Use a standard crisscross pattern through the first three sets of eyelets (toe to midfoot). Keep tension firm but not tight—this area should hold the forefoot without compressing it. - Address Pressure Points with Skip-Lacing (Optional)
If you experience pressure across the top of your foot, skip the eyelet directly over the sensitive area. Lace straight across at one level, then continue diagonally upward. This reduces direct pressure while maintaining lateral support. - Secure the Ankle Zone
As you reach the ankle, increase tension slightly to stabilize the joint. This is crucial for uneven terrain. Ensure the heel remains locked in place with no up-and-down movement. - Adjust the Calf Closure
Mid-calf boots often have additional hooks, D-rings, or speed-lacing systems above the ankle. Tighten these progressively, ensuring even pressure around the calf. Avoid pulling too tightly, which can restrict blood flow and cause discomfort during prolonged wear. - Lock the Laces at the Top
Finish with a secure knot or use an elastic lace lock to prevent loosening. For extra security in deep snow, tuck the ends into the boot shaft or use lace garages to keep them clear of obstacles.
Do’s and Don’ts of Snow Boot Lacing
| Do’s | Don’ts |
|---|---|
| Use moisture-wicking socks to reduce sweat buildup | Wear thick cotton socks that retain moisture |
| Adjust lacing based on activity (tighter for hiking, looser for casual wear) | Lace too tightly in hopes of fixing an oversized boot |
| Check circulation by wiggling toes regularly | Ignore numbness or tingling—these are warning signs |
| Replace worn or frayed laces promptly | Use twisted or knotted laces that create pressure ridges |
| Break in boots gradually before extended outdoor trips | Assume new boots will “stretch” into comfort immediately |
Real-World Example: Hiking the White Mountains in Winter
Mark, an experienced hiker from New Hampshire, once cut a summit attempt short due to persistent foot pain. He was wearing high-end mid-calf snow boots, but halfway up the trail, his second toe went numb. At first, he assumed it was the cold. After consulting a gear specialist, he realized he’d been lacing his boots too tightly across the instep, restricting blood flow. By adjusting his lacing technique—using a window lacing method to relieve pressure—he completed the same trail two weeks later with no issues. His takeaway: “I spent $250 on boots but nearly ruined the experience because I didn’t know how to lace them.”
Expert Tips for Long-Term Fit Maintenance
Your lacing routine should adapt to changing conditions. Here are insights from outdoor gear technicians and podiatrists:
- Rotate your boots if you’re active in winter. Alternating pairs allows materials to decompress and dry fully, preserving shape and fit.
- Inspect the tongue padding regularly. A collapsed or shifted tongue can create uneven pressure, even with perfect lacing.
- Use heat-moldable insoles for personalized arch support. Off-the-shelf insoles may not align with your foot’s natural contours, forcing compensatory lacing that leads to imbalance.
- Consider hybrid lacing systems. Some modern snow boots combine traditional laces below with a ratchet or bungee system above the ankle for quick, even calf adjustment.
Frequently Asked Questions
How tight should mid-calf snow boots be?
Your boots should feel snug across the heel and midfoot, with minimal heel lift (less than half an inch). Toes should have room to wiggle but not slide forward. The calf closure should hold the boot securely without pinching or creating deep lace marks on the skin.
Why do my toes go numb in snow boots?
Numbness is often caused by excessive lacing tension, especially across the instep or top of the foot. It can also result from wearing socks that are too thick or improperly layered. Ensure your boots are the correct size and avoid tightening the upper laces in an attempt to compensate for a poor fit.
Can I use elastic laces on snow boots?
Yes—elastic or “lock” laces can simplify the process and maintain consistent tension. They work well for the lower section of the boot, but many experts recommend using traditional laces or mechanical closures (hooks, ratchets) for the upper calf area where more precise control is needed.
Final Checklist: Are Your Snow Boots Laced Correctly?
- ✅ Heel is locked in place with no slippage
- No bouncing when walking or descending slopes.
- ✅ Toes have space to move
- You can wiggle toes freely without feeling pressure at the front.
- ✅ No localized pressure points
- No red marks or indentations on the instep, ankle bone, or calf after removing boots.
- ✅ Circulation is maintained
- Toes stay warm and responsive; no numbness or tingling occurs after 15–20 minutes of wear.
- ✅ Laces remain secure
- Knots or locking mechanisms don’t come undone during activity.
Conclusion
Mastering the perfect fit in mid-calf snow boots goes beyond selecting the right size—it hinges on intelligent, adaptive lacing. Whether you're trekking through deep powder or navigating icy sidewalks, proper lacing enhances warmth, stability, and endurance. By applying these techniques consistently, you protect your feet from injury, improve comfort, and get the most out of your winter adventures.


 浙公网安备
33010002000092号
浙公网安备
33010002000092号 浙B2-20120091-4
Comments
No comments yet. Why don't you start the discussion?