
Phone cases have evolved from simple protective shells into fashion statements, and the 3D pearl flower design stands out as one of the most elegant and sought-after styles. With its delicate floral patterns adorned with shimmering pearls, this type of case adds sophistication to any device. However, installing it correctly—without damaging the intricate embellishments or your phone—requires precision and care. Many users struggle with misalignment, trapped dust, or cracked edges during installation. This guide provides a detailed, practical approach to ensure a flawless fit every time.
Understanding the Design and Structure
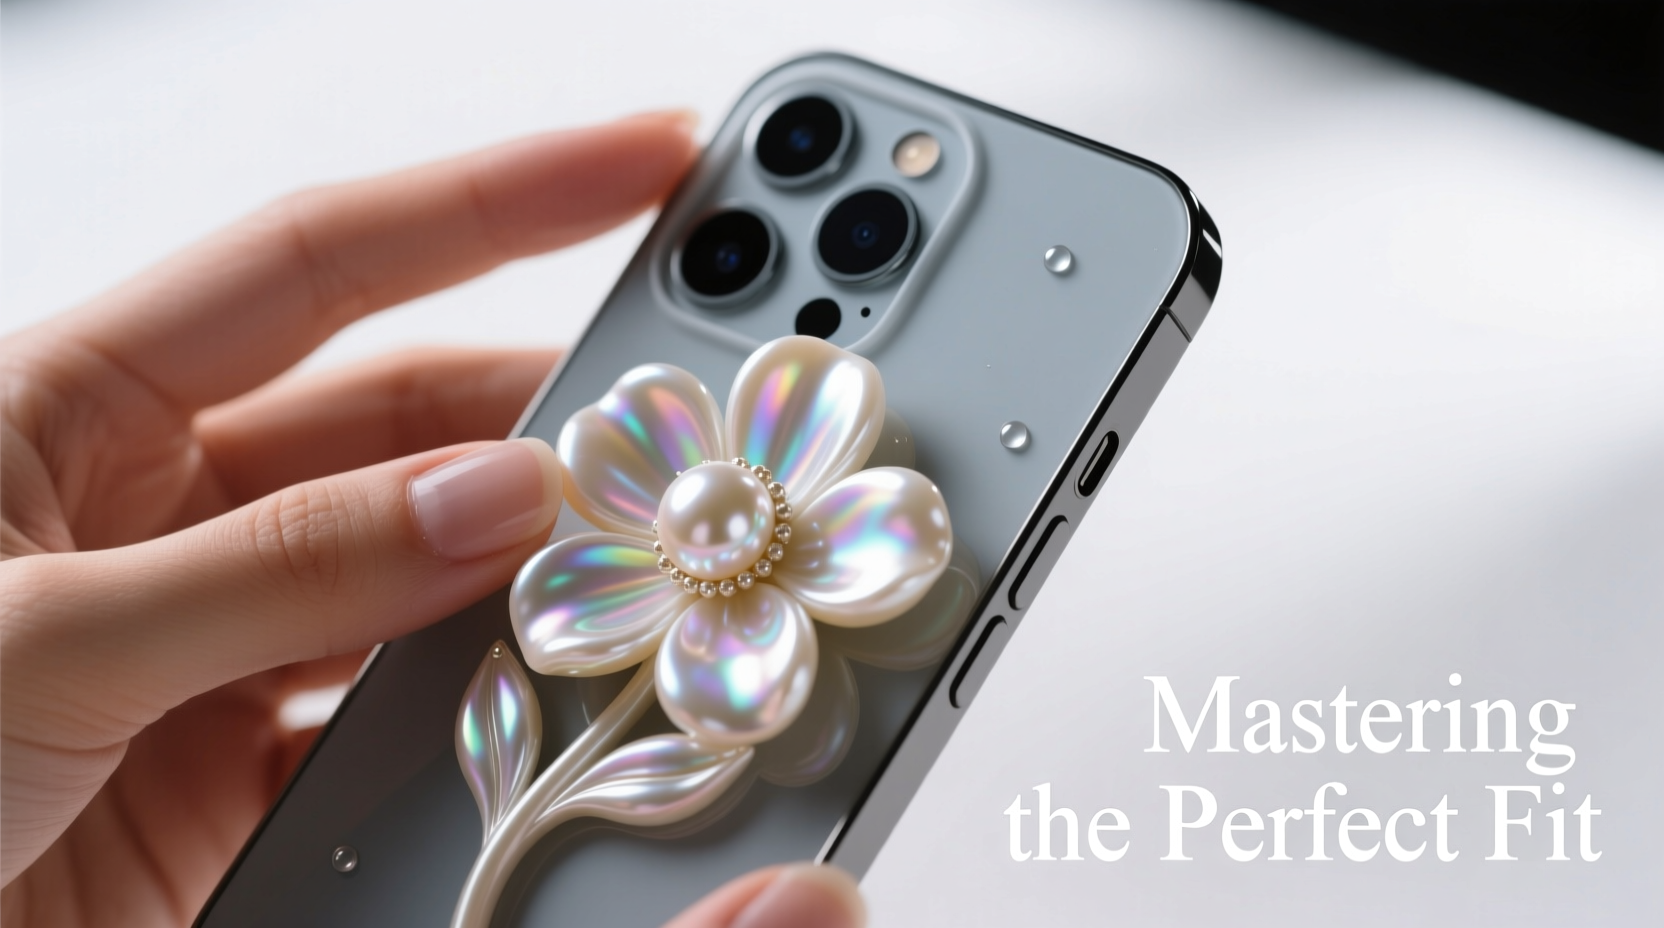
Before attempting installation, it’s essential to understand what makes a 3D pearl flower phone case different from standard models. These cases typically feature raised floral elements made from resin, silicone, or plastic, embedded with small glass or acrylic pearls. The texture is often soft-touch or glossy, and the back panel may be rigid or flexible depending on the brand.
The structural sensitivity lies in the protruding decorations. Unlike flat cases, these cannot be pressed down forcefully without risking detachment or deformation of the flowers. Additionally, tight-fitting designs mean that even minor alignment errors can prevent full closure around the phone’s edges.
“Precision matters more than pressure when handling decorative phone cases. A gentle hand preserves both function and aesthetics.” — Lena Torres, Mobile Accessory Designer at UrbanGleam Co.
Step-by-Step Guide to Flawless Installation
Installing a 3D pearl flower case doesn’t require tools, but it does demand attention to detail. Follow this sequence for optimal results:
- Clean Your Phone Thoroughly: Use a microfiber cloth and screen cleaner to remove fingerprints, oils, and dust. Even invisible particles can interfere with snug fitting and scratch the phone’s surface.
- Inspect the Case Interior: Hold the case up to light and check for debris inside the lining. If needed, use compressed air or a cotton swab lightly dampened with alcohol (ensure it's dry before use) to clean crevices near the flowers.
- Align the Bottom First: Position the charging port of your phone directly over the corresponding cutout in the case. Gently slide the bottom edge into place, ensuring no part of the frame catches on buttons or ports.
- Secure One Side Gradually: Instead of pressing all sides at once, start with one corner—preferably the side opposite volume buttons—and slowly press the rim inward while guiding the phone deeper into the shell.
- Check Button Cutouts Midway: As you near completion, pause to verify that power and volume buttons align properly. Misaligned button covers can cause stiffness or unresponsiveness.
- Final Press with Even Pressure: Once mostly seated, apply light, uniform pressure along the top and sides. Avoid using nails or hard objects; fingertips work best to avoid cracking the decorative elements.
Do’s and Don’ts During Installation
| Do’s | Don’ts |
|---|---|
| Handle the case by its edges to minimize stress on 3D flowers | Apply excessive force, especially near ornate sections |
| Double-check compatibility with your exact phone model | Use heat sources like hairdryers to soften the case |
| Test camera and speaker cutouts after installation | Install the case with wet hands or on a damp phone |
| Store the case in its original packaging when not in use | Bend or twist the case to force it onto the phone |
Real-World Example: A Common Mistake and How It Was Fixed
Sophia, a graphic designer from Portland, purchased a rose-themed 3D pearl case for her iPhone 14. Excited to use it, she quickly snapped it on without cleaning either the phone or interior of the case. After two days, she noticed a faint scratching sound when placing her phone face-down. Upon removal, she discovered a tiny grain of sand had become lodged beneath the camera lens housing, causing micro-scratches on the lens cover.
She contacted customer support, who advised her to always perform a pre-installation wipe-down. For future installations, Sophia now keeps a dedicated cleaning kit—a mini brush, lint-free cloth, and compressed air canister—on her desk. Since adopting this routine, she has installed three more decorative cases without issue, preserving both phone integrity and case beauty.
Essential Checklist Before and After Installation
- ✅ Confirm phone model matches case specifications
- ✅ Power off the device (optional but reduces risk if dropped)
- ✅ Wipe phone screen and body with a dry microfiber cloth
- ✅ Inspect case interior for dust or manufacturing residue
- ✅ Align ports and buttons before applying pressure
- ✅ Test all functions post-installation: charging, volume, camera shutter
- ✅ Examine for gaps or warping along the edges
- ✅ Store extra cases upright in dust-free containers
Frequently Asked Questions
Can I install a 3D pearl flower case over another case?
No. These cases are designed for direct contact with your phone. Layering causes poor fit, blocks ventilation, increases bulk, and risks damaging the fragile 3D elements due to uneven pressure.
Why does my case feel loose after installation?
A loose fit usually indicates incompatibility. Double-check that the case is made for your specific phone model and generation. Some third-party cases lack precise engineering, leading to gaps around buttons or corners.
How do I remove the case safely without breaking the flowers?
Start at the bottom edge and gently pry outward using your thumbs. Work slowly around each side, avoiding twisting motions. If resistance occurs, stop and recheck for obstructions like swollen screen protectors or dirt buildup.
Maintaining Longevity After Perfect Fit
Once installed correctly, maintaining the case’s appearance requires consistent care. Avoid placing your phone face-down on rough surfaces—even brief contact can dull pearls or chip paint. When removing the case periodically for cleaning, store it in a padded pouch to prevent crushing the floral details.
For cleaning, never submerge the case. Instead, use a slightly damp cloth followed by immediate drying. Harsh chemicals like bleach or acetone will erode adhesive points holding the pearls, leading to premature shedding.
“A well-installed case should feel invisible in function but unforgettable in form.” — Marcus Lin, Product Testing Lead at TechStyle Labs
Conclusion
Installing a 3D pearl flower phone case is more than just snapping on protection—it’s about preserving artistry while ensuring functionality. With the right preparation, technique, and awareness of common pitfalls, achieving a perfect fit becomes effortless. Whether upgrading your current look or gifting a stylish accessory, mastering this process enhances both user experience and device longevity.


 浙公网安备
33010002000092号
浙公网安备
33010002000092号 浙B2-20120091-4
Comments
No comments yet. Why don't you start the discussion?