
Protecting your iPhone starts with more than just choosing a stylish case—it begins with proper installation. An iPhone sleeve, whether made of silicone, leather, or hybrid materials, serves as both armor and aesthetic enhancement. But even the best sleeve can fail if not installed correctly. Gaps, misalignment, trapped dust, or forced pressure can compromise protection, scratch the device, or damage ports. Achieving a flawless fit requires precision, patience, and the right technique. This guide walks you through every essential step, common pitfalls, and professional insights to ensure your iPhone is shielded perfectly—every time.
Why Proper Installation Matters
A well-installed sleeve does more than look good—it enhances drop protection, ensures access to all controls, and prevents debris from entering sensitive areas like charging ports and speakers. Improper installation, however, can lead to long-term issues: micro-scratches from trapped particles, reduced shock absorption due to uneven seating, or even interference with wireless charging efficiency.
Many users assume that slipping a phone into a sleeve is foolproof. In reality, differences in manufacturing tolerances between iPhone models and third-party sleeves mean that alignment must be precise. Even a 1-millimeter shift can affect camera cutout clearance or button responsiveness.
“Proper fit isn’t just about aesthetics—it’s functional integrity. A misaligned case can reduce impact protection by up to 40% during drops.” — Dr. Lena Torres, Product Durability Analyst at MobileShield Labs
Step-by-Step Guide to Installing Your iPhone Sleeve Correctly
Follow this methodical process to achieve a seamless, secure fit without risking damage to your device.
- Power down your iPhone (optional but recommended): While not required, turning off your phone eliminates any risk of accidental input during installation, especially when pressing near buttons.
- Clean both surfaces: Use a microfiber cloth to wipe the back and sides of your iPhone. Remove any dust, oil, or lint. Also, inspect the interior of the sleeve for debris—shake it gently or use compressed air if needed.
- Align the charging port first: Hold the sleeve with the bottom edge facing your iPhone’s Lightning or USB-C port. Match the openings precisely before applying any pressure.
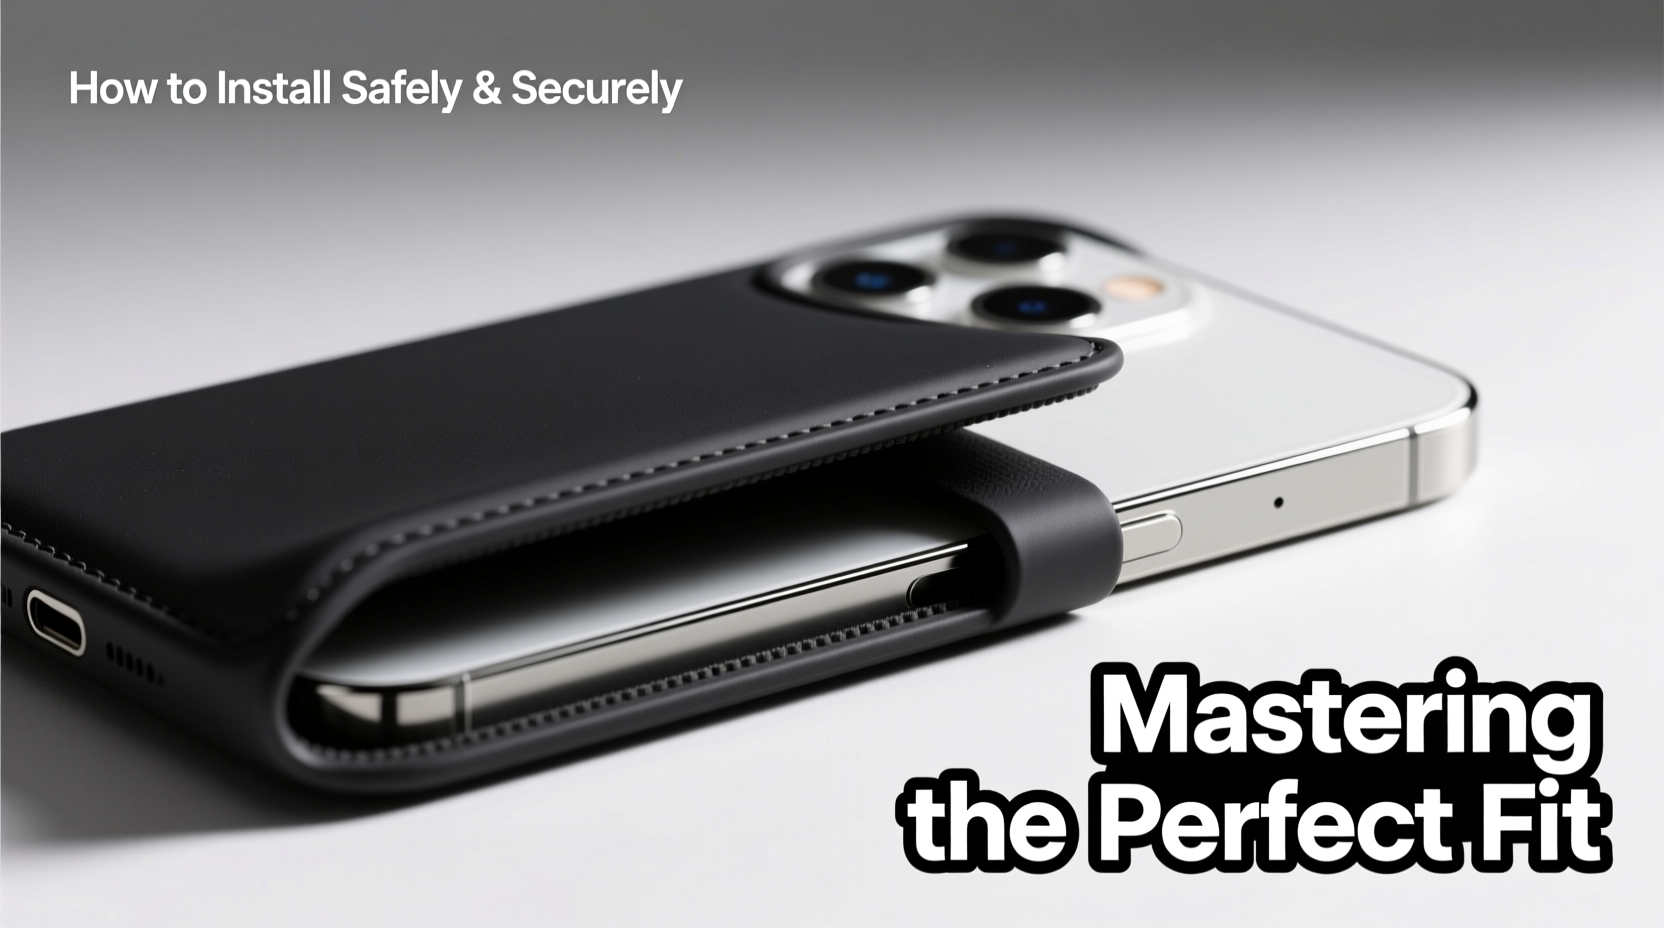
- Slide the phone in slowly from the base upward: Instead of pushing straight down, angle the top slightly and glide the phone into place. This reduces friction and avoids scratching.
- Check for full seating: Once inserted, run your finger around the edges. There should be no gaps, especially near corners or camera housing. If resistance occurs, do not force it—remove and recheck alignment.
- Test functionality: Press each button to confirm tactile feedback. Plug in a cable to verify port access. Enable sound to check speaker clarity.
Common Mistakes and How to Avoid Them
Even experienced users make errors when installing sleeves. These are the most frequent—and preventable—mistakes.
| Mistake | Consequence | Solution |
|---|---|---|
| Forcing the phone into the case | Cracked screen, warped frame, damaged ports | Double-check alignment; never use excessive pressure |
| Installing with dust or grit inside | Scratches on finish, compromised seal | Always clean both phone and case interior first |
| Ignoring button covers | Muffled volume control, unresponsive mute switch | Ensure cutouts match exactly; trim membrane covers if necessary |
| Using outdated or generic sleeves | Poor fit, blocked features, loose hold | Verify compatibility with your exact iPhone model (e.g., iPhone 15 Pro vs. standard 15) |
Mini Case Study: The Over-Tightened Silicone Sleeve
Mark, a freelance photographer, purchased a premium silicone sleeve for his iPhone 15 Pro. Eager to protect his device on shoots, he quickly snapped it on without checking alignment. Over the next few weeks, he noticed muffled audio during video recordings and occasional charging failures. Upon removal, he discovered lint had been pressed into the speaker mesh and slight warping around the USB-C port. After cleaning and reinstalling with careful alignment, performance returned to normal. His takeaway? “Five extra seconds of prep saved me hours of troubleshooting.”
Choosing the Right Sleeve for Your Model
Not all sleeves are created equal—even within the same brand line. Apple’s annual design tweaks mean that cases aren’t always interchangeable between generations. For example, the iPhone 14 and 15 share similar dimensions, but the camera module layout differs significantly.
- iPhone 15/15 Plus: Larger dynamic island cutout, vertically aligned dual cameras
- iPhone 15 Pro/Max: Titanium frame contour, slimmer profile, deeper lens recess
- iPhone SE (3rd gen): Compact body with Touch ID home button—requires front-facing cutout
Always verify compatibility before purchase. Look for manufacturer labels such as “Designed for iPhone 15” or “MFi Certified.” Third-party sleeves labeled “universal fit” often sacrifice precision for broad appeal.
Essential Installation Checklist
Use this quick-reference checklist before every sleeve installation:
- ✅ Confirm sleeve matches exact iPhone model
- ✅ Power off device (recommended)
- ✅ Clean iPhone back and edges with dry microfiber cloth
- ✅ Inspect sleeve interior for dust or residue
- ✅ Align charging port opening first
- ✅ Slide phone in gently from bottom to top
- ✅ Verify full edge contact—no visible gaps
- ✅ Test buttons, ports, and speakers post-installation
Frequently Asked Questions
Can I install my iPhone sleeve with a screen protector already on?
Yes, most modern sleeves are designed to accommodate devices with screen protectors. However, ultra-thick glass protectors may cause minor lip interference at the front edge. If you feel resistance, ensure the protector doesn’t extend beyond the phone’s bezel.
My sleeve feels too tight—is that normal?
Some snugness is expected, especially with TPU or hybrid materials. As long as you can install it without force and all ports remain accessible, it’s likely safe. If the phone bends under pressure or buttons become stiff, consider switching to a more flexible material like soft silicone.
How often should I remove and reinstall the sleeve?
It’s wise to remove and clean both your phone and sleeve every 4–6 weeks. This prevents buildup of sweat, oils, and pocket lint. Reinstallation after cleaning ensures continued optimal fit and hygiene.
Final Thoughts: Precision Protects Performance
The perfect fit isn’t accidental—it’s intentional. Taking a moment to align, clean, and gently seat your iPhone sleeve preserves both form and function. Whether you're using a minimalist slipcover or a rugged multi-layer case, the principles remain the same: respect the design, honor the details, and prioritize precision over speed.
A properly installed sleeve doesn’t just protect—it integrates seamlessly with your device, enhancing usability rather than hindering it. By following these proven steps, you extend your iPhone’s lifespan, maintain peak performance, and enjoy peace of mind knowing your investment is truly safeguarded.


 浙公网安备
33010002000092号
浙公网安备
33010002000092号 浙B2-20120091-4
Comments
No comments yet. Why don't you start the discussion?