
There’s something deeply satisfying about a well-crafted latte—creamy, aromatic, and balanced between rich espresso and velvety milk. While many assume you need a high-end espresso machine and stainless steel pitchers to get it right, the truth is you can create a truly excellent latte using just a ceramic coffee mug and a few simple tools. This guide walks you through every stage of the process, from selecting beans to pouring your final creation, so you can enjoy barista-level lattes in your own kitchen.
The Essentials: What You Need for a Home Latte
A great latte starts with quality ingredients and basic equipment. The beauty of using a ceramic mug lies in its accessibility—it's already in most kitchens—and its ability to retain heat, which helps maintain the ideal drinking temperature throughout your experience.
Here’s what you’ll need:
- Freshly ground coffee (espresso roast preferred)
- Filtered water
- Milk of choice (whole dairy milk produces the creamiest texture)
- Ceramic coffee mug (10–12 oz capacity)
- Handheld milk frother or French press
- Small saucepan or microwave-safe jug
- Kettle or stovetop pot
- Coffee brewing method (Moka pot, AeroPress, or strong drip coffee)
Step-by-Step Guide to Making a Latte in a Ceramic Mug
Follow this timeline to craft a balanced, smooth latte entirely within one ceramic mug. No extra pitchers or machines required.
- Brew concentrated coffee: Use a Moka pot or AeroPress to make 1–2 oz of strong espresso-style coffee. If using drip coffee, reduce water slightly for higher concentration.
- Pour into preheated ceramic mug: Transfer the freshly brewed coffee into your warmed mug. Set aside while preparing milk.
- Heat the milk: Warm 6–8 oz of milk in a saucepan over medium heat until steaming (about 150°F / 65°C). Do not boil.
- Froth the milk: Using a handheld frother directly in the pan—or transfer milk to the ceramic mug and froth there—whisk vigorously for 15–30 seconds until creamy and slightly expanded.
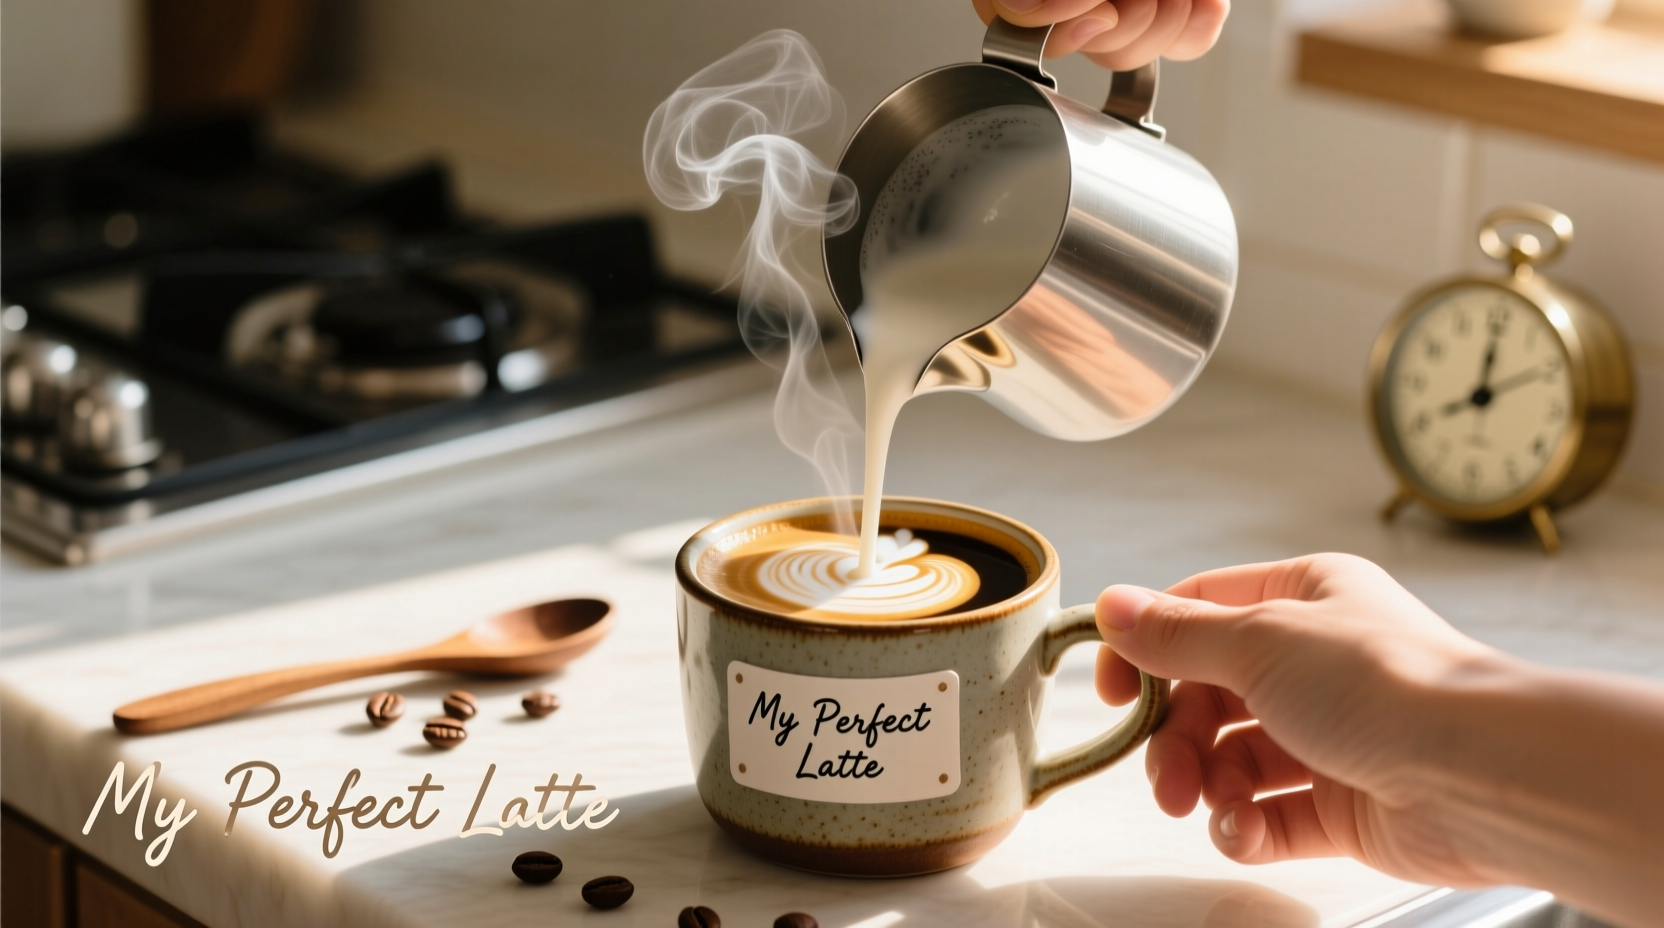
- Combine and serve: Gently pour the frothed milk over the espresso in the mug. Hold back foam with a spoon initially, then spoon the remaining foam on top.
- Optional finishing touch: Dust with cocoa powder, cinnamon, or nutmeg for added flavor.
“Temperature control and microfoam are the keys to a great latte. Even without a steam wand, you can achieve silky texture with consistent frothing technique.” — Diego Morales, Home Barista Coach & Café Consultant
Choosing the Right Milk and Coffee
Your ingredient choices significantly impact the final taste and mouthfeel of your latte.
Milk options: Whole dairy milk froths best due to its protein and fat content. For plant-based alternatives, oat milk performs closest to dairy, offering natural sweetness and good foam stability. Almond and soy milks can work but may separate more easily under heat.
Coffee selection: Opt for a dark or medium-dark roast labeled for espresso. These beans are roasted to enhance body and sweetness, balancing the milk’s richness. Grind fresh just before brewing for maximum aroma and crema-like texture.
| Milk Type | Foam Quality | Sweetness Level | Best For |
|---|---|---|---|
| Whole Dairy | Excellent | Neutral | Creamy, classic lattes |
| Oat Milk | Very Good | High | Vegan lattes, sweet profiles |
| Soy Milk | Good | Moderate | Stability under heat |
| Almond Milk | Fair | Low | Low-calorie option |
A Real Example: How Sarah Transformed Her Morning Routine
Sarah, a graphic designer from Portland, used to spend $5 daily on lattes during her commute. After investing in a handheld frother and learning how to use her favorite ceramic mug effectively, she now makes lattes at home in under seven minutes.
She uses a Moka pot for rich coffee, heats whole milk on the stove, and froths it directly in her mug. “I was skeptical at first,” she says, “but once I got the milk texture right, it tasted just like my local café—plus I save over $100 a month.”
Her secret? Consistency. She grinds the same Ethiopian blend every morning and times her frothing to exactly 20 seconds. That small ritual has turned her kitchen into a personal coffee sanctuary.
Common Mistakes and How to Avoid Them
Even small missteps can affect the quality of your latte. Here are frequent errors and their fixes:
- Overheating milk: Boiling destroys proteins needed for foam. Heat only until steam rises and the mug feels hot but comfortable to touch.
- Under-frothing: Thin, flat milk lacks body. Froth for at least 20 seconds in a swirling motion to incorporate air evenly.
- Using low-quality coffee: Weak or stale coffee gets lost in milk. Invest in fresh beans and grind them shortly before brewing.
- Pouring too aggressively: A hard pour breaks down foam structure. Let milk flow gently down the side of the mug.
“The difference between a good latte and a great one often comes down to attention to detail—especially in milk texture and temperature.” — Lila Chen, Founder of Home Brew Lab
FAQ
Can I make a latte without an espresso maker?
Absolutely. A Moka pot or AeroPress produces espresso-strength coffee suitable for lattes. Strong drip coffee can work in a pinch, though it may lack intensity.
Why isn’t my milk foaming properly?
This usually stems from overheating, old milk, or insufficient agitation. Use fresh cold milk and ensure your frother spins fast enough to introduce air. Stainless steel frothers tend to perform better than plastic ones.
Is it safe to heat milk in a ceramic mug in the microwave?
You can, but monitor closely. Microwave heating is uneven and can scald milk quickly. Stir frequently and stop as soon as steam appears. For best results, use a stovetop method.
Final Checklist: Brewing Your Best Latte at Home
Use this checklist each time you prepare your latte to ensure consistency and quality:
- ☐ Preheat ceramic mug with hot water
- ☐ Use freshly ground espresso roast coffee
- ☐ Brew 1–2 oz of concentrated coffee
- ☐ Heat 6–8 oz of cold milk to ~150°F (do not boil)
- ☐ Froth milk until smooth and slightly thickened
- ☐ Pour milk slowly over espresso, finishing with foam
- ☐ Clean frother immediately after use
Conclusion: Elevate Your Everyday Ritual
Mastering the perfect latte at home isn’t about expensive gear—it’s about understanding the balance of flavor, texture, and temperature. With nothing more than a ceramic coffee mug, a little practice, and attention to detail, you can replicate the café experience in your kitchen. Each step, from grinding beans to frothing milk, becomes part of a mindful morning ritual that enhances both taste and well-being.


 浙公网安备
33010002000092号
浙公网安备
33010002000092号 浙B2-20120091-4
Comments
No comments yet. Why don't you start the discussion?