
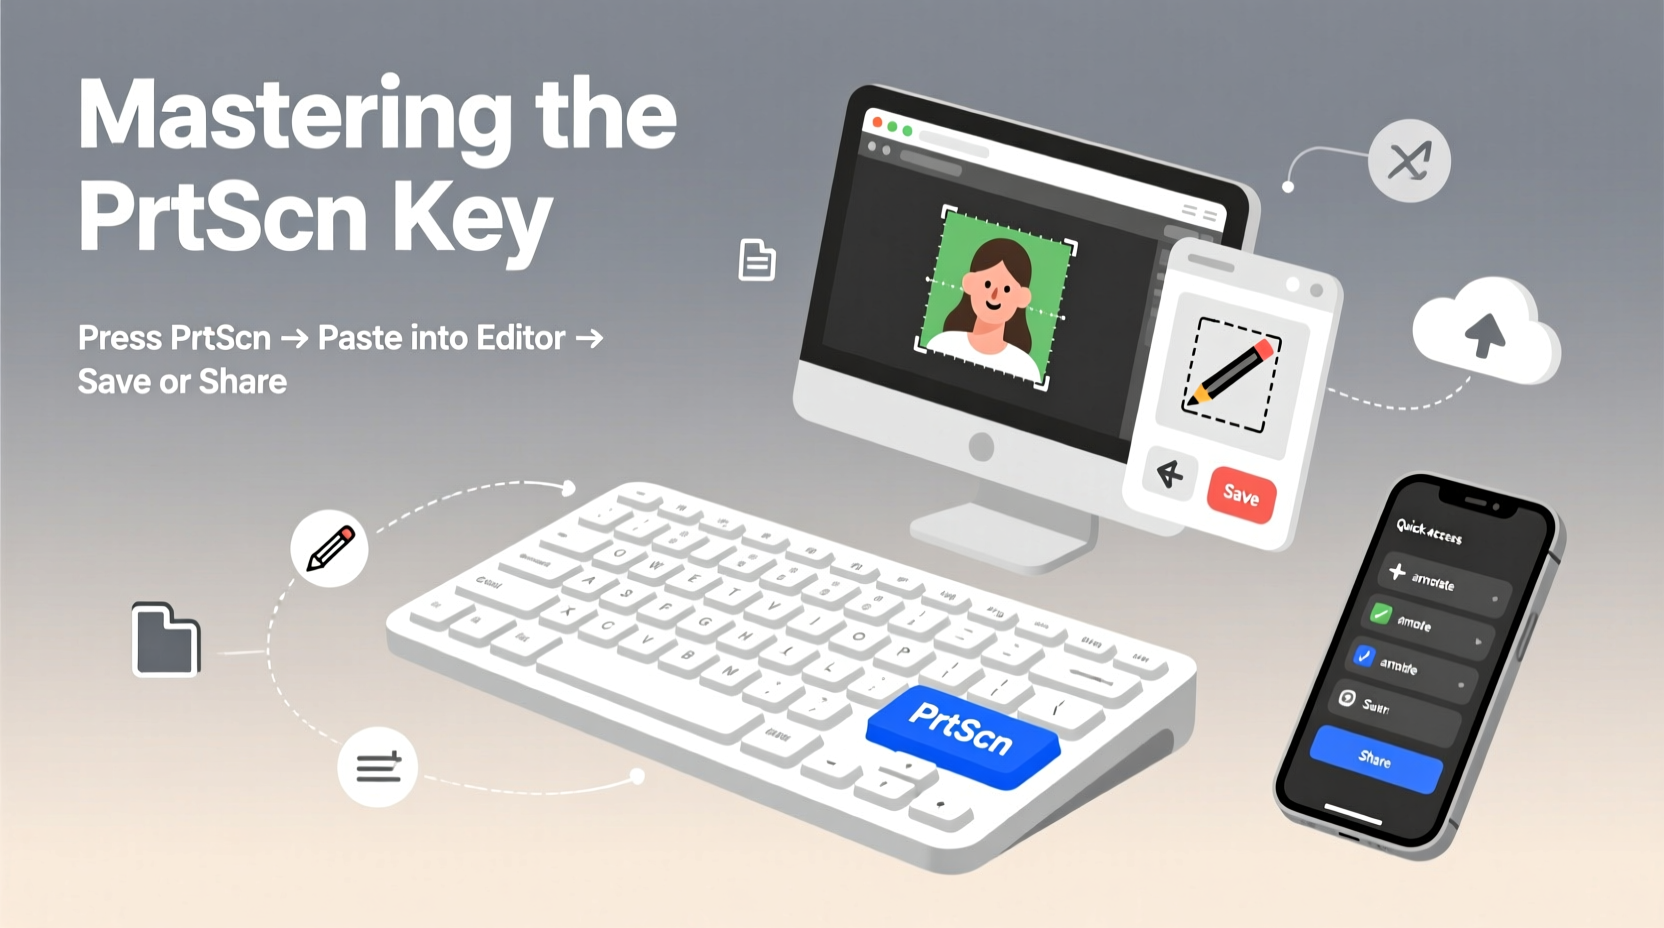
Capturing what’s on your screen is a routine task for most digital users—whether you’re troubleshooting an error, sharing instructions, or saving visual information. Yet, many people still fumble with the PrtScn (Print Screen) key, unaware of its full potential or how to use it efficiently. This guide demystifies the process, offering actionable strategies to capture, organize, and edit screenshots without hassle. From built-in OS tools to advanced editing techniques, you’ll learn how to turn a simple keystroke into a powerful productivity tool.
Understanding the PrtScn Key: What It Does and How It Works
The PrtScn key has been a staple on PC keyboards for decades. When pressed, it captures an image of your entire screen and copies it to the clipboard. However, its functionality varies depending on your operating system and keyboard layout.
On Windows, pressing PrtScn alone takes a screenshot of the entire screen and stores it in the clipboard. To save it automatically as a file, press Windows + PrtScn. The screenshot is saved in the Screenshots folder inside Pictures.
Some laptops require you to press the Fn key along with PrtScn due to function-key layering. Others may have dedicated shortcuts like Alt + PrtScn to capture only the active window.
Advanced Screenshot Methods Across Operating Systems
While the basic PrtScn function remains consistent, modern operating systems offer enhanced tools that go beyond full-screen captures.
Windows: Snipping Tool and Snip & Sketch
Windows 10 and 11 include Snip & Sketch, accessible via Windows + Shift + S. This shortcut activates a selection toolbar allowing you to capture rectangular areas, freeform shapes, specific windows, or the entire screen. The captured image is copied to the clipboard and can be edited immediately.
The older Snipping Tool is still available and supports delayed captures—ideal for capturing dropdown menus or tooltips that disappear when clicked.
macOS: Built-In Keyboard Shortcuts
Mac users don’t have a PrtScn key but achieve similar results using combinations:
- Command + Shift + 3: Captures the entire screen.
- Command + Shift + 4: Lets you select a portion of the screen.
- Command + Shift + 5: Opens the screenshot control panel with options for screen recording and timed captures.
Screenshots are saved directly to the desktop by default but can be redirected via settings.
Chromebooks and Linux Variants
Chromebooks use Ctrl + Window Switcher key (the rectangle with two lines) for full-screen captures. For partial screenshots, press Ctrl + Shift + Switcher key.
Linux distributions vary, but most support PrtScn for full-screen capture, often integrated with tools like GNOME Screenshot or KDE’s Spectacle.
“Efficient screenshot workflows reduce communication time by up to 40% in remote teams.” — Dr. Lena Torres, Digital Collaboration Researcher at MIT
Step-by-Step Guide: Capturing and Saving Screenshots Efficiently
Follow this streamlined process to make screenshot capture a seamless part of your workflow:
- Prepare the screen: Close irrelevant tabs, tidy the desktop, and ensure the content you want is visible.
- Choose your method: Decide whether you need the full screen, a single window, or a custom region.
- Capture the image: Use the appropriate shortcut (e.g., PrtScn, Alt + PrtScn, or Windows + Shift + S).
- Paste and verify: Open an application like Paint, Word, or an email and press Ctrl + V to paste the screenshot.
- Edit if necessary: Crop, annotate, or highlight key elements before saving.
- Save with a clear name: Use descriptive filenames like “Error_Message_Login_Page.png” for easy retrieval.
Essential Editing Tips for Professional-Quality Screenshots
A raw screenshot rarely tells the full story. Effective editing enhances clarity and professionalism.
Cropping removes unnecessary whitespace or sensitive data. Focus on the relevant section to improve readability.
Annotation tools—arrows, text boxes, highlights—help direct attention. Most editing software, including free tools like Paint.NET or PicMonkey, includes these features.
Redaction is critical when sharing screenshots externally. Blur or black out personal information such as passwords, emails, or financial details.
| Editing Task | Recommended Tool | Best Practice |
|---|---|---|
| Crop & Resize | Paint, Preview (Mac) | Maintain aspect ratio to avoid distortion |
| Add Text/Arrows | Snip & Sketch, Skitch | Use high-contrast colors for visibility |
| Blur Sensitive Data | GIMP, Photoshop | Apply irreversible blur, not just color overlay |
| Annotate Step-by-Step | Markup (Mac), Lightshot | Number steps sequentially for clarity |
Mini Case Study: Streamlining Customer Support with Screenshots
Jamie, a technical support agent at a SaaS company, used to spend 15 minutes per ticket explaining login issues over the phone. After implementing a policy where customers were guided to take annotated screenshots using Windows + Shift + S, resolution time dropped to under 5 minutes. By asking users to highlight error messages and obscure personal data, Jamie could diagnose problems faster and reduce miscommunication. The team now shares templated instructions for screenshot capture, improving first-contact resolution rates by 32%.
Common Pitfalls and How to Avoid Them
Even experienced users make mistakes when handling screenshots. Awareness of these errors improves both security and usability.
- Forgetting to crop: Large, unedited screenshots confuse recipients. Always trim to the essential area.
- Ignoring file size: High-resolution screenshots can be several megabytes. Compress them using tools like TinyPNG before emailing.
- Sharing unredacted data: Accidentally exposing private info damages trust and compliance. Always review before sending.
- Using blurry zoomed images: Enlarging low-DPI screenshots reduces quality. Capture at native resolution or use screen recording for complex flows.
“Over 60% of data leaks in customer service originate from unredacted screenshots.” — Cybersecurity Report, 2023, Norton Labs
Checklist: Optimize Your Screenshot Workflow
Use this checklist to ensure every screenshot you take is effective and secure:
- ☐ Clear the screen of clutter before capturing
- ☐ Use Windows + Shift + S (or equivalent) for selective captures
- ☐ Paste immediately into your intended app to avoid loss
- ☐ Crop to focus on the relevant content
- ☐ Annotate with arrows, numbers, or text to guide the viewer
- ☐ Redact all personal, financial, or confidential information
- ☐ Save with a descriptive filename in an organized folder
- ☐ Compress large files before sharing via email or chat
FAQ
Where does PrtScn save screenshots by default?
Pressing PrtScn alone copies the image to the clipboard—you must paste it manually. To save automatically, use Windows + PrtScn, which saves the file in Pictures > Screenshots. On Mac, screenshots appear on the desktop unless changed in Settings.
Can I capture a dropdown menu or tooltip?
Yes, but they disappear when you click elsewhere. Use the Snipping Tool’s delay feature (5–10 seconds) or press Alt + Tab to switch back quickly after opening the menu. Alternatively, open the menu and use Windows + Shift + S without clicking away.
Why is my screenshot blurry when I zoom in?
This usually happens when the display scaling is set above 100% (common on high-DPI screens). The screenshot captures scaled pixels, reducing clarity. To improve quality, capture at 100% scaling or use screen recording for detailed visuals.
Conclusion
Mastery of the PrtScn key isn’t about memorizing shortcuts—it’s about building a reliable, repeatable system for capturing and communicating visually. Whether you're documenting bugs, teaching others, or reporting issues, a well-edited screenshot conveys more than paragraphs of text. With the right techniques, tools, and habits, you can transform a simple keystroke into a cornerstone of digital efficiency.


 浙公网安备
33010002000092号
浙公网安备
33010002000092号 浙B2-20120091-4
Comments
No comments yet. Why don't you start the discussion?