
Crocheting is more than a craft—it’s a way to create warmth, beauty, and personal expression. Among the most charming patterns in modern crochet is the puff stitch flower blanket. With its textured blooms rising from a smooth background, this design captures attention while remaining surprisingly accessible to beginners. The puff stitch may look complex, but once broken down into manageable steps, it becomes a rhythmic, satisfying technique. This guide walks you through every stage of creating your first puff stitch flower blanket, from selecting materials to binding off with confidence.
Gathering Your Materials and Tools
Before beginning any crochet project, preparation is key. Choosing the right yarn and hook ensures your blanket turns out soft, even, and enjoyable to make. For a beginner-friendly puff stitch flower blanket, consider medium-weight (worsted) acrylic or cotton yarn. These fibers are durable, easy to care for, and widely available in vibrant colors that highlight the floral texture.
A 5.5 mm (I-9) crochet hook is ideal for worsted weight yarn. If your stitches tend to be tight, go up half a size; if they’re loose, go down. Always swatch first—crochet a small 6” x 6” square using the puff stitch to check your gauge. Aim for 14–16 stitches and 10–12 rows per 4 inches.
Essential Supplies Checklist
- Worsted weight yarn (approx. 800–1200 yards depending on size)
- 5.5 mm (I-9) crochet hook
- Scissors
- Tapestry needle for weaving in ends
- Stitch markers (4–6 recommended)
- Measuring tape
Understanding the Puff Stitch: Technique Breakdown
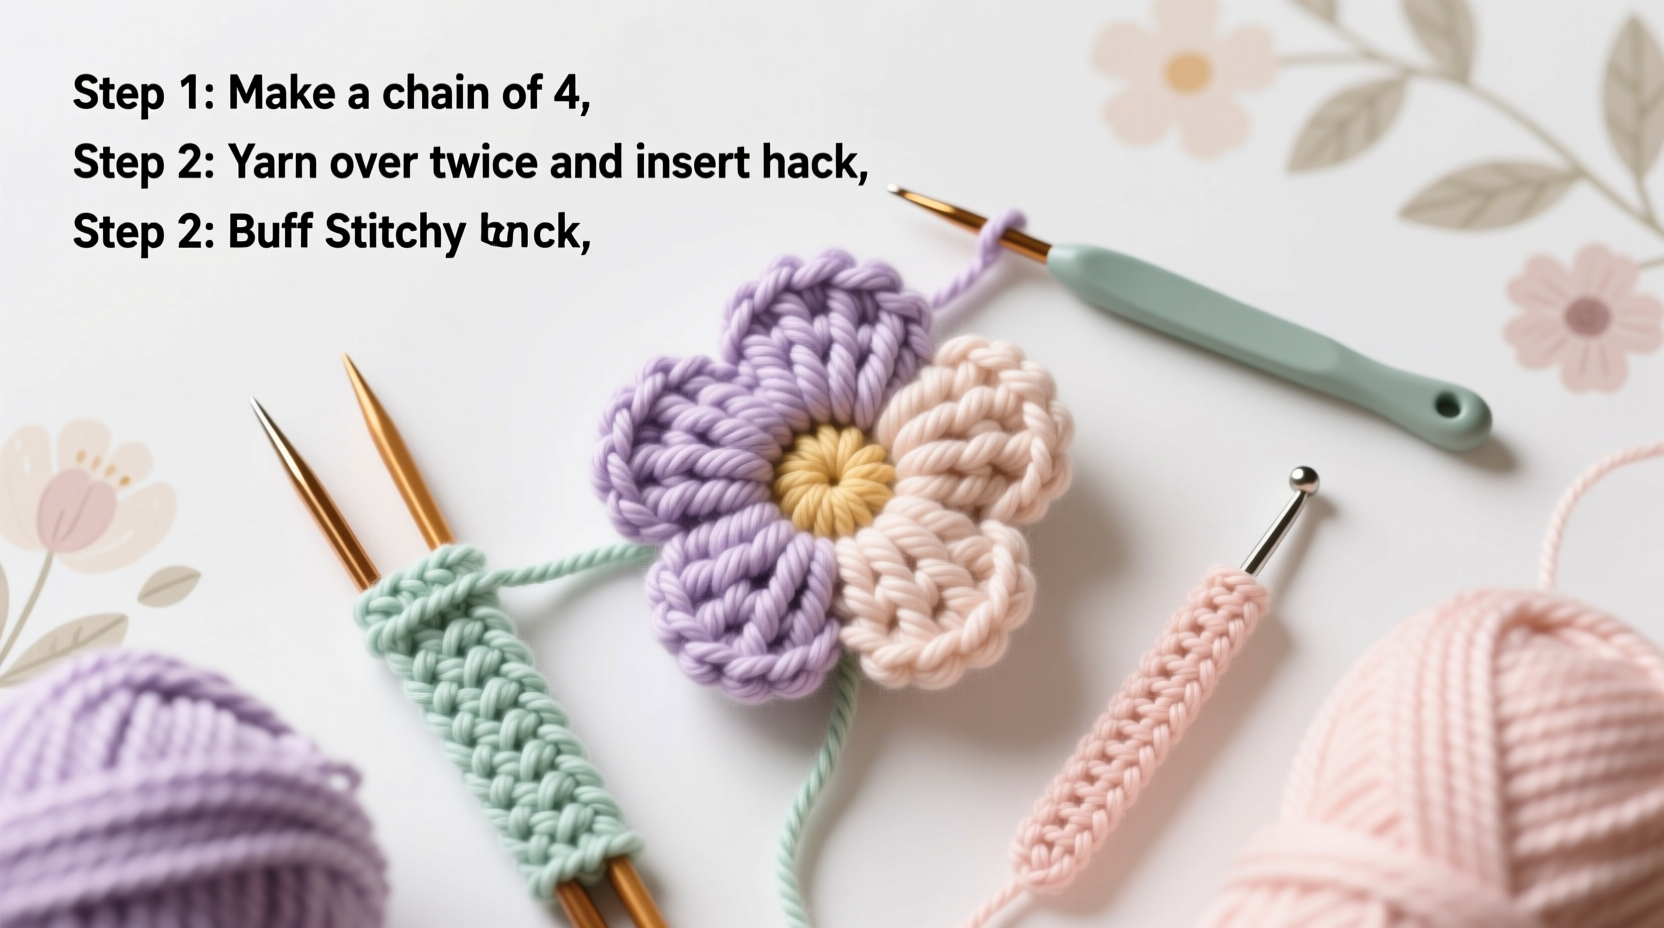
The puff stitch creates a raised, clustered bloom that forms the center of each flower. It involves multiple partial double crochets worked into the same stitch, then pulled together at the top. While it uses familiar motions, timing is crucial—each loop must remain on the hook until the final pull-through.
- Yarn over, insert hook into designated stitch, pull up a loop (2 loops on hook).
- Yarn over, pull up a loop again in the same stitch (now 4 loops).
- Repeat two more times: yarn over, insert into same stitch, pull up a loop. You should now have 8 loops on your hook.
- Yarn over and pull through all 8 loops.
- Chain 1 to secure the stitch.
This completes one puff stitch. The chain-1 at the end prevents the cluster from collapsing and adds definition. Practice this sequence on a test swatch before starting the blanket. Focus on consistency—each puff should be plump but not overstuffed.
“Puff stitches thrive on rhythm. Once you find your flow, they become meditative.” — Lila Montgomery, Crochet Designer & Instructor
Step-by-Step Pattern: Building the Flower Blanket
This version creates a 36” x 48” throw blanket using repeating flower motifs across rows. The pattern alternates puff stitch clusters with simple single crochets to form a balanced texture.
Foundation Row
Chain 120 (or any multiple of 12 + 2). Work one single crochet in the second chain from hook and in each chain across. Turn. (119 sc)
Row 1 (Flower Base)
Chain 1, single crochet in first stitch. *Skip next 2 stitches, (puff stitch, ch 1, puff stitch) in next stitch (this forms the left petal), skip 2 stitches, single crochet in next stitch (center), skip 2 stitches, (puff stitch, ch 1, puff stitch) in next stitch (right petal), skip 2 stitches, single crochet in next stitch.* Repeat from * to * across. End last repeat with single crochet in final stitch. Turn.
Row 2
Chain 1, single crochet in first stitch. *Single crochet in each stitch across to 1 stitch before next flower center, single crochet in center stitch.* Repeat across. End with single crochet in final stitch. Turn.
Row 3
Repeat Row 1, aligning new flowers directly above previous ones.
Rows 4–36
Alternate Row 2 and Row 1. Continue this sequence until the blanket reaches desired length. For symmetry, end with a Row 1 (flower row).
Finishing Strong: Edging and Weaving In Ends
A clean finish elevates your blanket from handmade to heirloom-quality. After completing the final row, add a border to frame the design. A simple round of single crochet around the entire perimeter works well.
Work as follows: Join yarn with a slip stitch at any corner. Chain 1, then work 3 single crochets in each corner stitch to prevent pulling. Along sides, place 1 single crochet per row edge. Along foundation chains and final row, work 1 single crochet per stitch. Join with a slip stitch to first sc. Fasten off and weave in all ends using a tapestry needle.
| Edge Type | Stitches Per Side | Best For |
|---|---|---|
| Single Crochet Border | 1 sc per stitch/row | Beginners, clean finish |
| Crab Stitch (Reverse SC) | 1 per stitch | Decorative rolled edge |
| Shell Border | (sc, ch 2, sc) every 3rd stitch | Ornamental touch |
Common Challenges and How to Solve Them
Even experienced crocheters encounter hiccups. Recognizing and correcting issues early keeps frustration low and progress steady.
- Puffs too flat? Ensure you’re not pulling too tightly when closing the stitch. Loosen your grip slightly during the final pull-through.
- Blanket curling? This often results from inconsistent tension or incorrect stitch counts. Check your work every few rows and block the finished piece.
- Flowers misaligned? Verify you’re skipping the correct number of stitches between clusters. Use stitch markers to flag centers.
“Blocking transforms a good crochet piece into a professional one. Never skip this step.” — Rafael Nguyen, Textile Artist
Real Example: Sarah’s First Puff Stitch Project
Sarah, a self-taught crafter from Portland, decided to try the puff stitch blanket after seeing one at a local fiber fair. Initially overwhelmed by the stitch description, she practiced on a 10-stitch swatch for two evenings. She discovered that slowing down and counting aloud helped her maintain accuracy. By week three, she was completing full rows without referencing the tutorial. Her finished 30” x 40” baby blanket, made in soft sage green, became a cherished gift for her sister. “I didn’t think I could make something so detailed,” she said. “But breaking it into small steps made all the difference.”
Frequently Asked Questions
Can I use a different yarn weight?
Yes, but adjust your hook size accordingly. Bulky yarn creates a cozier, faster-to-make blanket but requires larger hooks (6.5–9 mm). Fingering weight will yield a delicate, lace-like result but takes significantly longer.
How do I fix a dropped loop in a puff stitch?
If you accidentally drop a loop before completing the stitch, unravel back to that puff. Insert your hook from front to back into the base of the incomplete stitch, recover the loop, and continue. Mark problematic areas with a locking stitch marker.
Is this pattern suitable for baby blankets?
Absolutely. Choose hypoallergenic, machine-washable yarn like acrylic or organic cotton. Avoid long tails or loose fibers that could pose a risk. Test wash a swatch first to ensure colorfastness.
Final Thoughts and Next Steps
Mastering the puff stitch flower blanket is more than learning a new technique—it’s about building confidence through repetition and attention to detail. Each flower you complete reinforces muscle memory and creative trust. What begins as a challenge becomes a joyful rhythm, and the finished blanket stands as proof of your patience and skill.


 浙公网安备
33010002000092号
浙公网安备
33010002000092号 浙B2-20120091-4
Comments
No comments yet. Why don't you start the discussion?