
The shell stitch is one of the most beloved techniques in crochet, celebrated for its elegant, scalloped texture and versatility across projects. Whether you're crafting a delicate shawl, a cozy blanket, or a stylish summer top, the shell stitch adds a refined, flowing rhythm to your work. Unlike rigid, repetitive stitches, the shell creates soft waves that catch light and movement beautifully. While it may look intricate, the shell stitch is built on simple double or treble crochets grouped together—making it accessible even to intermediate crocheters. With consistent practice and attention to tension, you can master this classic pattern and elevate your handmade creations.
Understanding the Shell Stitch: Structure and Variations
At its core, the shell stitch consists of a cluster of tall stitches worked into the same stitch or space, flanked by spaces or single crochets that define the \"valleys\" between shells. The most common version uses five double crochets (dc) in one stitch, but variations include three, four, or even seven-stitch shells. The number affects the density and drape of the fabric. For example, a 3-dc shell produces a lighter, more open weave, ideal for garments, while a 7-dc shell offers bold texture suited for afghans or statement pieces.
Spacing is critical. Shells are typically separated by a set number of chain stitches or single crochets—often two or three—to maintain balance. A well-executed shell row should resemble a series of evenly spaced arches, each rising from a defined base. Missteps in spacing or stitch count often lead to ruffling or pulling, so consistency is key.
“Once you understand the rhythm of the shell—cluster, skip, anchor—the rest becomes intuitive.” — Lila Montgomery, Master Crocheter and Textile Designer
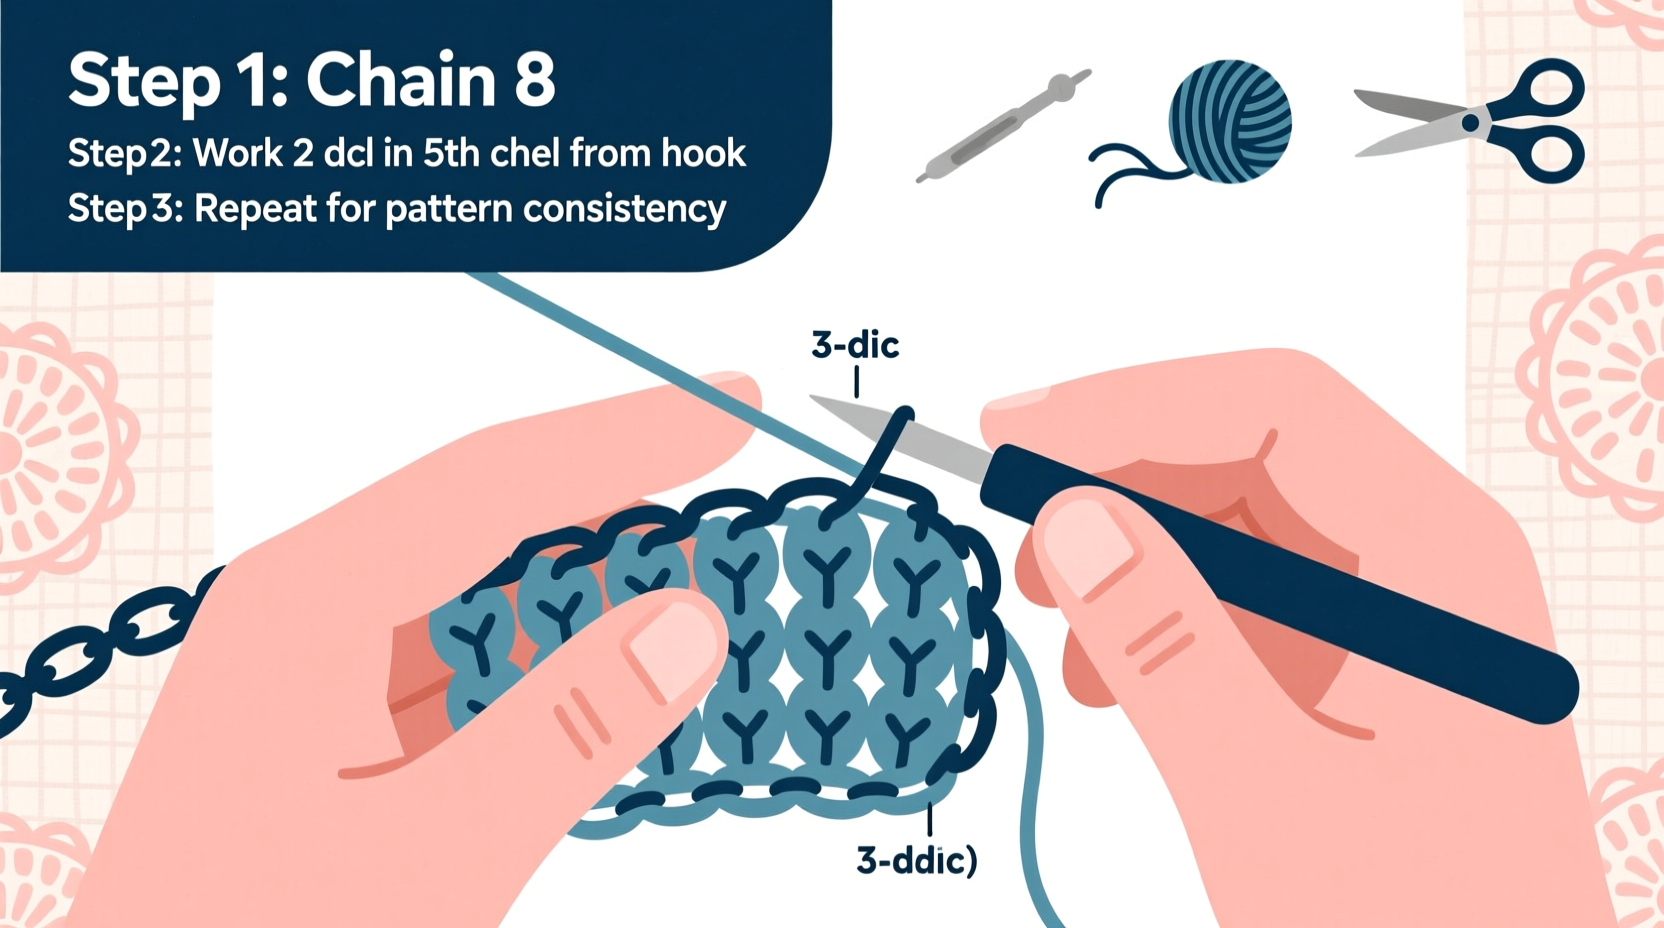
Step-by-Step Guide to Crocheting the Classic 5-Double Crochet Shell
This foundational technique works in rows and sets the stage for more complex shell-based patterns. Use medium-weight yarn (Category 4) and a 5.5 mm (I-9) hook for best results.
- Foundation Row: Chain a multiple of 6 plus 1 (e.g., 37 chains for a small swatch). This ensures enough space between shells.
- Row 1: Single crochet (sc) in the second chain from the hook and in each chain across. Turn.
- Row 2: Chain 3 (counts as first dc), skip the next 2 sc, then work 5 dc into the following sc (this forms the first shell). *Skip 2 sc, sc in the next sc, skip 2 sc, 5 dc in the next sc.* Repeat from * to * across. End with a sc in the last sc if needed. Turn.
- Row 3: Chain 1, sc in each stitch across, including one sc in the top of the initial ch-3. Turn.
- Repeat Rows 2 and 3 to create a continuous shell pattern.
The alternating rows of solid sc and clustered dc form the signature wave. Pay close attention to where you place your 5-dc group—always into the center sc of the valley from the previous shell row. Missing this mark distorts alignment.
Common Mistakes and How to Fix Them
Even experienced crocheters encounter issues when working with shell stitches. Recognizing and correcting these early prevents frustration later.
| Issue | Cause | Solution |
|---|---|---|
| Wavy or ruffled edges | Too many stitches per shell or incorrect multiples in foundation chain | Verify your starting chain is a multiple of 6 + 1; count stitches after each row |
| Shells leaning or misaligned | Working into wrong stitch or inconsistent tension | Use stitch markers; ensure all 5 dc are tightly grouped in the same stitch |
| Gaps between shells | Skipping too many stitches or loose tension | Check pattern instructions for correct skip count; tighten foundation chain slightly |
| Fabric curling | Tension imbalance between dc clusters and sc rows | Block finished piece lightly with steam; maintain even hand pressure |
Design Possibilities: From Blankets to Wearables
The shell stitch adapts beautifully to a wide range of items. Its natural flow makes it ideal for projects requiring drape and visual interest.
- Blankets: Use cotton or acrylic yarn in neutral or ombre tones. Work in wide panels, joining squares with slip stitches or invisible joins for a seamless look.
- Scarves and Shawls: Begin at the center back neck and increase symmetrically. Shell rows naturally flare outward, creating a graceful triangle shape.
- Baby Items: Soft pastel shells on a receiving blanket evoke vintage charm. Pair with picot edging for added detail.
- Garments: In finer yarns like bamboo or mercerized cotton, shell stitch forms breathable fabric perfect for summer tops or cardigans.
A real-world example comes from fiber artist Naomi Reed, who used a modified shell pattern—alternating 3-dc and 5-dc shells—for a wedding shawl. “The variation created a gentle ripple,” she explains. “It moved like water when the bride walked down the aisle.” Her design began with a foundation chain of 121 (a multiple of 6 + 1), ensuring clean repeats without edge distortion.
Pro Tips for Polished Results
- Use stitch counters or tally apps to track rows, especially in large projects.
- Choose smooth, plied yarns to highlight stitch definition. Avoid fuzzy or novelty fibers that obscure texture.
- Practice gauge swatches. Crochet tends to tighten in shell patterns, so go up a hook size if your fabric feels stiff.
FAQ: Frequently Asked Questions About the Shell Stitch
Can I work the shell stitch in the round?
Yes. Circular versions are common in doilies, coasters, and yokes. Increase shells evenly across rounds, using stitch markers to denote beginning-of-round points. Adjust increases gradually to prevent puckering.
What's the difference between a shell and a fan stitch?
Shell stitches are usually symmetrical clusters worked into a single stitch or space, while fan stitches are spread across multiple stitches and often include chain spaces between each dc. Fans tend to be more open and airy; shells are denser and more structured.
How do I join shell stitch pieces neatly?
For invisible seams, use the mattress stitch along single crochet edges. When joining motifs, the join-as-you-go method with slip stitches or crab crochet (reverse single crochet) creates a durable, decorative border.
Conclusion: Bring Elegance to Your Craft
The shell stitch is more than a technique—it’s a design language that speaks of rhythm, balance, and timeless beauty. Once mastered, it opens doors to countless creative expressions, from heirloom blankets to modern accessories. The secret lies not in perfection, but in repetition and mindful attention to detail. Each shell you crochet builds muscle memory and confidence. Don’t shy away from mistakes; they’re part of the learning curve. Instead, embrace them as signs of growth.


 浙公网安备
33010002000092号
浙公网安备
33010002000092号 浙B2-20120091-4
Comments
No comments yet. Why don't you start the discussion?