
The slip knot is one of the most fundamental yet powerful tools in a fisherman’s arsenal. When tied correctly, it forms a strong, adjustable loop that secures your line to hooks, swivels, or lures without compromising strength. Despite its simplicity, many anglers struggle with consistency—either tying it too loose, too tight, or in a way that slips under pressure. Mastering this knot means spending less time retying and more time catching. This guide breaks down the process into clear, repeatable steps, shares pro tips, and highlights common pitfalls so you can tie with confidence in any condition.
Why the Slip Knot Matters in Fishing
The slip knot isn’t just another option—it’s often the best choice when you need a secure loop that adjusts under tension. It's commonly used in setups involving dropper loops, Carolina rigs, and live bait rigs where movement and natural presentation are critical. Unlike fixed knots, the slip knot cinches down precisely when needed, allowing bait to move freely until a fish strikes. Its ability to maintain line integrity while delivering reliability under load makes it indispensable.
“More than half the lost fish I see come from poorly tied knots. The slip knot, when done right, preserves up to 90% of your line strength.” — Captain Ray Thompson, Offshore Guide & Angling Instructor
Step-by-Step Guide to Tying a Secure Slip Knot
Follow this detailed sequence to tie a dependable slip knot every time. Practice these steps before heading out on the water to build muscle memory and speed.
- Cut an appropriate length of leader or mainline. Leave at least 12–18 inches of tag end to work with for easier manipulation.
- Form a small loop near the end of the line, about 1–2 inches in diameter. Hold it between your thumb and forefinger.
- Wrap the tag end around the standing line three to four times. Keep the wraps neat and parallel, avoiding overlaps.
- Pass the tag end through the initial loop you created in step 2. This creates the “slip” mechanism.
- Moisten the line using saliva or water. Friction during tightening can weaken nylon or fluorocarbon if not lubricated.
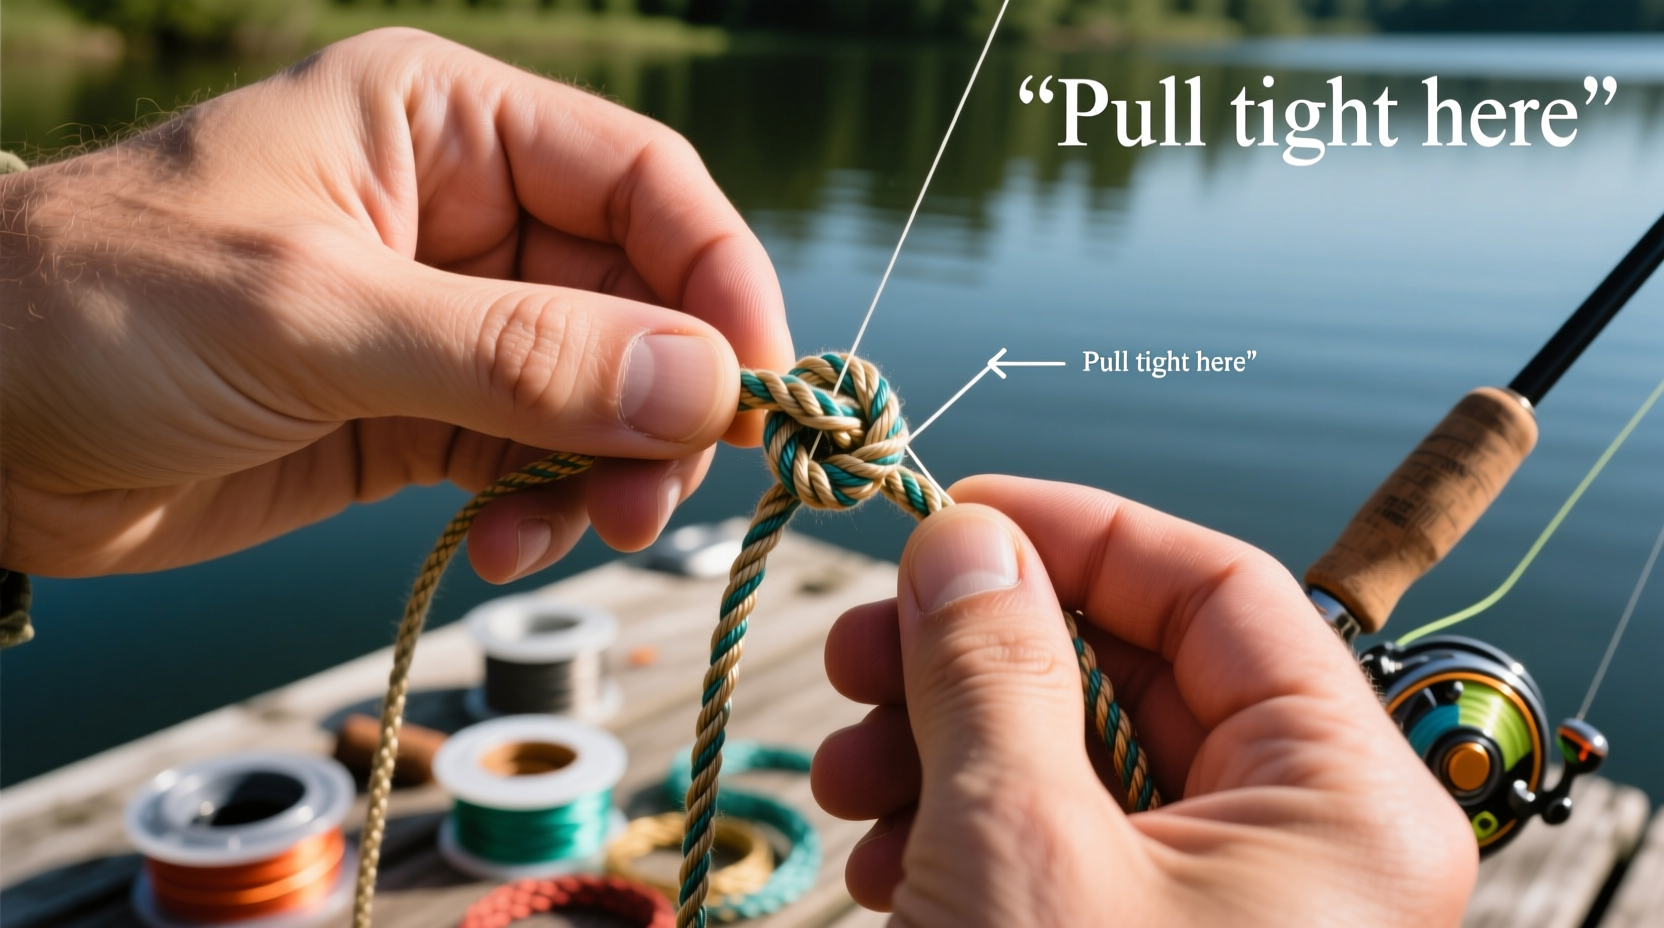
- Pull the standing line slowly to tighten the wraps. As tension increases, the knot will slide and cinch down smoothly.
- Trim the excess tag end to about 1/8 inch once fully seated. Avoid cutting too close, which risks unraveling.
Common Mistakes That Weaken the Slip Knot
Even experienced anglers make errors that compromise their rig. Recognizing these issues early improves success rates dramatically.
- Tying too few wraps (less than three), leading to slippage.
- Over-tightening before the knot seats properly, causing kinks.
- Failing to wet the line, increasing friction and heat damage.
- Using worn or frayed line ends, reducing grip and security.
- Trimming the tag end too short, eliminating backup in case of partial loosening.
Choosing the Right Line for Optimal Performance
The type of fishing line significantly affects how well a slip knot holds. Each material behaves differently under tension and responds uniquely to knot-tying techniques.
| Line Type | Slip Knot Suitability | Recommended Wraps | Notes |
|---|---|---|---|
| Monofilament | Excellent | 3–4 | Natural stretch helps absorb shock; easy to tie and set. |
| Fluorocarbon | Good | 4–5 | Stiffer than mono; extra wraps improve grip and security. |
| Braided Line | Fair (with caution) | 5–6 + backing knot | Slippery texture requires more wraps or use of a double-line version. |
Real-World Application: A Day on the Lake
Daniel, an avid freshwater angler from Wisconsin, spent two frustrating weekends losing walleye after short runs. He was using soft plastics on a slip sinker rig but kept finding his weight detached or his hook line slack. After reviewing footage of his rig setup, he realized his slip knots were only two wraps and weren’t being moistened before tightening. On his next trip, he applied the full four-wrap method, lubricated each knot, and pulled only the standing line. Not only did he stop losing gear, but he also landed three keeper walleye in under two hours—each making strong initial runs that previously would have broken the knot.
This example underscores how a minor technical adjustment can transform results. The environment—cold water, heavy cover, active fish—demands reliability. A properly tied slip knot delivered it.
Pro Tips for Consistent Results
Use these field-tested strategies to elevate your knot-tying game:
- Practice with thicker line first. Larger diameter lines are easier to handle and help you learn wrap alignment.
- Keep fingernails trimmed. Long nails catch on line wraps, disrupting smooth layering.
- Use a knot-tying tool or jaw-dulling pliers for better control, especially with stiff fluorocarbon.
- Test every knot by giving it a firm tug before casting. If it slips or feels loose, retie immediately.
- Carry a small magnifier or light for low-light conditions—seeing each wrap clearly prevents mistakes.
Checklist: Before You Cast
Run through this quick verification list to ensure your slip knot is ready for action:
- ✅ Used at least 3 wraps (4+ for fluorocarbon, 5–6 for braid)
- ✅ Wraps are neat, non-overlapping, and lie flat against the standing line
- ✅ Tag end passed through the starting loop cleanly
- ✅ Line was moistened before tightening
- ✅ Knot tightened by pulling the standing line
- ✅ Excess tag end trimmed to ~1/8 inch
- ✅ Knot tested with moderate tension
Frequently Asked Questions
Can the slip knot be used with heavy tackle?
Yes, the slip knot performs well under heavy loads as long as it’s tied correctly. Use heavier test line and increase the number of wraps accordingly. For lines above 30-pound test, consider adding a half-hitch backup for added security.
Is the slip knot the same as the noose knot?
They are similar in function but differ slightly in application. The slip knot discussed here is engineered for controlled tightening and maximum strength retention. The traditional noose may not include multiple wraps and can slip prematurely. Stick to the multi-wrap version described in this guide for fishing purposes.
How often should I retie my slip knot?
Retying after every significant catch is wise, especially if the knot has been under heavy strain. Also inspect for nicks, abrasions, or deformation after casting into rough structure. Even a perfect knot loses integrity if the line is compromised.
Final Thoughts: Confidence Starts at the Knot
The difference between a successful day and a disappointing one often comes down to details. Among those, the slip knot stands out—not because it’s flashy, but because it works. When tied with care, it provides a seamless connection between angler and fish, letting your gear perform as intended. Whether you’re targeting panfish in shallow weeds or trophy bass in deep timber, knowing your knot will hold lets you focus on reading the water, feeling the bite, and setting the hook with authority.


 浙公网安备
33010002000092号
浙公网安备
33010002000092号 浙B2-20120091-4
Comments
No comments yet. Why don't you start the discussion?