
The surgeon’s knot is a critical tool in both medical and non-medical settings where secure, reliable fastening is essential. Unlike a standard square knot, the surgeon’s knot incorporates an additional loop in the first throw, increasing friction and minimizing the risk of slippage during tension. This makes it ideal for suturing in surgery, securing bandages under strain, or even in camping, fishing, and climbing scenarios where a dependable hold is non-negotiable. Despite its widespread utility, many struggle with consistency when tying it correctly. This guide breaks down the technique into clear, repeatable steps, explains best practices, and highlights real-world applications so you can tie with precision and confidence.
Why the Surgeon’s Knot Matters
In high-stakes environments—whether in an operating room or a remote wilderness—the reliability of a knot can determine outcomes. The surgeon’s knot was developed to address one major flaw in basic ligatures: the tendency to slip before the second throw is completed. By adding an extra twist in the initial phase, the knot holds tension long enough for the second half-hitch to lock it securely in place.
This added security is particularly useful when working with slippery materials like synthetic sutures, wet ropes, or delicate tissues that cannot withstand repeated adjustments. In surgical training, mastering the surgeon’s knot is considered a foundational skill. Outside medicine, it's favored by veterinarians, first responders, and outdoor enthusiasts who need assurance that their bindings won’t fail under pressure.
“Even with advanced tools and materials, manual dexterity and proper knot-tying remain irreplaceable in surgery.” — Dr. Lena Torres, Board-Certified General Surgeon
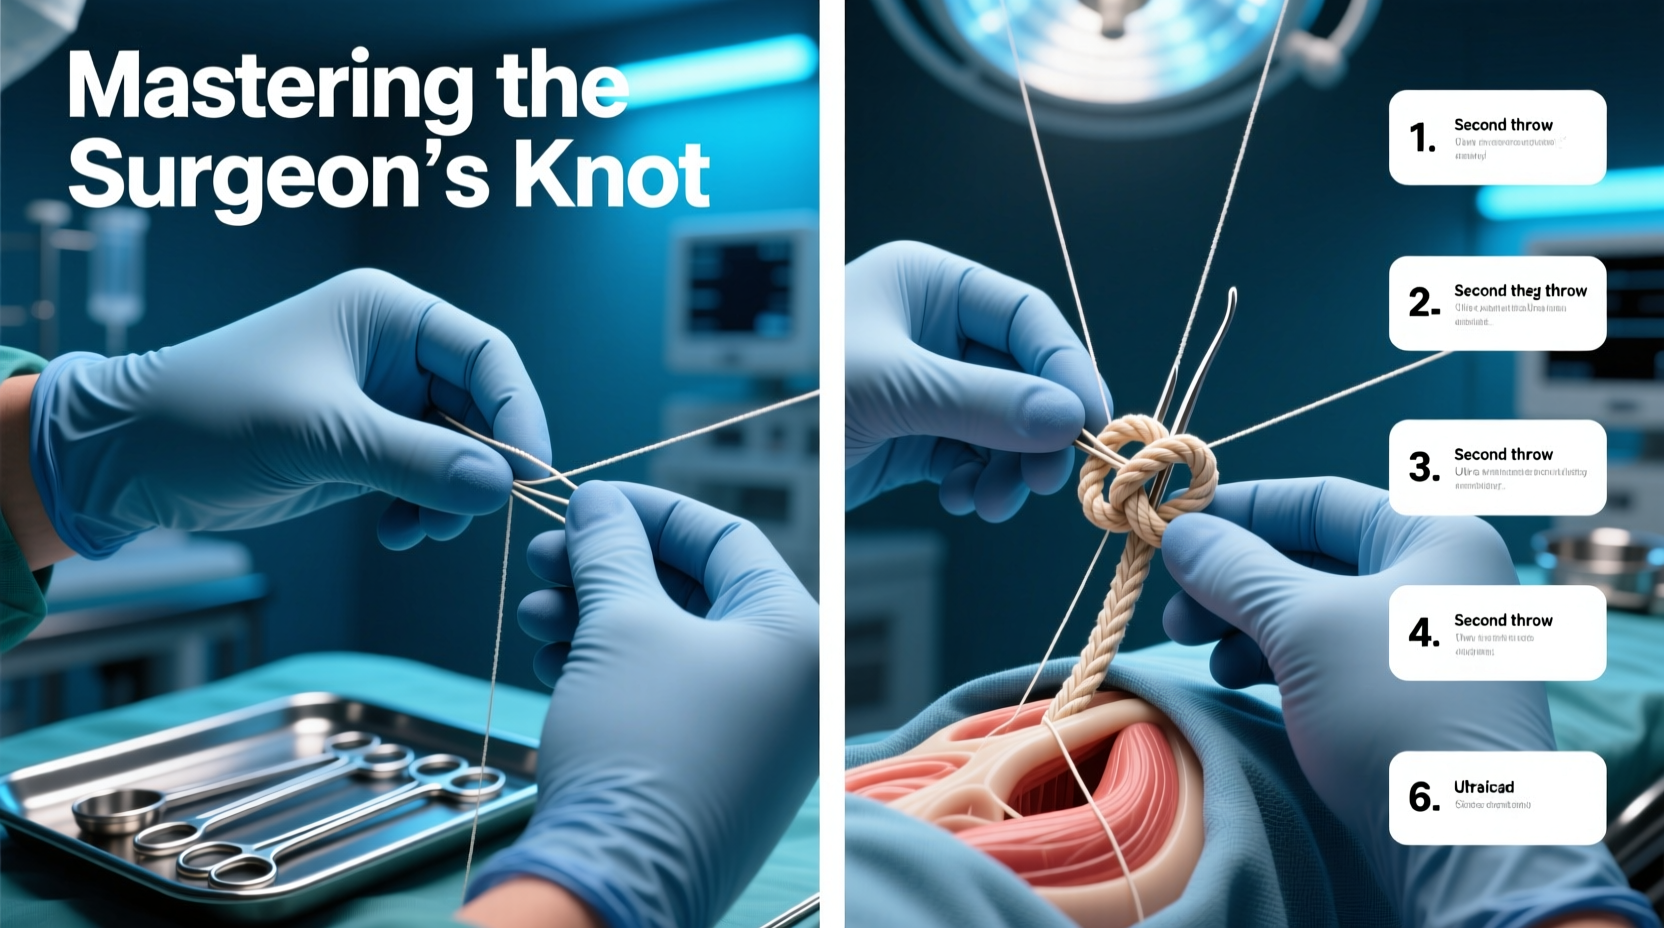
Step-by-Step Guide to Tying the Surgeon’s Knot
Tying the surgeon’s knot effectively requires attention to hand positioning, tension control, and sequence accuracy. Follow these steps carefully to build muscle memory and ensure consistent results.
- Cross the ends: Hold one end of the suture or cord in each hand. Cross the right-hand strand over the left, forming an “X” just above your fingers.
- First loop (double throw): Pass the right end under both strands of the crossing point and pull through to form a simple knot. Instead of releasing tension, repeat this same motion—pass the right end under again—creating a second loop in the same direction. This double wrap is what sets the surgeon’s knot apart and prevents early slippage.
- Pull tight: While maintaining gentle upward tension on both ends, pull the right strand downward to snug the first double throw. Keep equal pressure to avoid twisting.
- Second throw (reversed): Now switch directions. Bring the right-hand strand over the left from the opposite side (forming a mirror image of the first throw). Pass it under and pull through to complete a square knot configuration.
- Secure and trim: Pull both ends firmly but gently to seat the knot flush against the surface (e.g., tissue or material). If using suture material, cut the tails to approximately 3–5 mm; for utility purposes, leave enough length for potential re-tightening.
Common Errors and How to Avoid Them
Even experienced practitioners occasionally make mistakes when fatigued or rushed. Recognizing common pitfalls helps prevent complications, especially in sterile or emergency contexts.
- Granny knots: These occur when both throws are tied in the same direction instead of mirrored. They capsize easily and lack holding power.
- Uneven tension: Pulling one end harder than the other twists the knot and weakens its integrity.
- Insufficient first throw friction: Skipping the double loop defeats the purpose of the surgeon’s knot, especially with slick materials.
- Overtightening: Excessive force can damage biological tissue or deform synthetic fibers, reducing strength.
| Error | Consequence | Solution |
|---|---|---|
| Single initial throw | Knot slips before second pass | Always use two loops in the first throw |
| Mirrored incorrect throws | Forms a granny knot | Ensure second throw reverses the first |
| Asymmetric pulling | Twisted, uneven knot | Maintain balanced hand tension |
| Too many throws | Bulkiness, hard to untie if needed | Limits to two or three total throws unless required |
Applications Beyond the Operating Room
While named for its surgical origins, the surgeon’s knot has broad practical value. Its ability to hold under intermittent tension makes it superior to simpler knots in dynamic conditions.
Fishermen use it to join lines of different diameters, especially when connecting leader line to mainline. The initial double friction allows them to maintain tension while finishing the knot with wet hands. Similarly, climbers may use a variation when securing gear temporarily, knowing the knot won’t slip during setup. In first aid, it’s effective for closing wound edges or anchoring splints where movement could loosen a standard knot.
“In trauma situations, we rely on tried-and-true methods. The surgeon’s knot remains one of the most dependable ways to achieve hemostasis quickly and safely.” — Paramedic Marcus Reed, EMS Field Instructor
Mini Case Study: Emergency Field Suturing
During a backcountry hiking expedition, a participant suffered a deep laceration on the forearm after falling on sharp rock. With no immediate evacuation possible, the team medic initiated field suturing using sterile nylon suture and a needle driver. Due to the arm’s constant movement and limited stability, standard square knots began to loosen during placement. Switching to the surgeon’s knot allowed the medic to secure each stitch reliably, even with minor shifts in position. All six sutures held without dehiscence, and the patient recovered fully after reaching definitive care 18 hours later. The key difference? The double initial throw prevented slippage during knot completion.
Checklist for Perfecting Your Technique
Use this checklist every time you practice or apply the surgeon’s knot to ensure correctness and consistency:
- ✅ Confirm both ends of the material are free of frays or knots
- ✅ Begin with a cross-over (right over left or vice versa)
- ✅ Perform two wraps in the first throw (double pass)
- ✅ Pull the first throw snug but not tight
- ✅ Reverse direction for the second throw (left over right, if first was right over left)
- ✅ Complete with a clean square knot structure
- ✅ Test security by gently tugging both ends
- ✅ Trim excess only after confirming stability
Frequently Asked Questions
Can the surgeon’s knot be used with all suture types?
Yes, though it is especially beneficial with smooth, low-friction sutures such as polypropylene (Prolene) or silk, where slippage is more likely. It is less necessary with braided sutures that naturally grip better, but still safe to use.
Is the surgeon’s knot permanent?
No knot is truly permanent unless chemically bonded. However, the surgeon’s knot is designed for temporary but secure fixation. In surgery, absorbable sutures dissolve over time; in utility uses, it can be untied with moderate effort if needed.
How does it compare to the square knot?
The square knot is simpler but prone to loosening during the tying process, especially under variable tension. The surgeon’s knot adds a crucial layer of security in the first throw, making it more reliable in challenging conditions.
Final Thoughts and Call to Action
Mastering the surgeon’s knot isn’t about memorizing steps—it’s about developing tactile confidence. Whether you’re preparing for clinical exams, heading into the wild, or simply want to improve your practical skills, this knot offers unmatched reliability when done right. Set aside ten minutes daily to practice with suture material, paracord, or even shoelaces. Focus on symmetry, tension, and consistency. Over time, your hands will learn the rhythm, and your results will reflect professional-grade precision.


 浙公网安备
33010002000092号
浙公网安备
33010002000092号 浙B2-20120091-4
Comments
No comments yet. Why don't you start the discussion?