
Striking a consistent, stable arc is the foundation of successful stick welding. Without a reliable arc, even the most experienced welder cannot achieve strong, clean joints. For beginners, this initial spark can be intimidating—flickering starts, erratic arcs, or no ignition at all are common frustrations. Yet with proper preparation, correct equipment handling, and deliberate practice, mastering arc initiation becomes second nature. This guide walks through every phase of the process, from gear setup to real-world application, ensuring you build confidence and precision.
Understanding the Stick Welding Arc
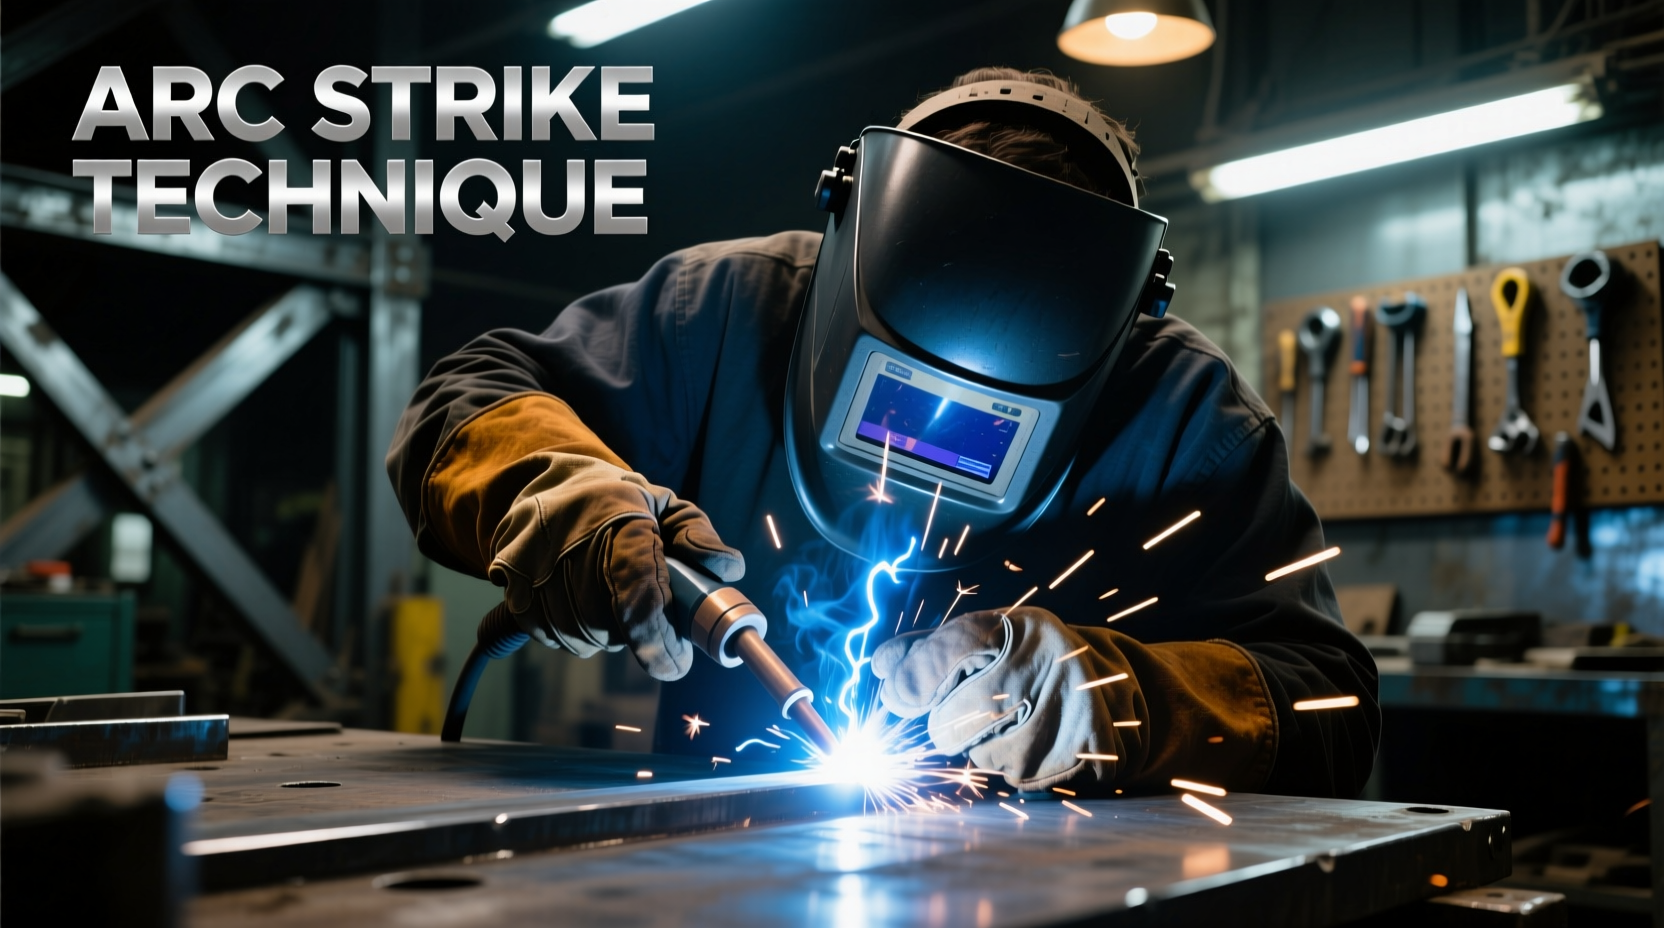
In stick welding (also known as Shielded Metal Arc Welding or SMAW), the electric arc forms between the tip of a consumable electrode and the base metal. This arc generates intense heat—reaching over 6,000°F—melting both the electrode and the workpiece to form a molten weld pool. The flux coating on the electrode vaporizes, creating a protective gas shield that prevents contamination from atmospheric gases like oxygen and nitrogen.
A successful arc strike depends on three critical factors: electrode type, amperage setting, and operator technique. Each influences how easily the arc initiates and how smoothly it stabilizes. Too low current may cause the rod to stick; too high can lead to excessive spatter or difficulty controlling the arc. Understanding these dynamics is essential before attempting your first strike.
Preparation: Setting Up for Success
Before striking an arc, ensure your workspace and equipment are properly configured. A well-prepared environment minimizes hazards and increases the likelihood of a clean start.
Safety First
- Wear a welding helmet with appropriate shade lens (typically #10–#12 for stick welding).
- Use flame-resistant gloves, long sleeves, and closed-toe shoes.
- Ensure adequate ventilation to avoid inhaling fumes from flux decomposition.
- Keep a fire extinguisher nearby and remove flammable materials from the area.
Equipment Checklist
- Stick welder set to correct polarity (DCEN for E6010, DCEP for E7018).
- Electrode holder securely connected and in good condition.
- Work clamp firmly attached directly to the workpiece or welding table.
- Correct electrode selected and properly stored (especially important for low-hydrogen rods like E7018, which must be kept dry).
- Work surface cleaned of rust, paint, oil, and moisture using a wire brush or grinder.
| Electrode Type | Typical Polarity | Amperage Range (for 1/8”) | Common Use Case |
|---|---|---|---|
| E6010 | DCEN | 100–130A | Pipe welding, dirty metals |
| E6013 | DCEP/AC | 110–140A | Thin sheet metal, general repair |
| E7018 | DCEP | 120–150A | Structural steel, critical joints |
Step-by-Step Guide to Striking the Arc
There are two primary methods for initiating an arc in stick welding: the scratch start and the tapping method. Both require steady hand control and timing. Follow these steps carefully to develop consistency.
Method 1: Scratch Start (Used with E6010 Electrodes)
- Hold the electrode at a 15°–20° angle to the workpiece, pointing in the direction of travel.
- Firmly grip the electrode holder with both hands if needed for stability.
- Quickly drag the electrode tip across the metal surface—similar to striking a match.
- As soon as the arc sparks, lift the rod slightly (about 1/8 inch) to maintain a stable arc length.
- Begin moving forward into the weld once the arc is sustained and the slag begins to cover the pool.
Method 2: Tapping Method (Preferred for E7018 and Other Low-Hydrogen Rods)
- Position the electrode perpendicular to the workpiece.
- Tap the tip lightly against the metal—like tapping a pencil on a desk—to break the flux momentarily.
- Immediately pull back about 1/8 inch to allow the arc to form without sticking.
- If the rod sticks, release pressure quickly and use a chipping hammer to free it.
- Once the arc is established, tilt the electrode to 15°–20° and proceed with the weld.
“Many beginners fail not because they lack skill, but because they rush the arc start. Patience and repetition build muscle memory.” — James Rourke, Certified Welding Instructor, AWS
Troubleshooting Common Arc-Starting Issues
Even with correct settings, problems can arise. Identifying the root cause helps refine technique faster.
- Electrode Sticking: Usually caused by insufficient amperage or holding the rod too close after contact. Increase voltage slightly and practice quicker lift-off.
- No Arc Ignition: Check connections, polarity, and electrode condition. Moisture-damaged rods often fail to conduct properly.
- Excessive Splattering: Often due to incorrect arc length or unstable hand movement. Maintain a short, consistent gap (roughly equal to the electrode core diameter).
- Porosity in Bead: Indicates contamination or poor shielding gas formation—clean the base metal thoroughly and ensure correct rod storage.
Real Example: Overcoming Initial Frustration
Carlos, a new apprentice in a fabrication shop, struggled for days to start an arc with an E7018 rod. He repeatedly fused the electrode to the plate, requiring frequent stops to chip it off. His trainer observed his technique and noticed he was tapping too hard and not lifting quickly enough. After adjusting his motion to a lighter tap followed by an immediate 1/8-inch lift, Carlos achieved a stable arc within minutes. Within a week, he completed his first full pass on a lap joint—proof that small corrections yield major improvements.
Frequently Asked Questions
Can I use AC polarity for all electrodes?
No. While some electrodes like E6013 work well on AC, others such as E7018 require DCEP (direct current electrode positive) for optimal arc stability and penetration. Always refer to the electrode specification sheet.
Why does my electrode keep sticking?
Sticking typically results from low amperage, slow lift-off after contact, or using damp electrodes. Verify your machine settings, refine your striking motion, and store rods in a heated quiver or oven when necessary.
How short should the arc length be?
The ideal arc length is approximately equal to the diameter of the electrode’s core. For a 1/8-inch rod, maintain a gap of about 1/8 inch. A longer arc causes instability and increased spatter.
Mastery Through Practice and Mindset
Becoming proficient at striking an arc isn’t just about mechanics—it’s also about developing focus and resilience. The first few attempts will likely result in sputters, sticks, or uneven starts. That’s normal. What separates skilled welders from novices is persistence. Set aside dedicated time each day to practice arc starts on scrap metal. Record what works and what doesn’t. Adjust one variable at a time: angle, speed, pressure, or amperage. Over time, your hands will learn the rhythm, and the arc will ignite reliably with minimal effort.
Remember, every expert welder once held a trembling rod, unsure if the spark would catch. The difference lies in continuing despite uncertainty.


 浙公网安备
33010002000092号
浙公网安备
33010002000092号 浙B2-20120091-4
Comments
No comments yet. Why don't you start the discussion?