
Time Machine is one of macOS’s most powerful built-in tools—yet many users only scratch the surface of its capabilities. When configured correctly, it provides comprehensive, automated backups that can save hours—or even days—of work in the event of hardware failure, accidental deletion, or system corruption. This guide walks through every essential aspect of Time Machine, from initial setup to advanced restore techniques, ensuring your Mac stays protected without slowing down your workflow.
Understanding How Time Machine Works
Time Machine isn’t just a simple file copier; it’s an intelligent backup system designed to capture snapshots of your entire system at regular intervals. It records not only documents and media but also applications, system settings, messages, and user accounts. These backups are stored incrementally, meaning only changes since the last backup are saved, conserving space and reducing overhead.
The first backup creates a full snapshot of your drive. Subsequent backups log differences—new files, edits, deletions—and store them efficiently. This allows you to “travel back in time” to any point when a file existed or was modified, provided it's within your retention window.
“Time Machine transforms data recovery from a panic-driven scramble into a calm, predictable process.” — David Lin, Senior Systems Architect at Apple Support Forum
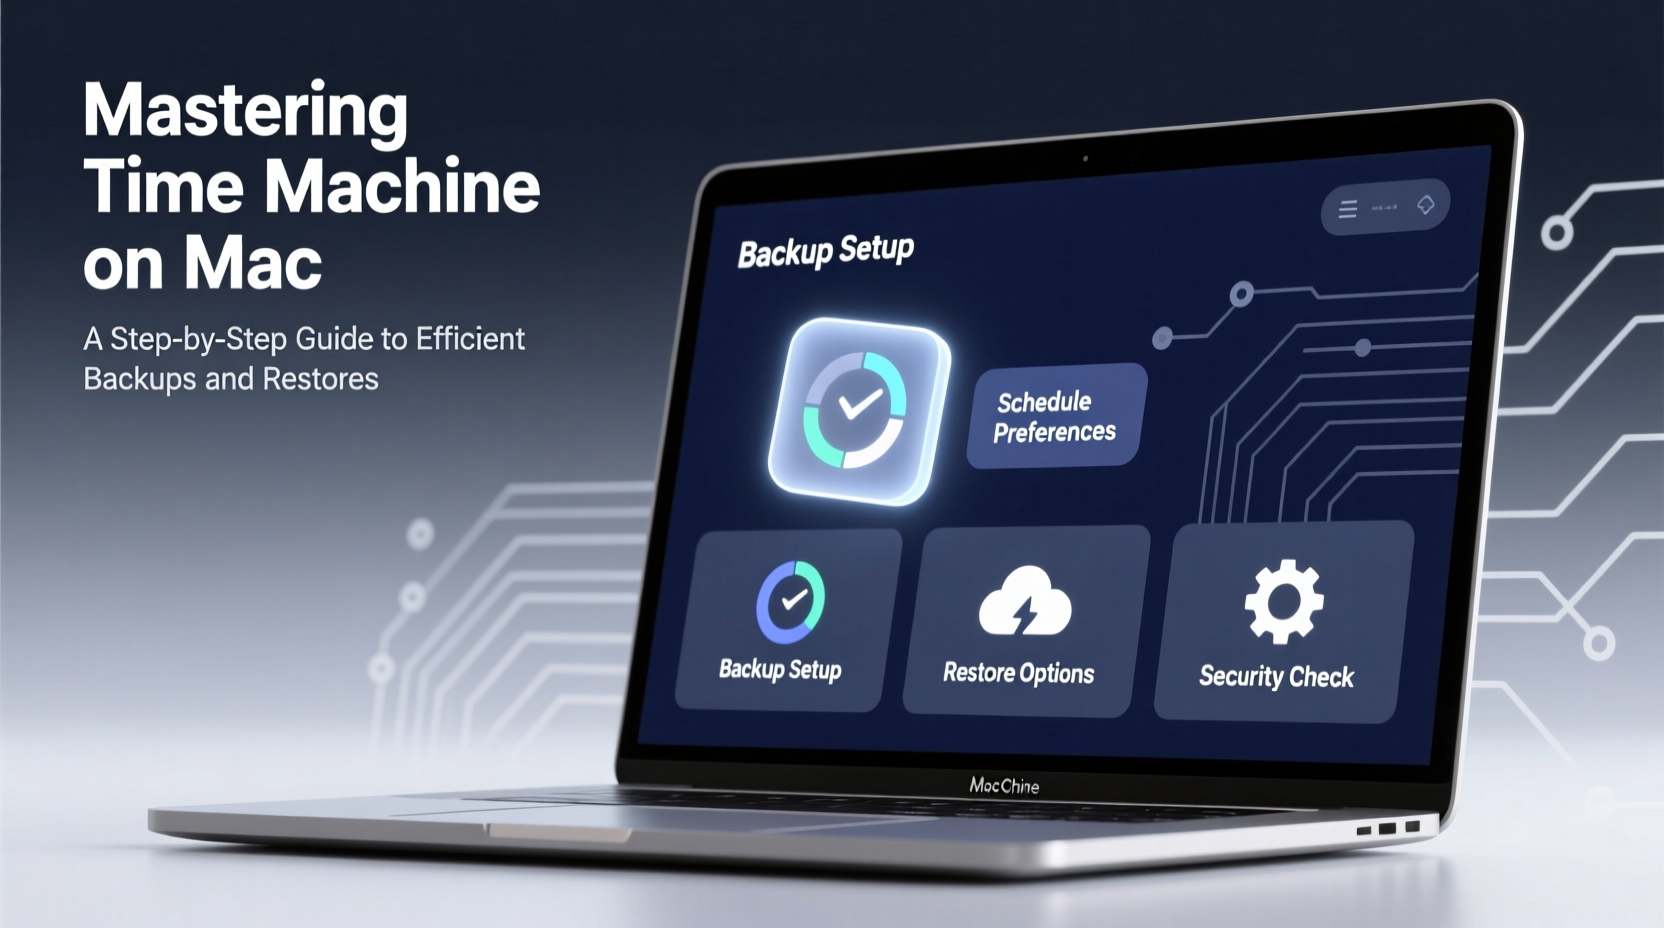
Setting Up Time Machine: A Step-by-Step Guide
Getting started with Time Machine requires minimal effort but delivers maximum protection. Follow these steps to ensure a reliable configuration:
- Connect a compatible external drive (USB, USB-C, or Thunderbolt). Format it as APFS or Mac OS Extended (Journaled) if not already done.
- Open System Settings (or System Preferences on older macOS versions), then click General > Time Machine.
- Select Add Backup Disk and choose your connected drive.
- Confirm the selection. macOS will prompt to erase the drive if needed—this ensures optimal compatibility.
- Enable Back Up Automatically to allow hourly incremental backups.
- Wait for the initial backup to complete. This may take several hours depending on data volume.
Once active, Time Machine runs silently in the background. A small status icon appears in the menu bar during active backups, showing progress and estimated completion time.
Optimizing Your Time Machine Configuration
Default settings work well for most users, but fine-tuning improves efficiency and longevity. Consider these optimizations:
- Exclude unnecessary files: Large caches, temporary downloads, or duplicate media libraries can consume backup space. Go to Time Machine settings > Options to add exclusions.
- Use network drives (with caveats): You can back up to AirPort Time Capsule or NAS devices formatted as HFS+. However, Wi-Fi backups are slower and less reliable than direct USB connections.
- Monitor disk space: Time Machine automatically deletes oldest backups when space runs low. For long-term archives, consider upgrading to a larger drive (e.g., 2TB+).
- Encrypt your backup: Enable encryption during setup or later via Finder > Get Info on the backup drive. This protects sensitive data if the drive is lost.
| Setting | Recommended Value | Notes |
|---|---|---|
| Backup Frequency | Hourly (automatic) | Can't be changed manually; runs when Mac is awake and drive is connected. |
| Drive Size | At least 1.5x your startup disk | Allows room for growth and multiple historical versions. |
| Encryption | Enabled | Requires password to restore; enhances security. |
| Exclusions | /Library/Caches, Downloads/, iOS backups | Saves space without sacrificing critical data. |
Restoring Files and Full Systems Effectively
Recovery is where Time Machine truly shines. Whether retrieving a single misplaced document or rebuilding a wiped drive, the process is intuitive and precise.
Restoring Individual Files or Folders
- Click the Time Machine icon in the menu bar and select Enter Time Machine.
- Use the timeline on the right or browse folder navigation to locate the desired date and time.
- Preview files by clicking them. Green badges indicate items available for restoration.
- Select the file(s) and click Restore. They’ll return to their original location unless specified otherwise.
Performing a Full System Restore
This is essential after replacing a hard drive, upgrading hardware, or recovering from catastrophic failure.
- Shut down your Mac and boot while holding Command + R to enter Recovery Mode.
- Select Restore From Time Machine Backup.
- Choose your backup disk and authenticate if encrypted.
- Pick the latest stable backup (or an earlier version if troubleshooting recent issues).
- Begin the restore. Depending on size, this can take 1–6 hours.
After completion, your Mac restarts with all apps, settings, and files intact—just as they were at the time of backup.
Real-World Example: Recovering from Accidental Deletion
Jessica, a freelance designer, accidentally deleted her final client presentation while cleaning up project folders. The file was due in two hours. She opened Time Machine, navigated to her Documents folder, scrolled back to yesterday evening, found the correct version with all edits intact, and restored it in under three minutes. Her deadline was met, and the oversight became a minor hiccup rather than a disaster.
This scenario highlights why regular, automatic backups are non-negotiable for professionals. Time Machine didn’t just recover a file—it preserved trust, reputation, and income.
Frequently Asked Questions
Can I use the same Time Machine drive for multiple Macs?
Yes. macOS supports multi-computer backups on a single drive. Each Mac gets its own backup folder, and Time Machine manages space allocation intelligently. Just ensure the drive has sufficient capacity (e.g., 3–4TB for two machines).
What happens if my backup drive fails?
All backups are lost unless you have redundancy. To mitigate risk, rotate between two drives weekly or combine Time Machine with cloud backup services like iCloud Drive or Backblaze for critical files.
Does Time Machine back up everything?
Almost. It includes user data, apps, and system files but excludes temporary items, some cache directories, and virtual machine snapshots (unless explicitly saved outside default locations). Always verify exclusions in settings.
Maximizing Long-Term Reliability
To maintain consistent performance and data integrity over months or years:
- Verify backups monthly: Enter Time Machine and confirm recent entries appear in the timeline.
- Keep the drive powered and connected: If using nightly backups, leave the drive plugged in during sleep periods.
- Avoid unplugging during backup: Interrupting a session can corrupt the backup bundle. Wait for the spinning icon to disappear.
- Replace aging drives: Mechanical drives typically last 3–5 years. Monitor SMART status using tools like DriveDx or Disk Utility.
Conclusion: Make Data Protection Effortless
Time Machine removes the complexity from backup management. With proper setup and occasional maintenance, it operates invisibly yet reliably, guarding against both everyday mistakes and major system failures. Don’t wait until data is gone to appreciate what Time Machine offers. Configure it today, test a restore tomorrow, and gain peace of mind that lasts for years.


 浙公网安备
33010002000092号
浙公网安备
33010002000092号 浙B2-20120091-4
Comments
No comments yet. Why don't you start the discussion?