
In today’s fast-paced digital world, short-form video content dominates social platforms like Instagram Reels, TikTok, and YouTube Shorts. The iPhone, equipped with powerful camera hardware and intuitive editing tools, is one of the most effective devices for creating compelling clips on the go. Yet many users overlook its full potential, relying on third-party apps when native iOS features can deliver professional-quality results in seconds. Understanding how to shorten videos directly on your iPhone—without sacrificing clarity or timing—is a skill that saves time and elevates your content.
Whether you're trimming a vacation clip for a story, cutting down a tutorial for clarity, or preparing a teaser for promotion, mastering basic and advanced video trimming techniques ensures your message lands with impact. This guide walks through every method available on modern iPhones, from simple trims to frame-accurate cuts, while offering pro tips to maintain quality and consistency.
Why Shorten Videos on Your iPhone?
The ability to edit video directly on your device eliminates the need for bulky software or cloud processing. With iOS updates over recent years, Apple has significantly enhanced the native Photos app and introduced tools like iMovie for iOS, giving users robust control without downloading extra applications. Shortening a video isn’t just about reducing length—it's about refining pacing, removing dead air, and focusing attention where it matters.
For creators, marketers, educators, or even parents sharing moments with family, efficient editing means faster sharing and better engagement. Platforms favor concise content; for example, TikTok’s algorithm rewards videos under 30 seconds with higher initial reach. By learning to trim effectively on your iPhone, you align your content with platform preferences while maintaining creative control.
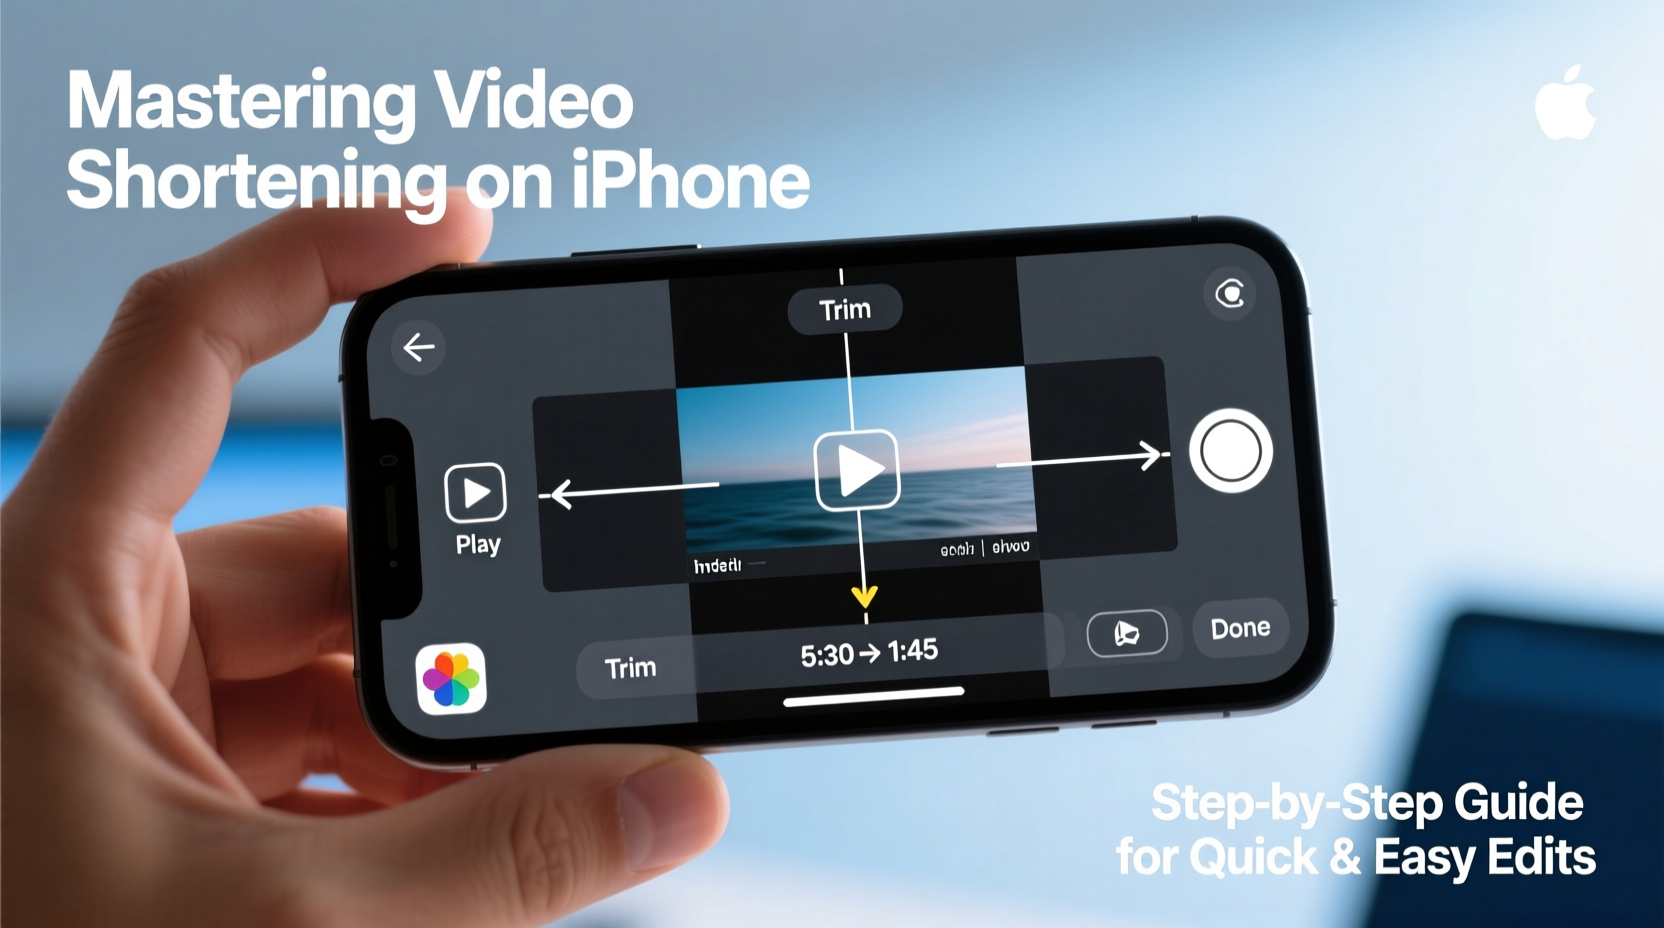
Step-by-Step: How to Shorten a Video Using the Photos App
The simplest and fastest way to shorten a video on your iPhone is through the built-in Photos app. No downloads required—just follow these steps:
- Open the Photos app and locate the video you want to edit.
- Tap the video to open it, then tap Edit in the top-right corner.
- You’ll see two yellow sliders—one at the beginning and one at the end of the timeline below the video.
- Drag the left slider to set your desired start point.
- Drag the right slider to set your desired endpoint.
- Preview the trimmed version by tapping the play button.
- If satisfied, tap Done, then choose “Save as New Clip” to preserve the original file.
This method works seamlessly for MP4 and MOV files recorded on any iPhone model from the iPhone 5s onward. It supports 4K resolution and maintains audio sync, making it ideal for quick social posts or messaging.
Advanced Editing with iMovie for iOS
When simple trimming isn’t enough—such as splitting clips, adding transitions, or adjusting speed—Apple’s free iMovie app becomes essential. Designed specifically for mobile workflows, iMovie offers desktop-like precision with touch-based simplicity.
To shorten a video using iMovie:
- Download and open iMovie from the App Store (if not already installed).
- Create a new project by tapping the + icon and selecting “Movie.”
- Browse your photo library and select the video you wish to edit.
- Tap “Create Movie” to import it into the timeline.
- Press and hold either edge of the video clip in the timeline, then drag inward to adjust start and end points.
- To make internal cuts, move the playhead to the spot you want to split, then tap the scissors icon and choose “Split.” Delete unwanted segments by selecting them and pressing delete.
- Add music, text overlays, or fade effects if needed.
- Export by tapping the share icon and choosing your preferred resolution (up to 4K HDR).
iMovie excels when dealing with multi-clip sequences or voiceovers. Its magnetic timeline prevents gaps and automatically adjusts adjacent clips, streamlining the editing process for beginners and intermediates alike.
Do’s and Don’ts of iPhone Video Trimming
| Do’s | Don’ts |
|---|---|
| Use gridlines and zoom for frame-accurate trimming | Overwrite your original video without backing it up |
| Trim in landscape mode for better timeline visibility | |
| Enable “Record Screen” audio if narrating tutorials | Ignore aspect ratio requirements for different platforms |
| Use AirDrop to quickly transfer edited clips to Mac or iPad | Assume all third-party apps are safer than native tools |
“Most people don’t realize the Photos app can handle 90% of everyday edits. Mastering native tools first builds a stronger foundation before jumping to complex software.” — Jordan Lee, Mobile Content Creator & Apple Workshop Instructor
Real-World Example: Creating a 15-Second Product Teaser
Sophie runs a small skincare brand and films product demonstrations using her iPhone 14 Pro. She records a 90-second routine showing application, texture, and results. To post on Instagram Reels, she needs a tight 15-second clip highlighting transformation.
Using the Photos app, she trims the intro and outro, keeping only the moment the skin visibly brightens. Then, she opens iMovie to split the middle section, inserts a slow-motion effect on the key reveal, adds subtle background music, and exports in 1080p square format (1:1) optimized for feed visibility. The entire process takes less than ten minutes, and the final video gains triple the usual engagement.
This scenario illustrates how combining basic trimming with light enhancements creates polished content efficiently—all from a single device.
Checklist: Quick Reference for Efficient iPhone Video Editing
- ✅ Back up original videos before editing
- ✅ Use “Save as New Clip” in Photos to preserve source material
- ✅ Zoom in on the timeline for precise cut points
- ✅ Match export settings to platform specs (e.g., 9:16 vertical for TikTok)
- ✅ Leverage iMovie for multi-segment edits or added effects
- ✅ Preview on actual device screen to check brightness and framing
- ✅ Name exported files clearly (e.g., “Skincare_Trimmed_v2.mp4”)
Frequently Asked Questions
Can I trim a video longer than 60 seconds using the Photos app?
Yes. The Photos app allows trimming of videos of any length, including those exceeding several minutes. However, very long videos may take slightly longer to process after editing. Performance depends on your iPhone model and available storage.
Will shortening a video reduce its quality?
No. When using the native Photos app or iMovie, the export process retains the original resolution and bitrate unless manually downscaled during sharing. Avoid repeatedly re-exporting the same file, as generational loss can occur over multiple encodes.
How do I remove audio from a video before shortening it?
In iMovie, tap the video clip in the timeline, then tap the volume slider icon and drag it to zero. In the Photos app, you cannot mute audio independently—use iMovie or another editor for full audio control.
Final Thoughts
Shortening a video on an iPhone doesn’t require technical expertise or expensive tools. With the right approach, anyone can produce clean, engaging clips in minutes. The key lies in understanding what each tool does best: the Photos app for speed and simplicity, iMovie for flexibility and polish. As smartphone cameras continue to rival professional gear, the real advantage shifts to those who can edit smartly and swiftly.


 浙公网安备
33010002000092号
浙公网安备
33010002000092号 浙B2-20120091-4
Comments
No comments yet. Why don't you start the discussion?