
A well-fitted watch should feel like an extension of your wrist—neither slipping loosely nor digging into your skin. Yet, many wearers overlook the importance of proper band adjustment, settling for discomfort or risking loss due to poor fit. Whether you own a luxury timepiece, a smartwatch, or a vintage heirloom, mastering band adjustment is essential for comfort, security, and long-term enjoyment. This guide delivers practical, expert-backed strategies to ensure your watch sits perfectly every time.
The Importance of a Proper Watch Fit
An ill-fitting watch doesn’t just detract from comfort—it can compromise functionality and safety. A loose band increases the risk of snagging on clothing or catching during movement, potentially damaging the case or lugs. Conversely, a too-tight band restricts circulation and causes irritation, especially during physical activity or temperature changes that cause wrist swelling.
The ideal fit allows one finger to slide comfortably between the band and your wrist. Metal bracelets should rest flush against the wrist without sagging, while leather or nylon straps should fasten securely without stretching excessively. Achieving this balance starts with understanding your band type and using the right tools and techniques.
Understanding Watch Band Types and Adjustment Methods
Different materials require different approaches. Here’s a breakdown of common band types and their adjustment requirements:
| Band Type | Adjustment Method | Tools Required |
|---|---|---|
| Metal Bracelet | Pin-and-link removal or micro-adjustment clasp | Punch tool, hammer, pin pusher, ruler |
| Leather Strap | Hole repositioning or buckle replacement | Hole punch, knife, stitching awl |
| Rubber/Silicone | Limited adjustability; often fixed-length | Scissors (for trimming), adhesive (if modifying) |
| NATO/nylon Strap | Slip-through tail adjustment | None typically required |
| Fold-over Clasp with Micro-Adjust | Hidden links or sliding mechanism | Screwdriver, fine pliers |
Knowing your band type helps determine whether DIY adjustment is feasible or if professional help is recommended—especially for high-end watches where improper handling can devalue the piece.
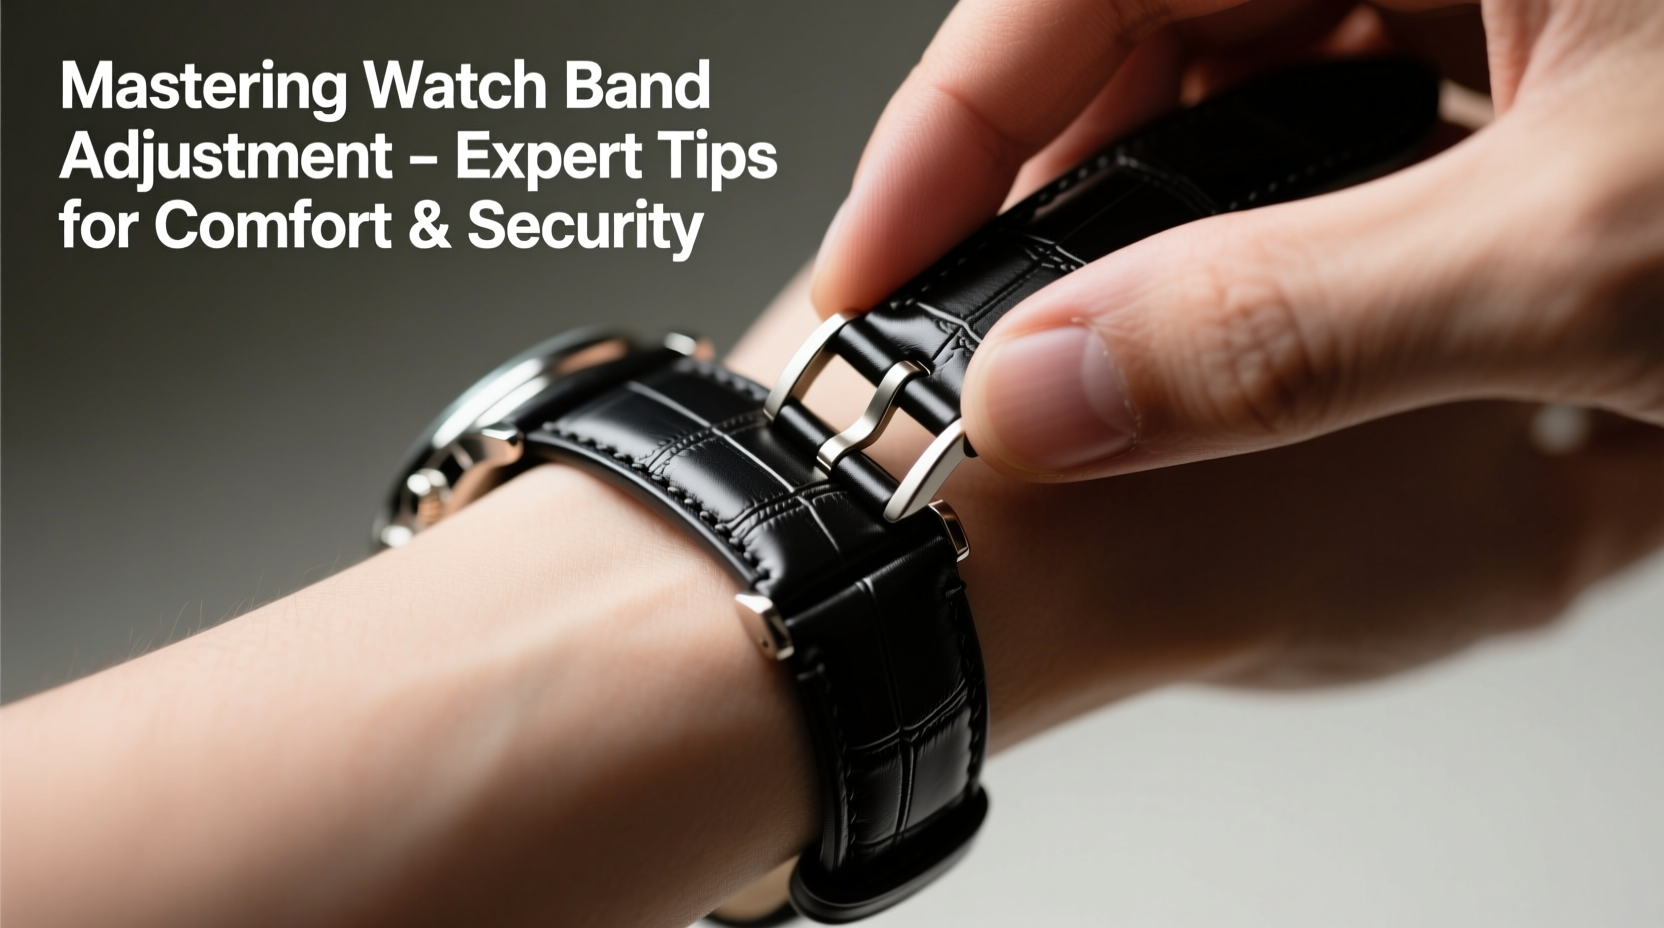
Step-by-Step Guide to Adjusting a Metal Bracelet
Metal bracelets are among the most commonly adjusted bands, yet they intimidate many users. Follow this precise sequence to resize yours safely:
- Measure your wrist: Use a soft tape measure around the fullest part of your wrist, just below the bone. Note the measurement in millimeters.
- Try the watch on: Fasten the bracelet fully. If more than three links dangle beyond the clasp, removal is likely needed.
- Identify removable links: Most bracelets have arrows on the inner side of links indicating which ones can be removed.
- Use a pin pusher: Align the tool with the pin and gently press it out. Work slowly to avoid bending the pin or damaging the link.
- Remove excess links: After extracting the pins, separate the links carefully. Keep them in a small container—they may be useful later.
- Reconnect the remaining links: Reinsert the pins securely. Ensure the arrow direction matches so the pin head faces the correct side.
- Test the fit: Wear the watch and confirm smooth clasp operation and no wobbling.
Expert Insight: Why Precision Matters
Improper adjustments don’t just affect fit—they can lead to structural damage. Wristwear specialists emphasize caution when working with delicate mechanisms.
“Even a slight misalignment when reinserting a pin can cause uneven stress, leading to premature wear or even a broken link under strain.” — Daniel Reeves, Master Watchmaker at TimeCraft Horology
This is particularly true for integrated designs, such as those found on Audemars Piguet Royal Oak or Patek Philippe Nautilus models, where the bracelet is part of the watch’s architecture. In such cases, factory-trained technicians are strongly advised.
Common Mistakes to Avoid
- Forcing pins out with incorrect tools: Using nails or screwdrivers can scratch the metal or bend the pin permanently.
- Removing too many links at once: It’s easier to remove another link than to add one back. Start conservatively.
- Ignoring seasonal changes: Skin tightens in cold weather and expands in heat. Consider adjustable clasps or secondary straps for extreme shifts.
- Over-tightening spring bars: When reinstalling links, over-compressing spring bars can weaken them and increase detachment risk.
Real-World Example: Fixing a Loose Daily Driver
Mark, an IT consultant, wore his stainless steel dive watch daily. After months of wear, the bracelet stretched slightly, causing it to flap during meetings. Embarrassed by the looseness, he attempted to fix it himself using a paperclip and pliers. He damaged two pins and lost a link down a sink drain.
He eventually visited a local jeweler, who realigned the bracelet, replaced the pins, and removed two links symmetrically. The total cost was $35—less than a third of what a full replacement would have been. Mark now keeps spare pins and uses a proper pin pusher kit for future tweaks.
This scenario underscores the value of patience and the right tools. A few minutes of careful work prevent costly errors.
Checklist: Preparing for Watch Band Adjustment
- Identify your band type and manufacturer guidelines.
- Gather appropriate tools: pin pusher, ruler, magnifier, soft cloth.
- Clean the watch thoroughly before starting.
- Work on a clean, well-lit surface with a tray to catch small parts.
- Remove only one link at a time and test fit afterward.
- Inspect all pins and springs for wear before reassembly.
- Store removed links in a labeled bag for potential reuse.
Frequently Asked Questions
How often should I adjust my watch band?
Most people need sizing once, unless their wrist size changes significantly due to weight fluctuation or aging. However, check fit seasonally—especially if you wear the watch in varying climates.
Can I resize a leather strap at home?
Yes, but proceed carefully. Use a leather hole punch to add a new hole closer to the buckle if the strap is too long. Avoid cutting the strap shorter unless you’re replacing the buckle, as this reduces future adjustability.
Are micro-adjustment clasps worth it?
Absolutely. Found on premium sports watches, micro-adjustments allow on-the-fly changes for swelling, clothing thickness, or temperature. They eliminate the need for frequent resizing and enhance comfort during active use.
Final Thoughts and Call to Action
A perfectly adjusted watch transforms from mere accessory to seamless companion. Mastery of band adjustment empowers you to maintain comfort, preserve your timepiece’s integrity, and avoid unnecessary repair costs. Whether you choose to DIY with care or rely on professionals for complex jobs, the goal remains the same: a secure, natural fit that lets your watch perform at its best.


 浙公网安备
33010002000092号
浙公网安备
33010002000092号 浙B2-20120091-4
Comments
No comments yet. Why don't you start the discussion?