
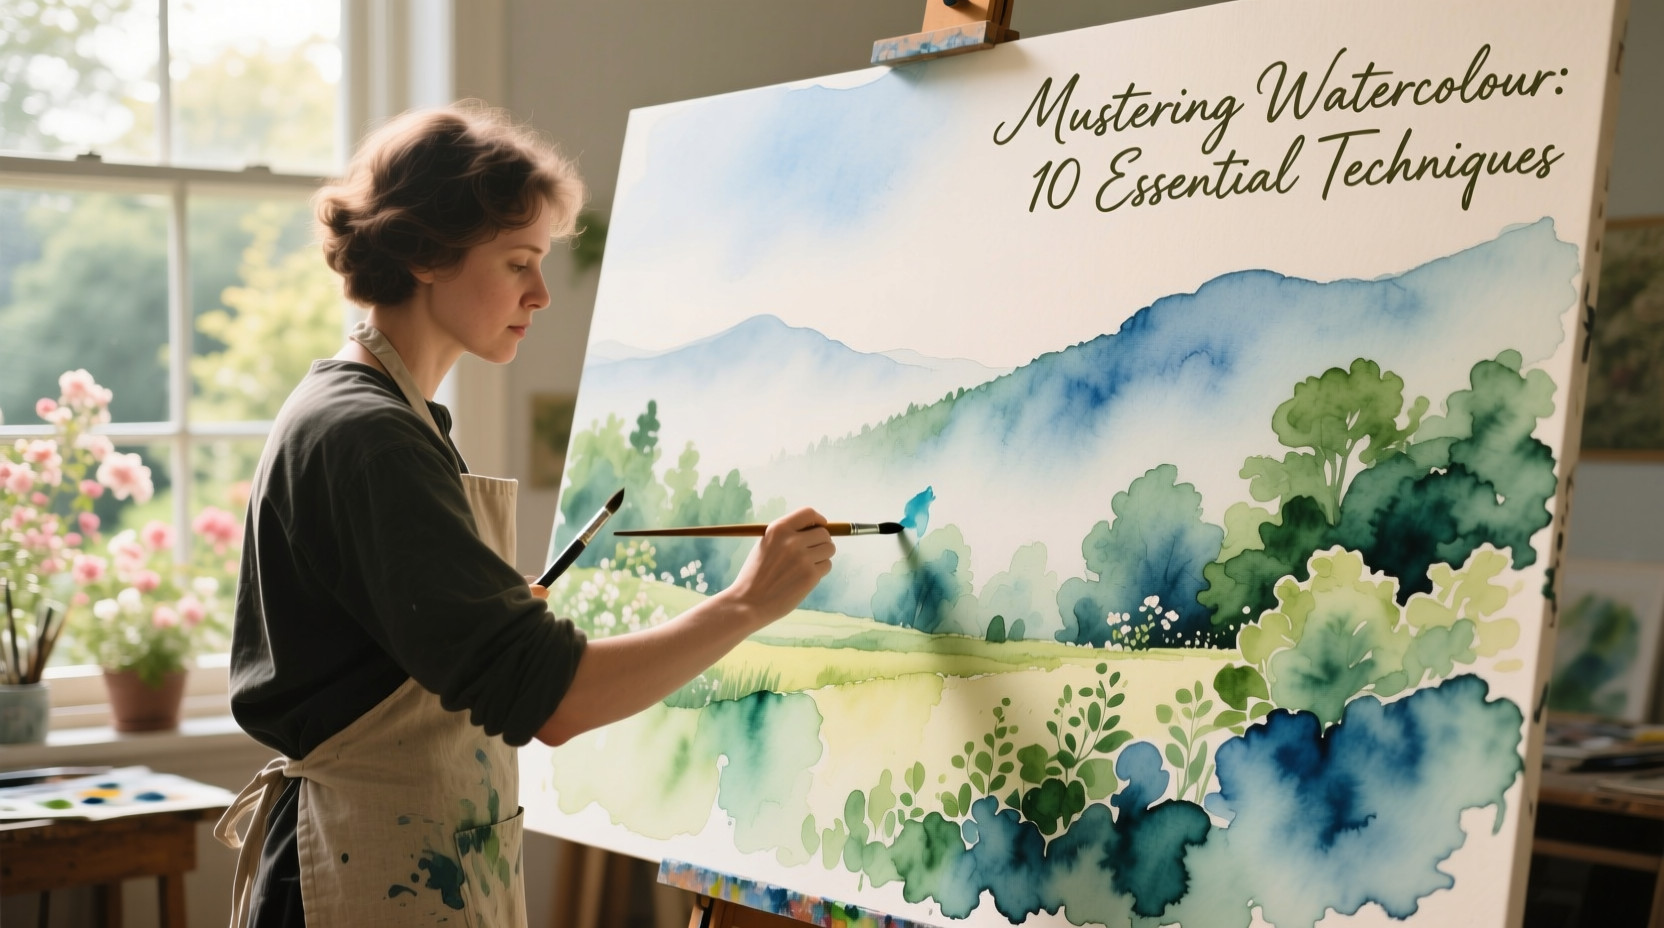
Watercolour painting is both a challenge and a delight. Its transparency, fluidity, and unpredictability offer endless creative possibilities—but only if you understand how to work with the medium rather than against it. Unlike opaque paints, watercolours demand a different mindset: one that embraces flow, patience, and precision in equal measure. Whether you're a beginner or an intermediate artist looking to refine your skills, mastering a few foundational techniques can dramatically elevate your results.
The Power of Water Control
At the heart of every successful watercolour painting lies mastery over water. The balance between pigment and water determines everything—from colour intensity to edge quality. Too much water, and your washes bleed uncontrollably; too little, and the paint becomes muddy and stiff.
Begin by testing your paper’s absorbency. Stretch high-quality paper (300 gsm or heavier) to prevent buckling, which disrupts smooth washes. When mixing paint on your palette, start with less water than you think you need. You can always add more, but removing excess water mid-stroke is nearly impossible.
Core Techniques Every Artist Should Master
Success in watercolour depends less on talent and more on technique. These five methods form the backbone of most professional workflows:
- Flat and Graded Washes: A flat wash applies even colour across a surface. A graded wash transitions from dark to light by gradually diluting the pigment with water. Both require consistent brush speed and moisture control.
- Wet-on-Wet: Apply paint to a wet surface to create soft, diffused edges. Ideal for skies, backgrounds, and atmospheric effects.
- Wet-on-Dry: Paint applied to dry paper yields sharp, defined lines. Use this for details, textures, and layering.
- Dry Brush: Drag a nearly dry brush across textured paper to produce scratchy, granulated effects—perfect for tree bark, stone, or hair.
- Lifting: Remove wet or dried paint with a damp brush or sponge to reclaim highlights or correct mistakes.
Practice each technique daily on scrap paper until muscle memory takes over. Precision comes not from inspiration, but repetition.
Choosing Materials That Work for You
Not all watercolours are created equal. Pigment quality, paper texture, and brush responsiveness directly affect your ability to execute techniques cleanly.
| Material | Recommended Choice | Avoid |
|---|---|---|
| Paper | 100% cotton, cold-pressed, 300 gsm | Wood pulp paper, hot press for beginners |
| Pigments | Professional-grade (e.g., Winsor & Newton, Daniel Smith) | Cheap student sets with fillers |
| Brushes | Natural sable or high-quality synthetic rounds (sizes 6, 8, 12) | Stiff bristle brushes or worn-out tips |
| Palette | White ceramic or plastic with deep wells | Clear glass that hides true colour value |
Invest in pigments known for their staining power and lightfastness. Transparent yellows like Hansa Yellow Medium and cobalt-based blues offer clarity and mix well without turning muddy.
Step-by-Step: Building a Luminous Landscape
To see these techniques in action, follow this timeline for creating a simple yet effective landscape:
- Sketch lightly with a 2H pencil—avoid heavy lines that show through washes.
- Apply a wet-on-wet sky wash: Wet the top two-thirds of the paper, then drop in diluted cerulean blue at the top, fading to pale yellow near the horizon.
- Let dry completely. Rushing leads to blooms and backruns.
- Paint distant hills using a graded wash of Payne’s Grey and Ultramarine, keeping edges soft.
- Add middle ground trees with a no. 8 round using wet-on-dry strokes. Vary pressure for organic shapes.
- Create texture in foreground grass with a dry brush technique using Sap Green and Burnt Sienna.
- Final details: Use a fine liner brush to suggest branches and lift small highlights with a clean, damp brush.
This sequence respects the natural drying times of watercolour and builds depth gradually. Remember: watercolour is about subtraction as much as addition. Preserve whites early—they’re nearly impossible to recover later.
“Watercolour doesn’t forgive, but it rewards humility. The best paintings happen when you stop forcing the medium and start listening to it.” — Clara Nguyen, award-winning watercolourist and instructor
Avoiding Common Pitfalls
Even experienced artists fall into traps that dull their results. Awareness is the first step toward improvement.
- Overworking the paint: Repeatedly brushing over semi-dry areas creates rough textures and lifts pigment unevenly.
- Muddy mixes: Caused by combining too many pigments or applying a new layer before the previous one is fully dry.
- Fear of bold values: Many beginners stay too light, resulting in flat compositions. Don’t shy away from deep darks—they make lights sing.
- Neglecting the full value range: A compelling painting needs true whites, mid-tones, and rich shadows.
Mini Case Study: From Frustration to Flow
Sophie, a hobbyist painter, struggled for months with inconsistent skies and muddy greens. She used student-grade paints on thin paper and tried to fix every imperfection immediately. After switching to 300 gsm Arches paper and limiting her palette to six core pigments, she began practicing timed washes—completing one graded sky per day for two weeks. She also adopted the rule: “One pass per area.” Within a month, her skies became smoother, her layers cleaner, and her confidence grew. Her breakthrough came when she stopped repainting and started observing how the paint moved on its own.
Essential Checklist for Consistent Results
Before every session, run through this checklist:
- ✅ Paper stretched or taped down securely
- ✅ Two jars of water ready (rinse + clean)
- ✅ Brushes pre-soaked and shaped
- ✅ Limited, tested colour palette selected
- ✅ Pencil sketch complete and lightened
- ✅ Workspace level and free from drafts
- ✅ Patience mindset activated—no rushing layers
FAQ
Why does my paint crack or form hard edges?
This is often caused by \"backrun\" or \"cauliflowering\"—when wet paint hits a drying edge, causing pigment to rush outward. Prevent it by ensuring even moisture or letting layers dry completely before adding more.
Can I mix watercolours with other mediums?
Yes, but carefully. Gouache adds opacity and works well for details. Ink can define lines after the paint dries. Avoid mixing with oils or acrylics, which are chemically incompatible.
How do I know when a layer is dry enough for the next?
Touch the back of the paper. If it feels cool, it's still damp. For critical layers, wait until the surface shines are gone and the paper returns to room temperature.
Conclusion
Mastering watercolour isn’t about perfection—it’s about understanding the dance between pigment, water, and paper. Each stroke teaches you something new if you’re willing to observe. With deliberate practice, attention to material quality, and respect for the medium’s nature, you’ll begin to create work that glows with life and depth. Don’t wait for inspiration. Set up your station today, lay down a simple wash, and let the process guide you.


 浙公网安备
33010002000092号
浙公网安备
33010002000092号 浙B2-20120091-4
Comments
No comments yet. Why don't you start the discussion?