
Leather crafting has seen a resurgence as both a practical skill and expressive art form. Among its most captivating branches is leather weaving—transforming strips of hide into intricate patterns for bracelets, belts, wallets, and wall art. While the results are stunning, success begins long before the first weave: it starts with understanding and mastering your materials. This guide walks through the essential components, tools, and methods that turn raw leather into refined handcrafted pieces.
Selecting the Right Leather
The foundation of any woven leather project lies in the quality and type of leather used. Not all leathers respond well to cutting, folding, or prolonged handling. The best options are firm yet pliable, able to hold shape without cracking under tension.
Veg-tanned leather is the preferred choice for weaving. Unlike chrome-tanned leather, which is softer and more colorful but less stable, veg-tanned is processed using natural tannins. It holds crisp edges when cut, accepts dyes and finishes beautifully, and becomes more lustrous with age and use.
Types of Leather Suitable for Weaving
| Type | Thickness (oz) | Best For | Drawbacks |
|---|---|---|---|
| Veg-Tanned Cowhide | 3–5 | Belts, straps, bags | Stiff at higher weights |
| Lambskin | 1–2 | Jewelry, delicate bands | Tears easily if mishandled |
| Goatskin | 2–3 | Wallets, cuffs | Less readily available |
| Deerskin | 2–3 | Soft accessories | Expensive; stretches over time |
Avoid bonded or corrected-grain leathers—they lack structural integrity and will degrade quickly under repeated manipulation.
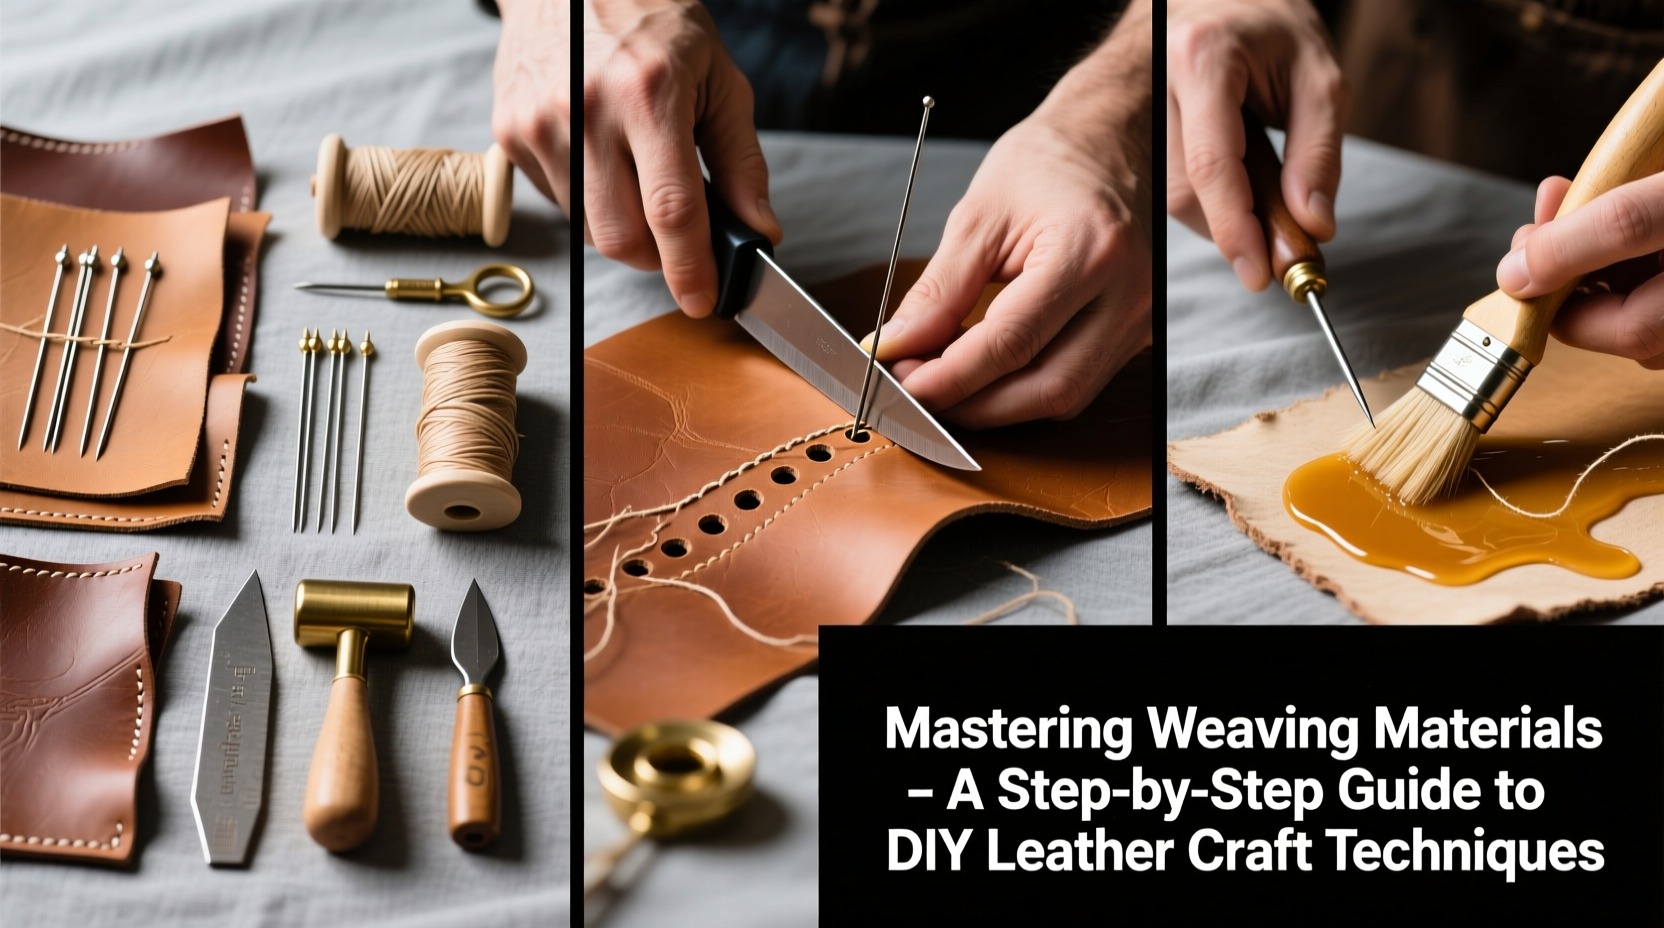
Essential Tools for Precision Work
Weaving demands accuracy. Even slight inconsistencies in strip width or edge finish can distort the final pattern. Invest in durable tools designed specifically for leatherwork.
- Rotary cutter or precision knife: Ensures clean, straight cuts. Replace blades frequently.
- Self-healing cutting mat: Protects surfaces and provides measurement guides.
- Edge beveler: Rounds sharp edges for comfort and aesthetics.
- Leather skiver: Thins edges where layers overlap to prevent bulkiness.
- Cork block and mallet: Used with edge tools to smooth and burnish cut edges.
- Needles and waxed thread: For securing ends or combining woven sections.
“Consistency in strip dimensions separates amateur work from professional results.” — Daniel Reeves, Master Leather Artisan
Preparing Leather Strips: A Step-by-Step Guide
Before weaving begins, each strip must be uniformly prepared. Follow this timeline to ensure readiness:
- Measure and mark: Use a ruler and silver pen (which shows on dark leather) to outline cutting lines every 3–8mm depending on desired weave density.
- Cut strips: With a straightedge, slice along marked lines using a sharp rotary tool. Keep hands steady and apply even pressure.
- Skive edges (optional): For multi-layer weaves, thin one side of each strip near the ends to allow seamless layering.
- Bevel and burnish: Run an edge beveler along both sides of each strip, then polish with a damp cork and gum tragacanth for a glassy finish.
- Condition lightly: Apply a minimal amount of leather conditioner to prevent drying during extended handling.
Core Weaving Techniques for Beginners
Three fundamental patterns form the basis of most leather weaving projects. Mastery of these unlocks access to advanced designs.
1. Square Weave (Basic Over-Under)
The simplest and strongest pattern. Ideal for belts and straps. Anchor vertical warp strips to a jig or frame, then pass horizontal weft strips alternately over and under.
2. Herringbone Weave
Creates a zig-zag effect by shifting the over-under sequence every two rows. Requires careful tracking but adds visual depth.
3. Diagonal Braid (Four-Strand)
Used for round cords or braided cuffs. Involves four equal-length strips interlaced diagonally. Secure both ends in clamps to maintain tension.
For all techniques, consistency in tension is critical. Too loose, and the weave sags; too tight, and the leather distorts or splits.
“Tension control comes from the wrists, not the shoulders. Work slowly, adjust often.” — Lena Cho, Craft Instructor at Boulder Artisan Guild
Real-World Application: Crafting a Woven Leather Bracelet
Sophie, a hobbyist in Portland, wanted to create a personalized gift for her partner’s birthday. She chose a 3mm-wide square weave using 4-ounce veg-tanned cowhide, dyed deep walnut brown.
She began by cutting 12 strips at 30cm each, carefully beveled the edges, and mounted them vertically on a small wooden jig. Using a shuttle to carry the weft, she maintained even pressure across each row. After completing the central panel, she skived the terminal ends and stitched them to custom brass clasps.
The result was a durable, elegant bracelet that received compliments for its symmetry and finish. Sophie later adapted the technique for keychains and pet collars, turning her passion into a micro-business.
Finishing and Long-Term Care
A completed weave isn’t finished until it’s protected. Unsealed leather absorbs moisture and oils, leading to discoloration and weakening over time.
- Seal edges with multiple coats of gum tragacanth or acrylic resin.
- Apply a light coat of leather protector spray to guard against water spots.
- Buff the surface with a soft cloth to enhance natural shine.
Store finished items in breathable cotton bags away from direct sunlight. Avoid plastic enclosures, which trap humidity and encourage mold.
Do’s and Don’ts of Leather Weaving
| Action | Do | Don't |
|---|---|---|
| Cutting | Use sharp tools on stable surfaces | Rush cuts or reuse dull blades |
| Handling | Wear cotton gloves to reduce oil transfer | Work with bare hands for long periods |
| Storage | Keep flat or rolled loosely | Fold sharply or hang vertically |
| Finishing | Test sealants on scraps first | Over-apply polish or dye |
Frequently Asked Questions
Can I weave with recycled leather scraps?
Yes, but only if they’re from full-grain, veg-tanned sources. Recycled upholstery or garment leather may be too thin or laminated for structural integrity.
How long does it take to master basic weaving?
With consistent practice, most beginners produce even, attractive weaves within 20–30 hours of hands-on work. Complexity increases exponentially with pattern variation.
Is leather weaving suitable for children?
Under supervision, older teens can learn simple braiding. However, sharp tools and repetitive motions make advanced weaving better suited for adults.
Checklist: Starting Your First Weaving Project
- Choose veg-tanned leather (3–4 oz recommended)
- Gather cutting tools, beveler, and burnishing supplies
- Cut at least 10 uniform strips (3–5mm wide)
- Prepare a simple jig or frame for tension control
- Practice square weave on scrap until pattern is consistent
- Finish with edge sealing and surface protection
Conclusion: Weave with Purpose
Leather weaving is more than a craft—it’s a dialogue between material and maker. Each pull of a strip, each precise cut, contributes to a legacy of handmade excellence. By mastering your materials and respecting the process, you create not just objects, but heirlooms. Whether you're making a single bracelet or building a portfolio, the skills you develop today will refine your touch and deepen your appreciation for enduring craftsmanship.


 浙公网安备
33010002000092号
浙公网安备
33010002000092号 浙B2-20120091-4
Comments
No comments yet. Why don't you start the discussion?