
Capturing what’s on your screen is one of the most frequent tasks in daily computing—whether you're troubleshooting an error, sharing instructions, or saving a moment from a video call. Windows 11 has refined its screenshot capabilities beyond simple keyboard shortcuts, offering a suite of tools that blend speed, precision, and flexibility. Yet, many users still rely only on the Print Screen key, unaware of powerful built-in features like Snipping Tool enhancements, delayed captures, and clipboard history integration.
Understanding how to harness these tools can transform a mundane task into an efficient workflow booster. From timed snips to partial screen selections and annotation options, mastering Windows 11 screenshots means capturing exactly what you need, when you need it, without unnecessary steps.
The Evolution of Screenshot Tools in Windows 11
Gone are the days when taking a screenshot meant pressing Print Screen and pasting into Paint. Windows 11 unifies the legacy Snipping Tool and Snip & Sketch into a single, modernized app with AI-powered improvements and deeper OS integration. This updated version supports delayed captures, multi-monitor setups, and automatic saving with customizable file naming.
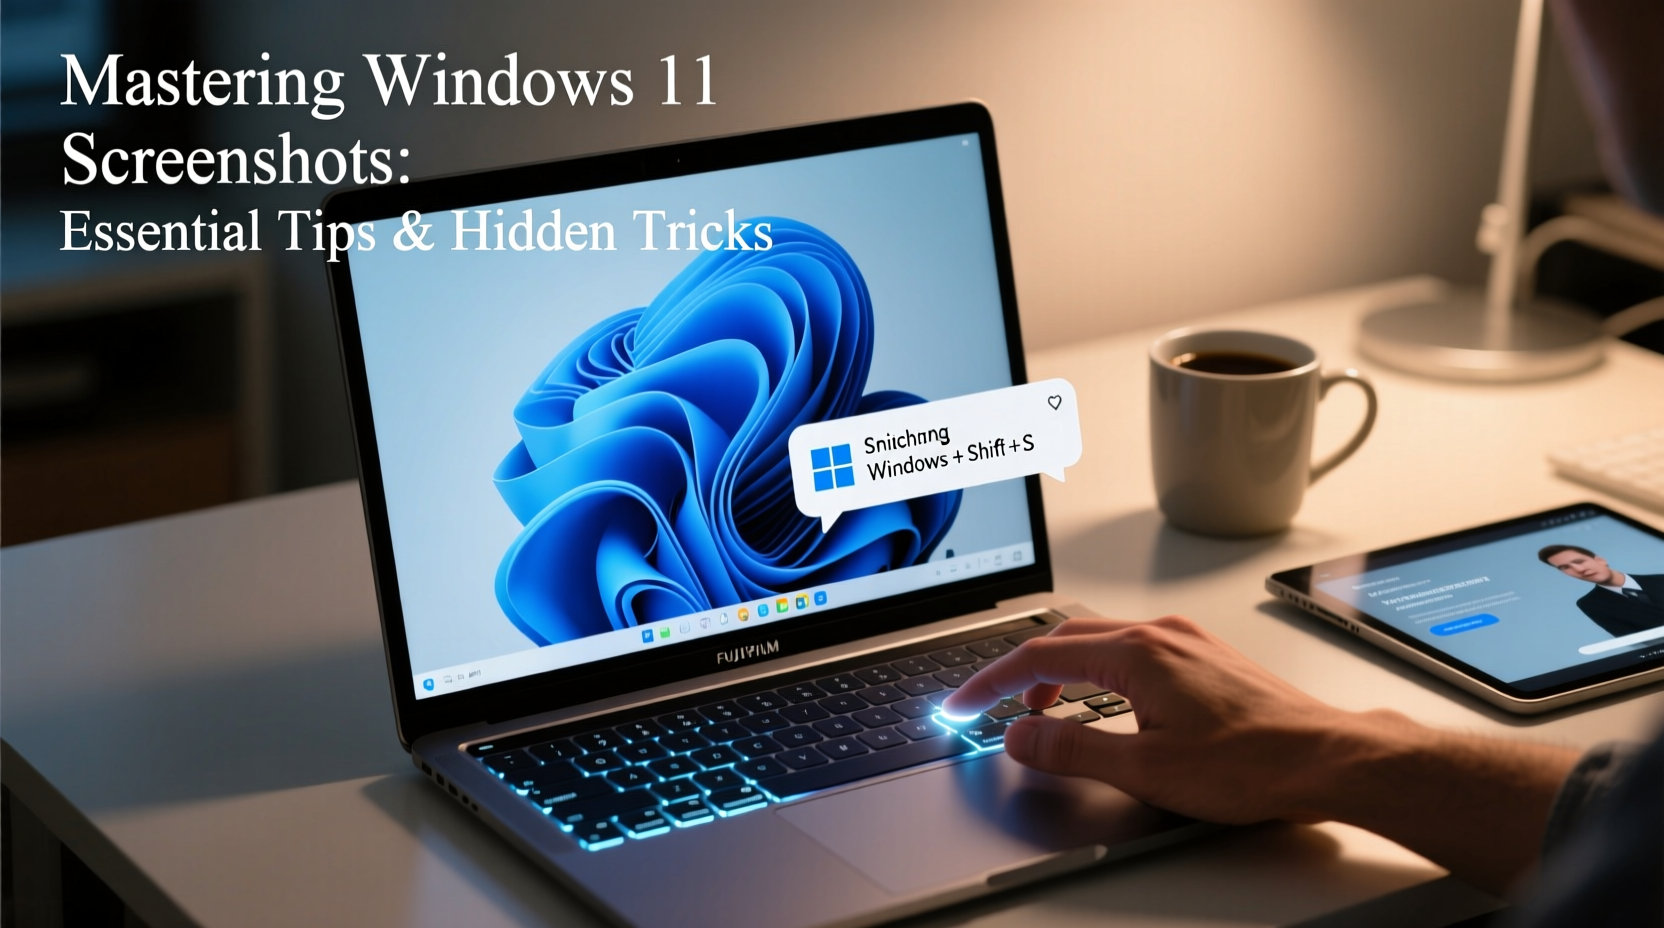
The new Snipping Tool launches instantly via Win + Shift + S, overlaying a toolbar across the top of your screen for quick access to rectangular, freeform, window, and full-screen modes. Unlike earlier versions, it no longer minimizes after capture; instead, it stays active, allowing multiple snips in succession—a subtle but impactful upgrade for productivity.
“Modern screenshot tools should reduce friction, not add steps. Windows 11’s streamlined Snipping Tool does exactly that.” — David Lin, UX Designer at TechFlow Labs
Essential Keyboard Shortcuts for Instant Capture
Speed matters when capturing time-sensitive information. Memorizing the right shortcut eliminates mouse dependency and saves seconds that add up over time.
- Print Screen (PrtScn): Captures the entire screen and copies it to the clipboard.
- Alt + PrtScn: Takes a screenshot of the active window only.
- Win + PrtScn: Saves a full-screen screenshot directly to Screenshots folder in Pictures.
- Win + Shift + S: Opens the Snipping Tool overlay for selective capture.
- Win + Alt + PrtScn: Captures the active Game Bar window (useful for apps like Microsoft Edge or Teams).
Advanced Techniques Using the Snipping Tool
Beyond basic clipping, the Snipping Tool offers advanced functionality often overlooked. Here’s how to use it like a pro:
Delayed Screenshots
Need to capture a context menu or tooltip? Use the delay feature. In the Snipping Tool, click the dropdown arrow next to \"New\" and select a delay of 3, 5, or 10 seconds. Once triggered, the screen dims, giving you time to position menus before the snap.
Freeform and Window Snips
For irregular shapes—like highlighting a specific chart within a spreadsheet—choose the freeform snip tool. Draw around your target area with precision. Alternatively, use window snip to isolate any open application window cleanly, including drop shadows for visual clarity.
Post-Capture Editing
After capturing, a notification appears in the corner. Click it to open the image in-editor where you can annotate with pen, highlighter, or eraser. The color palette includes standard options plus high-visibility tones ideal for presentations.
“Delayed snips changed how I document software bugs. No more frantic clicking trying to catch pop-ups.” — Sarah Kim, Technical Support Lead
Clipboard History and Cloud Sync Integration
Windows 11’s clipboard history (Win + V) works seamlessly with screenshots taken via Win + Shift + S. Every clip is stored temporarily, allowing retrieval even after multiple copy actions. Enable cloud sync in Settings > System > Clipboard to access recent screenshots across devices logged into the same Microsoft account.
This feature is particularly useful when switching between desktop and laptop. A screenshot taken during a meeting on your Surface can appear moments later on your work PC—provided both devices have clipboard sync enabled and are connected to the internet.
| Method | Saves Automatically? | Editable After Capture? | Available Across Devices? |
|---|---|---|---|
| Win + PrtScn | Yes (to local folder) | No (unless opened in editor) | No |
| Win + Shift + S | No (copies to clipboard) | Yes (via notification) | Limited (with clipboard sync) |
| Snipping Tool (Manual) | Optional | Yes | No |
| Game Bar (Win + Alt + PrtScn) | Yes (Videos/Captures) | No | No |
Hidden Tricks for Power Users
Some of the most effective screenshot techniques aren’t documented in official guides. These insider tips elevate your control over screen content:
- Multi-Monitor Mastery: When using Win + Shift + S, the tool detects all displays. You can snip from any monitor independently—even if content spans screens, just drag across monitors during selection.
- Force-Refresh Before Capture: If capturing a web page with dynamic content, press F5 first. Some elements load conditionally and may not appear otherwise.
- Use Snip & Sketch as Default Handler: In Settings > Apps > Default Apps, assign .png files to open with Snipping Tool for instant editing after saving.
- Auto-Save Customization: Navigate to Snipping Tool settings and change the default save location or format (PNG, JPEG, GIF). Rename files with timestamps automatically.
- Keyboard-Only Workflow: Press Win + Shift + S, then use arrow keys to adjust the selection boundary pixel by pixel for surgical accuracy.
Real-World Example: Documenting a Software Bug
Imagine you’re reporting a layout glitch in a web app that only appears when resizing the browser. Here’s how mastery of Windows 11 screenshots streamlines the process:
You resize the window until the bug appears, then trigger a 5-second delay in the Snipping Tool. During those seconds, you reposition the cursor over the flawed section. The tool captures it perfectly. You click the notification, annotate the broken area in red, and copy the result directly into your support ticket. No extra apps, no delays—just one seamless flow.
This approach reduces resolution time because developers receive clear, contextual visuals immediately. It also reflects professionalism in communication, especially in remote teams relying on asynchronous updates.
Frequently Asked Questions
Where are my screenshots saved by default?
Screenshots taken with Win + PrtScn are saved in Pictures > Screenshots. Those captured via Win + Shift + S go to the clipboard unless manually saved after editing.
Can I take a scrolling screenshot in Windows 11?
Not natively. However, Microsoft Edge includes a Web Capture tool that allows scrolling captures of web pages. Open the page, press Ctrl + Shift + M, and select “Capture full page.”
Why doesn’t Win + V show my recent screenshot?
Ensure clipboard history is turned on. Go to Settings > System > Clipboard and toggle “Clipboard history.” Also, some enterprise policies disable this feature for security reasons.
Final Checklist: Master Your Screenshots
- ✅ Learn and use Win + Shift + S for instant selective captures
- ✅ Enable clipboard history (Win + V) and sync across devices
- ✅ Use delayed snips for tooltips, menus, and hover effects
- ✅ Edit annotations directly from the capture notification
- ✅ Customize Snipping Tool defaults: save location, format, delay
- ✅ Leverage multi-monitor support for complex workflows
Take Control of Your Digital Workflow
Perfect screenshots aren’t about fancy third-party tools—they’re about knowing what your operating system already provides. Windows 11 delivers a robust, integrated suite for capturing, editing, and sharing screen content efficiently. By leveraging keyboard shortcuts, delayed captures, and clipboard intelligence, you eliminate friction and focus on what matters: communicating clearly and acting quickly.


 浙公网安备
33010002000092号
浙公网安备
33010002000092号 浙B2-20120091-4
Comments
No comments yet. Why don't you start the discussion?