
A well-tailored straight skirt is a cornerstone of any polished wardrobe. Its clean lines and timeless silhouette offer versatility across seasons and occasions. Yet, achieving that professional finish at home requires more than just basic sewing skills—it demands precision in pattern selection, accurate measurements, careful fabric handling, and thoughtful construction techniques. Whether you're a beginner eager to elevate your craft or an experienced sewer refining your technique, mastering the straight skirt pattern unlocks confidence in garment-making fundamentals.
Selecting the Right Pattern and Fabric
The foundation of a successful skirt begins long before the needle touches the fabric. Choosing the correct pattern and suitable material sets the tone for ease of construction and wearability. Commercial patterns come in various styles—basic sheath, high-waisted pencil, A-line hybrid—and vary in difficulty. For beginners, a simple four-piece design (front, back, waistband, lining) with minimal darts and no closures beyond a zipper is ideal.
Fabric choice profoundly affects both the drape and structure of the final piece. Woven fabrics like cotton poplin, wool crepe, or midweight rayon are excellent for maintaining shape while allowing subtle movement. Avoid overly stretchy knits unless adapting the pattern specifically for them. Always prewash and press your fabric to prevent post-sewing shrinkage.
Accurate Measurements and Pattern Adjustments
No two bodies are identical, and even minor discrepancies between your dimensions and standard sizing can result in poor fit. Take measurements carefully: natural waist, hips (widest part), seat, and skirt length. Measure over undergarments similar to what you’ll wear with the skirt.
Transfer these numbers to your chosen pattern using adjustment lines. Common modifications include:
- Narrowing the waist if your measurement is smaller than the pattern size
- Adding width through the hip or thigh area
- Shortening or lengthening the skirt body
- Adjusting dart depth and placement for better contouring
“Fitting isn’t a one-time task—it’s an ongoing dialogue between fabric and form.” — Clara Nguyen, Professional Tailor and Sewing Educator
Always make a muslin (test version) from inexpensive fabric like calico before cutting into your fashion fabric. This allows you to assess fit, check seam alignment, and refine adjustments without risk.
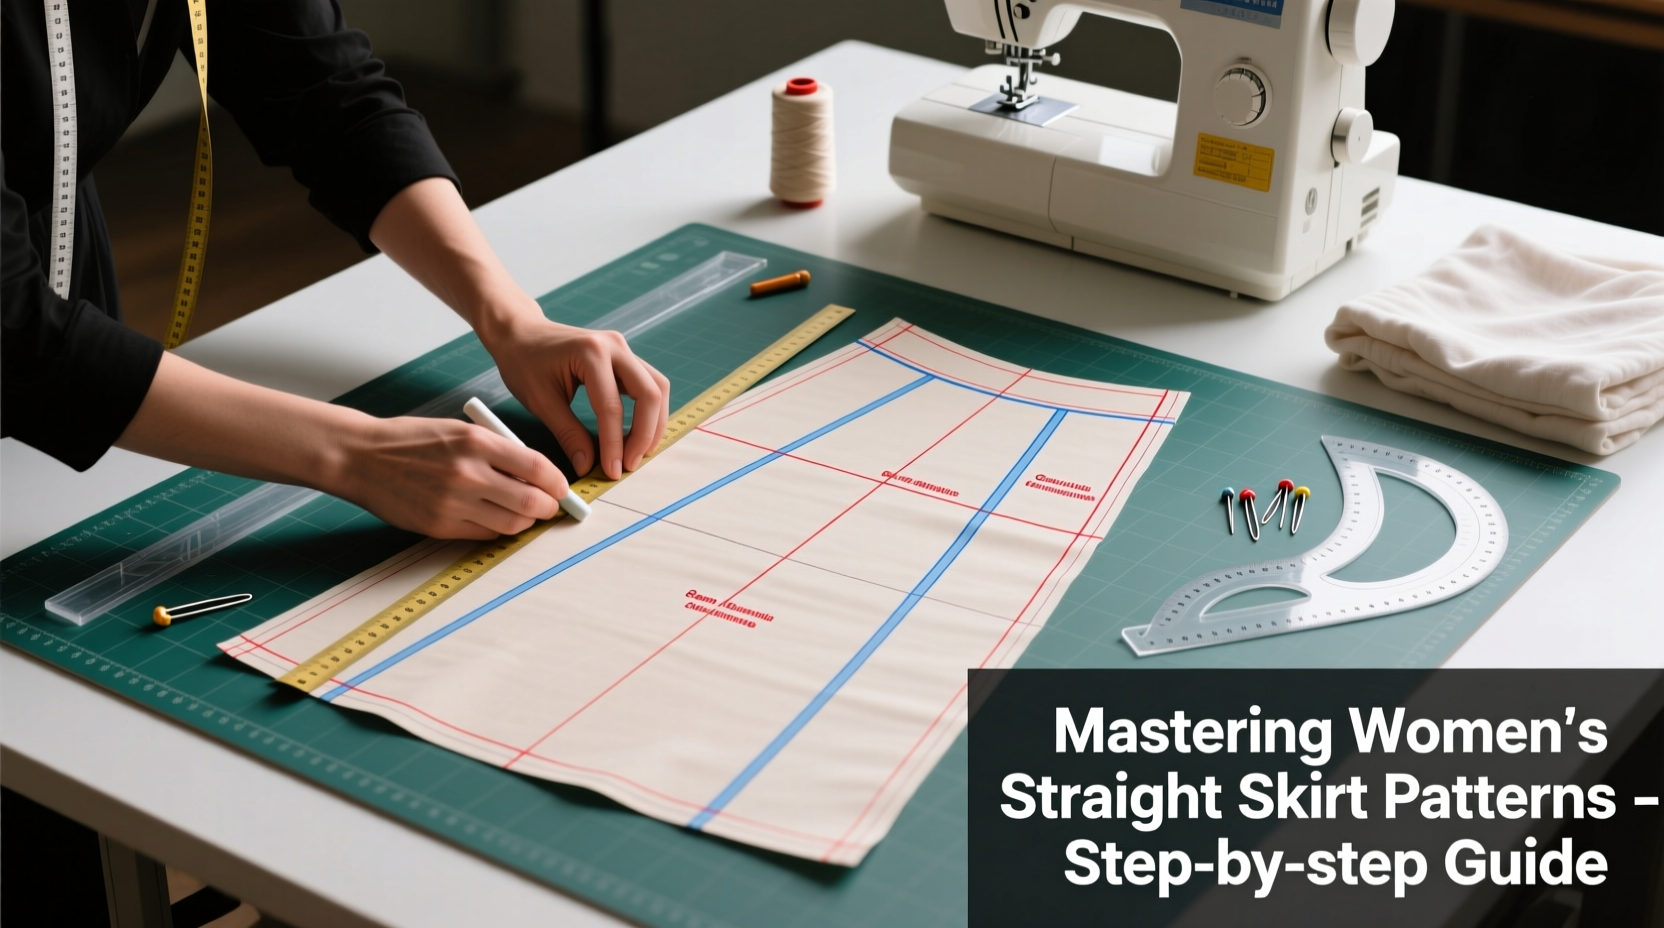
Step-by-Step Cutting and Sewing Process
Once your adjusted pattern is ready and your fabric prepped, follow this logical sequence for clean, professional results.
- Layout and Pinning: Fold fabric selvage-to-selvage, right sides together. Align pattern pieces according to grainline arrows—critical for preventing twisting. Use fine silk pins perpendicular to edges to avoid shifting.
- Cutting: Use sharp fabric scissors or a rotary cutter with a self-healing mat. Cut slowly along outer lines, including notches. Mark darts, pocket placements, and center seams with tailor’s tacks or tracing paper.
- Dart Sewing: Fold dart legs so right sides meet, matching markings. Stitch from wide end to point, backstitching only at start. Ease foot off pressure near tip to avoid puckering. Press darts downward on front, upward on back.
- Side Seams: Pin front to back at side seams, aligning notches and grain. Stitch from hem to waist, ensuring smooth transition through curves. Finish seams with zigzag or serger.
- Zipper Insertion: For a centered back zipper, use an invisible zipper technique. Open the seam, baste closed below zipper stop, then attach zipper teeth directly to seam allowance with an invisible zipper foot. This creates a clean, seamless closure.
- Waistband Construction: Cut interfacing to match waistband piece. Fuse it to wrong side of outer fabric. Fold and press long edges inward. Attach to skirt top, easing slightly if needed to match seam allowances. Topstitch for durability.
- Hemming: Try on the skirt to finalize length. Allow 1–2 inches for hem. Press up twice for a clean finish, or use bias tape for lightweight fabrics. Hand-stitch blind hem for invisibility.
Do’s and Don’ts of Skirt Construction
| Do’s | Don’ts |
|---|---|
| Press after every major step | Ignore grainline alignment |
| Use matching thread and appropriate needle (e.g., universal 80/12) | Rush through fitting stages |
| Staystitch curved edges immediately | Backstitch at dart points |
| Label all pattern pieces before cutting | Stretch fabric while sewing seams |
Real-World Example: From Frustration to Fit
Sophie, an intermediate sewer, struggled with her first straight skirt. The back gapped at the waist, and the hem twisted diagonally. After reviewing her process, she realized she hadn’t checked grainline during layout and had skipped the muslin stage. She re-traced the pattern, corrected her hip measurement, and cut anew with careful attention to fabric direction. Using a test version, she adjusted dart angles and added 1/2 inch at the side seams for comfort. The second version fit perfectly—smooth through the hips, secure at the waist, and hanging evenly. “It wasn’t the pattern,” she said later. “It was my approach. Taking time upfront saved hours of frustration.”
Essential Checklist for Success
Straight Skirt Sewing Checklist:
- ☑ Take accurate body measurements
- ☑ Choose stable, medium-weight woven fabric
- ☑ Pre-shrink and press fabric
- ☑ Adjust pattern based on measurements
- ☑ Cut out a muslin prototype
- ☑ Transfer all markings (darts, notches, etc.)
- ☑ Staystitch curved edges within 1/2 inch
- ☑ Press darts and seams as you go
- ☑ Install zipper with proper technique
- ☑ Finalize hem length on a dress form or live model
Frequently Asked Questions
How do I prevent my skirt from riding up?
Skirts ride up when fabric lacks enough weight or grip. Opt for fabrics with slight texture (like twill or crepe) or add silicone grip tape inside the waistband. Ensure the fit isn’t too loose at the hips—if there’s excess room, movement causes slippage.
Can I sew a straight skirt without a pattern?
Yes, but only with advanced drafting knowledge. Beginners should rely on commercial or free PDF patterns initially. Once familiar with block proportions—waist-to-hip ratio, dart distribution, and ease—you can draft your own. However, consistent results require practice and precision.
Why does my hem twist after washing?
Twisting usually stems from cutting the fabric off-grain. Before laying out your pattern, square the fabric by pulling a crosswise thread or using a T-square ruler. If the edge isn’t aligned with the weave, realign it gently. Also, hang the skirt vertically after washing to dry, rather than tumbling, which distorts balance.
Mastery Through Practice and Precision
Creating a flawless straight skirt blends technical skill with mindful craftsmanship. Each stage—from measuring to hemming—contributes to the final elegance. Mistakes are inevitable, especially in early attempts, but they serve as lessons in understanding how fabric interacts with form. With each completed project, your intuition sharpens, your hands grow steadier, and your confidence expands.
The beauty of sewing lies not just in the finished garment, but in the quiet satisfaction of making something uniquely yours. A perfectly fitted straight skirt isn’t merely clothing—it’s evidence of patience, attention, and personal growth.


 浙公网安备
33010002000092号
浙公网安备
33010002000092号 浙B2-20120091-4
Comments
No comments yet. Why don't you start the discussion?