
Yarn puff patterns, often recognized in the form of fluffy pom poms, are more than just whimsical embellishments—they are a powerful design tool that brings texture, dimension, and personality to handmade projects. From winter hats and scarves to nursery mobiles and wall art, mastering the art of creating consistent, vibrant, and structurally sound pom poms opens up a world of creative possibilities. This guide breaks down essential techniques, materials, and advanced styling methods to help crafters at every level elevate their work.
The Anatomy of a Perfect Pom Pom
A successful pom pom begins with understanding its structure. At its core, a pom pom is a bundle of yarn fibers gathered tightly at the center and trimmed into a spherical shape. The quality of the final product depends on three key factors: yarn choice, winding density, and securing technique. Many beginners underestimate how much tension and layering affect fluffiness and durability.
When wound properly, yarn forms a dense core that holds shape even after trimming. Overlooking this foundational step leads to flat or lopsided results. For consistent outcomes, use a dedicated pom pom maker or cardboard template—tools that standardize size and streamline production.
Essential Materials and Tools
Selecting the right supplies sets the stage for professional-looking results. Not all yarns behave the same under compression, and using inappropriate tools can lead to fraying or weak centers.
| Material/Tool | Recommended Type | Why It Matters |
|---|---|---|
| Yarn | Acrylic, wool blend, or cotton (medium weight) | Holds shape well; acrylic offers affordability and color variety |
| Pom Pom Maker | Plastic adjustable type or cardboard cutouts | Ensures symmetry and reduces hand fatigue during winding |
| Scissors | Sharp fabric shears with pointed tips | Allows precise trimming without pulling fibers |
| Thread & Needle | Strong polyester thread, upholstery needle | Prevents breakage when tying off the center |
For larger projects like garlands or statement pillows, consider investing in multiple pom pom makers of varying sizes. This allows you to produce batches quickly while maintaining consistency across pieces.
Step-by-Step Guide to Creating Fluffy Yarn Puffs
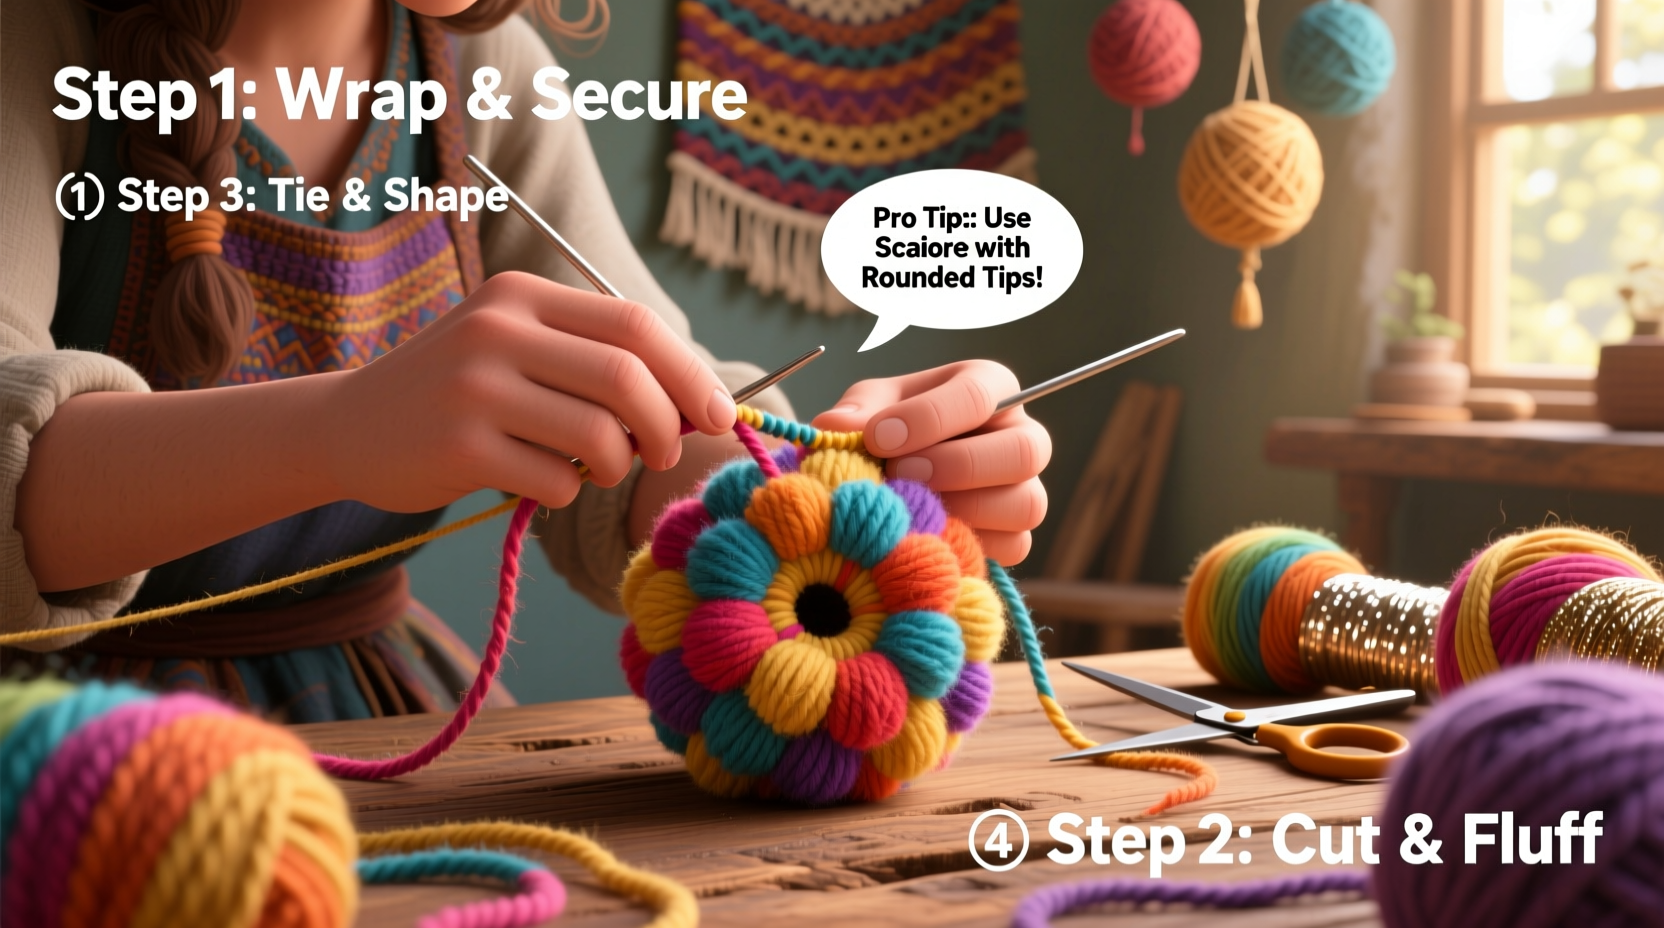
Follow this detailed process to create full, resilient pom poms every time:
- Choose your base size. Decide whether you want a small accent (1–2 inches) or bold centerpiece (3+ inches). Adjust your pom pom maker accordingly or cut a custom cardboard ring.
- Secure the starting point. Leave a 6-inch tail of yarn before beginning to wind. This will later be used to tie the center.
- Wind densely. Wrap yarn around the tool evenly, covering the entire surface. Aim for at least 100 wraps for a standard 2-inch pom pom—more for fluffier results.
- Cut the loop edge. Once fully wound, use sharp scissors to cut along the outer rim of the tool or cardboard.
- Tie the center tightly. Use a separate piece of strong thread to bind the middle section. Double-knot securely. Trim excess.
- Release and shape. Open the tool or remove from cardboard. Gently pull apart layers to reveal volume.
- Trim for roundness. Rotate the pom pom as you snip stray ends, shaping it into a smooth sphere. Take time—precision here defines polish.
This method produces tight, durable puffs ideal for garments and high-use items. For softer, cloud-like textures, use loosely spun yarn and trim more aggressively to enhance fluff.
Advanced Design Techniques for Creative Variety
Once basic skills are mastered, experiment with layered effects and mixed media. These approaches transform simple poms into signature design elements.
- Ombre blending: Combine two or more shades of the same yarn family during winding to create gradient poms.
- Multi-color striping: Alternate colors every 10–15 wraps for a confetti effect visible after trimming.
- Hybrid textures: Mix wool with metallic thread or ribbon for shimmer accents in holiday décor.
- Shaped variants: Flatten pom poms slightly between palms to make “puff discs” ideal for appliqué.
“Pom poms aren’t just decorative—they’re tactile storytelling devices. A child’s blanket with rainbow puffs invites touch and emotional connection.” — Lila Monroe, Textile Artist & Educator
Mini Case Study: Handmade Nursery Mobile Project
Sophia, a new mother and hobby crafter, wanted to create a sensory-rich mobile for her baby’s room. She used the step-by-step technique above to make 12 pom poms in soft pastels—mixing ivory, blush pink, and mint green in each. By varying sizes (1”, 1.5”, and 2”) and attaching them at different string lengths, she achieved depth and movement. After mounting on a wooden hoop, the mobile became both a visual focal point and a safe object for reaching and grabbing. Her attention to secure knotting ensured no shedding, meeting safety standards for infant environments.
Common Pitfalls and How to Avoid Them
Even experienced crafters encounter setbacks. Recognizing these frequent errors improves long-term success rates:
- Loose center ties: Leads to unraveling. Use doubled thread and knot twice, burying the knot within the core.
- Inconsistent wrapping: Causes asymmetry. Count wraps if necessary until muscle memory develops.
- Dull scissors: Crushes rather than cuts fibers, resulting in frayed edges. Keep a dedicated pair for fine trimming.
- Overcrowding fibers: Too much yarn makes cutting difficult and increases bulk unevenly. Stick to recommended wrap counts per size.
FAQ
Can I wash projects with handmade pom poms?
Yes, but gently. Hand-wash in cold water and air dry flat. Machine washing may loosen fibers or distort shape, especially with loosely tied centers.
How do I attach pom poms securely to fabric?
Use a whipstitch through the central tie point, embedding the knot into the base fabric. Reinforce with fabric glue for heavy-duty applications like coats or bags.
Are there eco-friendly yarn options for sustainable crafting?
Absolutely. Organic cotton, recycled polyester, and plant-dyed wool are excellent choices. Look for certifications like GOTS (Global Organic Textile Standard) when sourcing.
Checklist: Perfect Pom Pom Workflow
- ✔ Select appropriate yarn and tool size
- ✔ Wind yarn densely and evenly (min. 100 wraps)
- ✔ Cut loop edges cleanly
- ✔ Tie center with strong thread (double knot)
- ✔ Shape gradually with sharp scissors
- ✔ Test durability by gentle tugging
- ✔ Match to project needs (color, size, texture)
Conclusion
Mastery of yarn puff patterns is an accessible yet transformative skill. Whether you're enhancing knitwear, designing kid-friendly toys, or adding flair to interior accents, the ability to produce beautiful, consistent pom poms gives your creations a professional edge. With practice, customization becomes intuitive—layering colors, adjusting densities, and innovating shapes to suit any vision.


 浙公网安备
33010002000092号
浙公网安备
33010002000092号 浙B2-20120091-4
Comments
No comments yet. Why don't you start the discussion?