
The Instant Pot has revolutionized home cooking by combining pressure cooking, slow cooking, steaming, sautéing, and more into one compact appliance. For first-time users, the array of buttons and settings can seem intimidating. Yet with a few foundational principles and practical techniques, anyone can confidently unlock its full potential. Whether you're preparing weeknight dinners, batch-cooking meals, or experimenting with new recipes, mastering your Instant Pot starts with understanding how it works—and how to use it safely and efficiently.
Understanding How Your Instant Pot Works
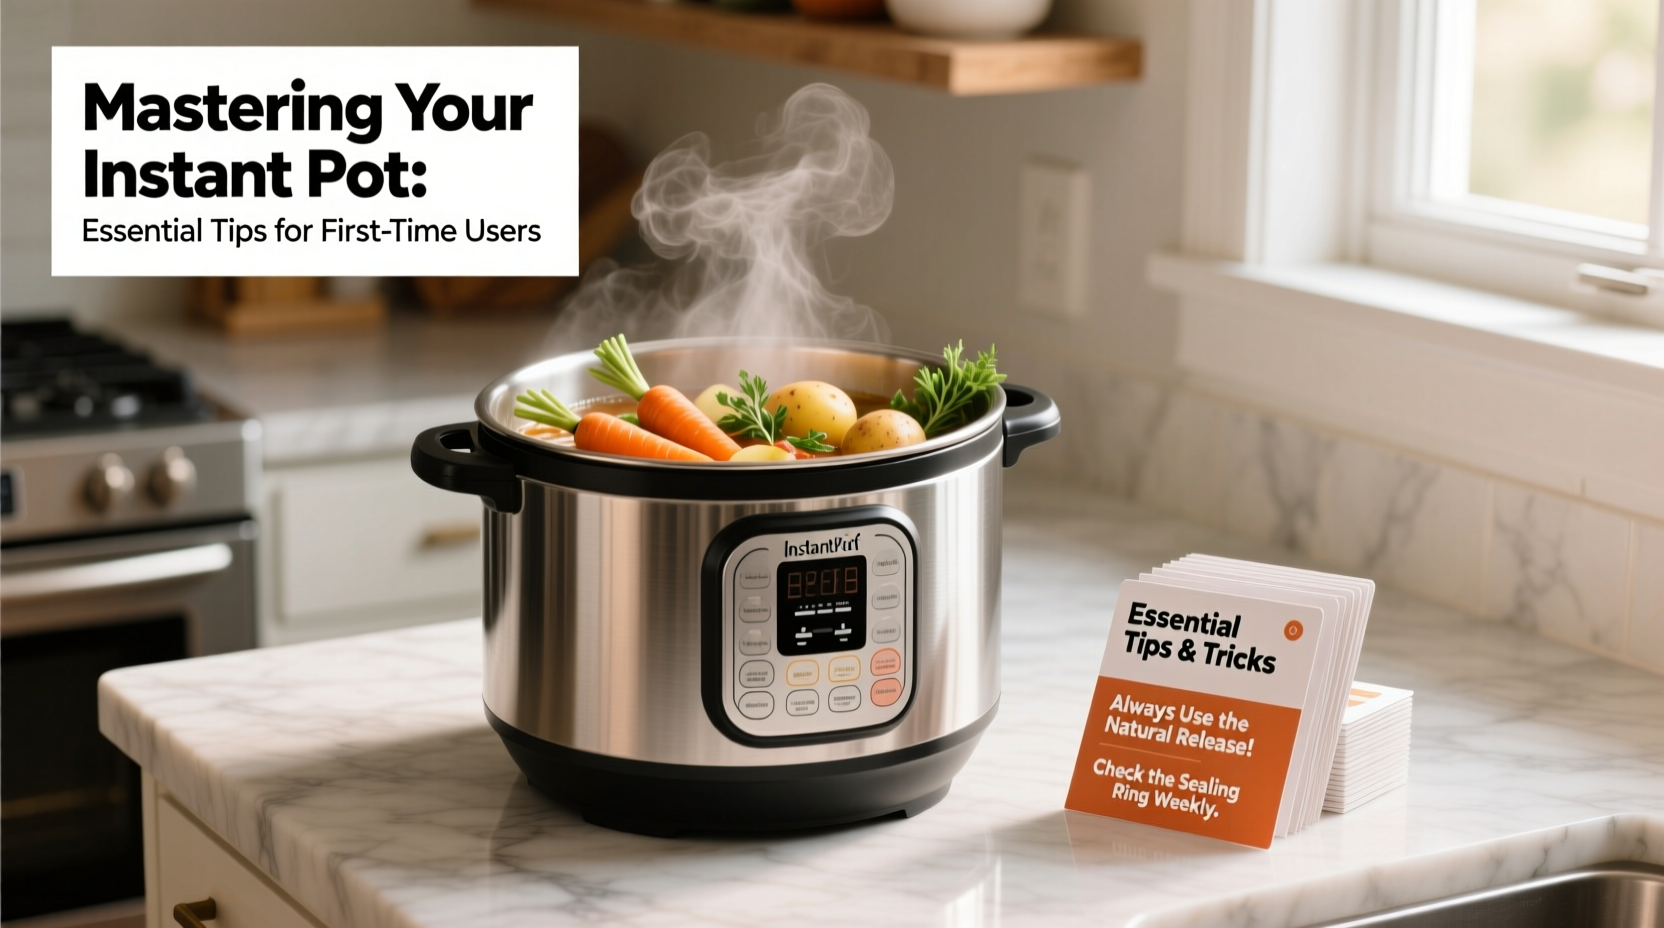
The Instant Pot functions primarily as an electric pressure cooker, using sealed heat and steam to drastically reduce cooking times. Unlike stovetop pressure cookers, modern Instant Pots come equipped with multiple safety mechanisms, programmable settings, and intuitive controls. Key components include the inner pot, sealing ring, float valve, and lid lock. When the lid is secured and the unit pressurizes, the float valve rises, indicating that pressure is building. Once the set pressure is reached, the heating element cycles on and off to maintain consistent internal pressure.
Different models offer varying features—some include yogurt-making modes, sterilizing functions, or sous-vide precision—but all share core functionality. The most commonly used settings are:
- Pressure Cook/Manual: For fast cooking under high or low pressure.
- Sauté: Browning meat or onions before pressure cooking.
- Steam: Ideal for vegetables, fish, or dumplings.
- Slow Cook: Simulates traditional crockpot-style cooking.
- Keep Warm: Automatically activates after cooking ends.
Essential Tips for Safe and Effective Use
Safety is paramount when using any pressure-cooking device. Modern Instant Pots have up to 10 built-in safety features, including overheat protection, lid lock interlock, and redundant pressure release systems. Still, user error can compromise performance and safety.
Beginners should follow these best practices:
- Use adequate liquid: Never operate the Instant Pot without at least 1 cup of water, broth, or other cooking liquid. This prevents burn errors and ensures proper steam generation.
- Avoid overfilling: Fill no more than two-thirds full for most foods. For beans and grains that expand, do not exceed half capacity.
- Position the steam release valve correctly: Ensure it’s set to “Sealing” before starting pressure cooking. If left on “Venting,” the pot won’t pressurize.
- Allow natural or quick release as needed: Natural release (NR) lets pressure drop slowly over 10–20 minutes; quick release (QR) involves manually venting steam. Use QR for delicate foods like vegetables; NR for meats and soups to prevent splattering.
“New users often rush the release process. Patience during depressurization improves texture and prevents accidents.” — Chef Lena Torres, Culinary Educator and Appliance Safety Trainer
Step-by-Step Guide to Your First Pressure-Cooked Meal
To build confidence, start with a simple, forgiving recipe: basic boneless chicken breasts. Follow this timeline for success.
- Prep: Pat 1 lb of chicken breasts dry and season lightly with salt and pepper.
- Sear (optional): Press “Sauté,” add 1 tbsp oil, and brown chicken for 2–3 minutes per side. Cancel sauté mode.
- Add liquid: Pour in 1 cup of chicken broth or water.
- Insert trivet: Place chicken on the trivet above the liquid to prevent sticking.
- Set pressure: Close the lid, set valve to “Sealing,” select “Pressure Cook” on High for 8 minutes.
- Release: After cooking, allow a 10-minute natural release, then carefully turn the valve to “Venting” to release remaining steam.
- Open and serve: Unlock the lid, remove chicken, and check internal temperature (165°F).
This method yields tender, juicy chicken perfect for salads, tacos, or meal prep. It also familiarizes you with the full cycle: preheating, pressurizing, cooking, releasing, and opening.
Do’s and Don’ts: Common Mistakes to Avoid
Even experienced cooks make avoidable errors. Refer to this table to steer clear of common pitfalls.
| Do’s | Don’ts |
|---|---|
| Always check the sealing ring for debris or cracks. | Don’t ignore a hissing sound during cooking—it may indicate a leak. |
| Clean the float valve regularly to ensure proper function. | Don’t force the lid open if it’s locked—wait until pressure drops. |
| Use the “Burn” notice as feedback, not failure. Adjust liquid or stirring next time. | Don’t cook thick sauces or tomato-based dishes without sufficient liquid or stirring. |
| Label extra sealing rings if using for sweet vs. savory dishes to avoid flavor transfer. | Don’t store the lid with the ring inside—it can warp the seal over time. |
Real Example: From Burn Notice to Perfect Chili
Jamie, a working parent in Denver, tried making chili on her first week with an Instant Pot. She added beans, tomatoes, ground beef, and spices directly into the pot. After 25 minutes of pressure cooking, the display flashed “Burn,” and the cycle stopped. Frustrated, she nearly gave up—until she learned why.
The issue? Tomato paste had settled at the bottom and scorched before the liquid could heat evenly. Her fix: deglaze after browning the meat by scraping the bottom with broth, then add thicker ingredients last. On her second try, she layered liquids first, stirred well, and used a trivet for dense ingredients. The result: rich, smoky chili with zero burn warnings. Now, she makes freezer-friendly batches every Sunday.
Checklist: Your Instant Pot Starter Routine
Follow this checklist each time you use your Instant Pot to ensure consistency and safety:
- ✅ Inspect the sealing ring and lid gasket for wear or odor.
- ✅ Add at least 1 cup of liquid unless the recipe specifies otherwise.
- ✅ Scrape the bottom of the pot after sautéing to prevent sticking.
- ✅ Set the steam release valve to “Sealing” before starting.
- ✅ Wait for the float valve to rise before timing begins.
- ✅ Choose the correct release method based on food type.
- ✅ Allow the pot to cool slightly before cleaning; never submerge the base.
Frequently Asked Questions
Can I cook frozen meat in the Instant Pot?
Yes. You can safely cook frozen meats using the pressure cook function. Increase cooking time by about 50% and always use a quick release afterward to prevent overcooking. Ensure the internal temperature reaches safe levels (e.g., 165°F for poultry).
Why does my Instant Pot take so long to come to pressure?
Several factors affect preheating time: starting temperature of ingredients, amount of liquid, and altitude. Cold ingredients or a full pot may take 10–15 minutes to reach pressure. This is normal. To speed it up slightly, use warm liquid or preheat ingredients.
How do I clean and maintain my Instant Pot?
Wash the inner pot, lid (excluding the main body), sealing ring, and steam rack in warm, soapy water. Wipe the exterior with a damp cloth. Remove and rinse the float valve and anti-block shield weekly. Replace the sealing ring every 6–12 months or when cracked or odorous.
Start Cooking with Confidence
Mastering your Instant Pot isn’t about memorizing every button—it’s about understanding the rhythm of pressure cooking and building experience through practice. With each successful meal, your confidence grows. You’ll begin to adapt recipes, reduce reliance on presets, and even create your own signature dishes. The Instant Pot isn’t just a gadget; it’s a tool that empowers efficient, flavorful, and stress-free cooking.


 浙公网安备
33010002000092号
浙公网安备
33010002000092号 浙B2-20120091-4
Comments
No comments yet. Why don't you start the discussion?