
Thermos cups with straws have become a staple in modern lifestyles—ideal for commuters, office workers, fitness enthusiasts, and parents alike. Their combination of temperature retention and convenient sipping makes them highly functional. Yet, many users overlook the nuances of proper usage and care, leading to reduced performance, lingering odors, or premature wear. Understanding how to get the most out of your thermos cup ensures not only better-tasting drinks but also extends its lifespan significantly.
Understanding Your Thermos Cup Design
Most insulated cups with straws operate on double-wall vacuum insulation technology, which traps air between two layers of stainless steel to minimize heat transfer. The straw component is typically made from food-grade silicone or plastic and connects to a lid mechanism designed for spill resistance. Unlike traditional mugs, these models prioritize portability and ease of drinking on the move, but that convenience comes with specific care requirements.
The straw’s narrow diameter makes it prone to residue buildup, especially when used with sugary beverages like smoothies, iced coffee, or flavored teas. Over time, trapped particles can lead to bacterial growth and persistent smells. Moreover, improper sealing or rough handling can compromise the vacuum seal, reducing thermal efficiency.
Step-by-Step Guide to Daily Use and Cleaning
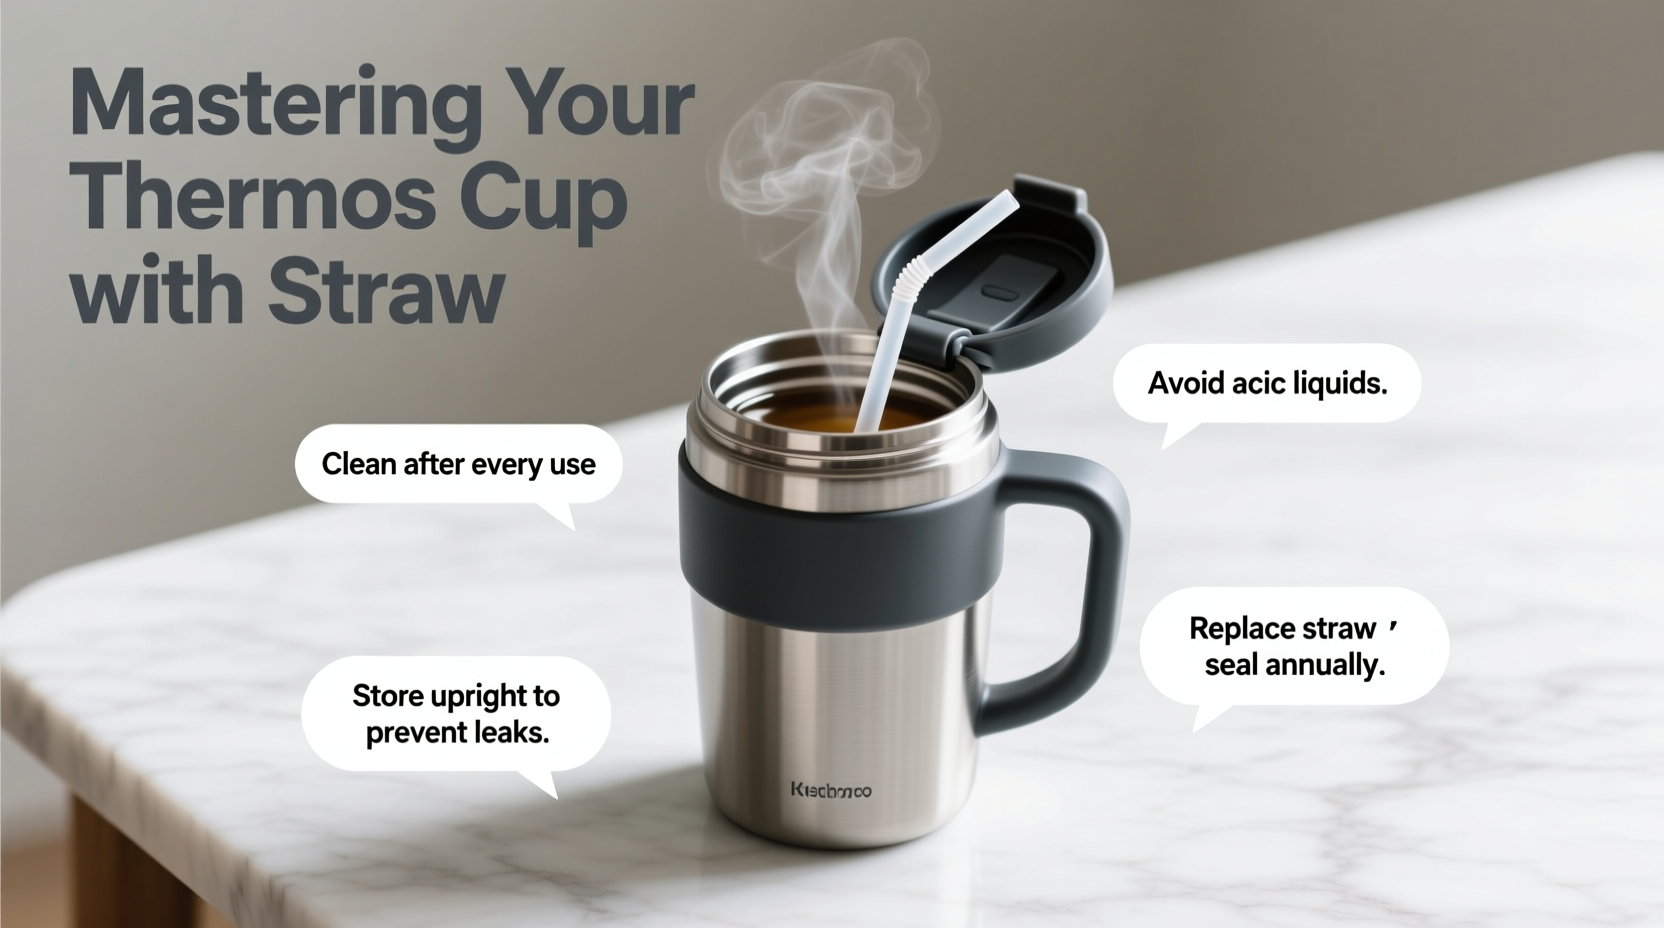
Maximizing the performance of your thermos cup starts with consistent habits. Follow this routine to maintain hygiene and functionality:
- Pre-rinse immediately after use: Pour out remaining liquid and rinse the cup, lid, and straw with lukewarm water. This prevents sugars and oils from drying and sticking.
- Disassemble all parts: Remove the straw, mouthpiece, gasket, and any detachable seals. These small components are often overlooked but harbor the most bacteria.
- Scrub with a bottle brush: Use a long-handled brush with soft bristles to clean the interior of the cup and straw. For straws, consider a pipe cleaner or specialized straw brush.
- Wash with mild detergent: Hand wash using warm water and a gentle dish soap. Avoid abrasive cleaners that can scratch surfaces or degrade silicone.
- Air dry completely: Lay all pieces flat on a clean towel in an upright position to allow full drainage. Never reassemble while damp—moisture breeds mold.
- Reassemble carefully: Ensure all seals and gaskets are properly seated before closing the lid to maintain leak-proof integrity.
While some models claim to be dishwasher-safe, hand washing remains the safest method for preserving both appearance and performance over time.
Do’s and Don’ts: Maintenance Best Practices
| Do’s | Don’ts |
|---|---|
| Use non-abrasive brushes for cleaning | Use steel wool or harsh scrubbing pads |
| Store with the lid off to prevent odor buildup | Leave liquids inside overnight |
| Replace worn silicone gaskets annually | Expose to open flames or stovetop heat |
| Rinse immediately after using dairy or sweetened drinks | Soak the entire cup in boiling water (can damage insulation) |
| Check manufacturer guidelines for compatibility | Use bleach-based cleaners regularly |
Maintaining Temperature Performance Over Time
The hallmark of a quality thermos cup is its ability to keep beverages hot for 6–12 hours or cold for up to 24. However, this performance depends on the integrity of the vacuum seal and proper usage habits.
Repeated drops or impacts can disrupt the internal vacuum layer, leading to condensation on the outer surface—a sign that insulation has failed. To preserve thermal efficiency:
- Avoid placing the cup in freezers or microwaves.
- Preheat or pre-chill the cup before adding drinks to enhance temperature retention.
- Tighten the lid securely before pouring in hot liquids to prevent steam leakage.
- Inspect the lid seal monthly for cracks or warping.
“Even minor dents near the base can compromise vacuum insulation. Handle your cup like precision equipment—not just another container.” — Jordan Lee, Product Engineer at Alpine Insulation Labs
Real-Life Example: Sarah’s Morning Commute Fix
Sarah, a graphic designer from Portland, used her straw thermos daily for iced lattes during her commute. After three months, she noticed a sour smell despite regular rinsing. She assumed the cup was defective until she learned about hidden mold in the straw assembly.
Following a deep-cleaning protocol—soaking the straw in a vinegar-and-baking-soda solution, brushing every crevice, and replacing the silicone gasket—she eliminated the odor entirely. Now, she performs a weekly deep clean and stores her cup with the lid off. Her thermos has lasted nearly two years without performance loss.
Deep-Cleaning Checklist for Long-Term Care
For users who rely on their thermos cup heavily, a monthly deep-cleaning routine is essential. Use this checklist to ensure no step is missed:
- ☐ Disassemble all lid components including straw, stopper, and rubber gasket
- ☐ Soak parts in warm water mixed with baking soda (1 tbsp per cup) for 20 minutes
- ☐ Scrub interior with a bottle brush and straw with a pipe cleaner
- ☐ Rinse thoroughly under running water
- ☐ Air-dry all pieces completely before reassembly
- ☐ Inspect for cracks, cloudiness, or brittleness in silicone parts
- ☐ Replace worn seals or straws as needed (most brands sell replacement kits)
This process removes biofilm—the slimy residue caused by microbial colonies—and restores freshness even after prolonged use with protein shakes or sweetened beverages.
Frequently Asked Questions
Can I put carbonated drinks in my thermos cup with a straw?
Yes, but with caution. Carbonation builds pressure, which may cause leaks if the lid isn’t sealed properly or if the vent mechanism isn’t designed for fizzy liquids. Open slowly away from your face. Not all models are suited for sparkling water or soda—check manufacturer specifications first.
Why does my straw taste funny even after washing?
Residual film or trapped moisture is usually the culprit. Try soaking the straw in a 50/50 mix of white vinegar and water for 30 minutes, then scrub and rinse. If the taste persists, replace the straw—silicone degrades over time, especially with exposure to citrus or acidic drinks.
How often should I replace the straw or lid components?
With daily use, inspect silicone parts every 6–12 months. Signs of wear include stiffness, discoloration, or difficulty sealing. Many manufacturers offer affordable replacement parts, extending the life of the main cup body indefinitely.
Conclusion: Make Mastery a Habit
Your thermos cup with straw is more than a beverage holder—it’s a tool for healthier hydration, reduced waste, and smarter living. By treating it with attention to detail, you protect your investment and enjoy better-tasting drinks every day. Simple actions like prompt rinsing, regular deep cleaning, and careful storage compound into years of reliable service.


 浙公网安备
33010002000092号
浙公网安备
33010002000092号 浙B2-20120091-4
Comments
No comments yet. Why don't you start the discussion?