
In today’s thoughtfully designed homes, even the smallest details contribute to both function and aesthetic harmony. Tissues are a necessity, but their packaging rarely complements interior decor. Cluttered Kleenex boxes on coffee tables or countertops disrupt visual flow and waste valuable surface space. The solution? Decorative tissue boxes—simple yet transformative tools that blend organization with elegance. When used strategically, they enhance accessibility, preserve hygiene, and elevate room design. This guide explores how to integrate decorative tissue holders into your home with intention, maximizing both space and style.
Why Decorative Tissue Boxes Matter
Most people overlook tissue organization until it becomes a nuisance. A crumpled box in plain sight, tissues spilling out, or multiple half-empty packs scattered around the house are common issues. Beyond clutter, exposed tissues attract dust and can become damp in humid areas like bathrooms. Decorative tissue boxes solve these problems by offering a contained, attractive housing solution.
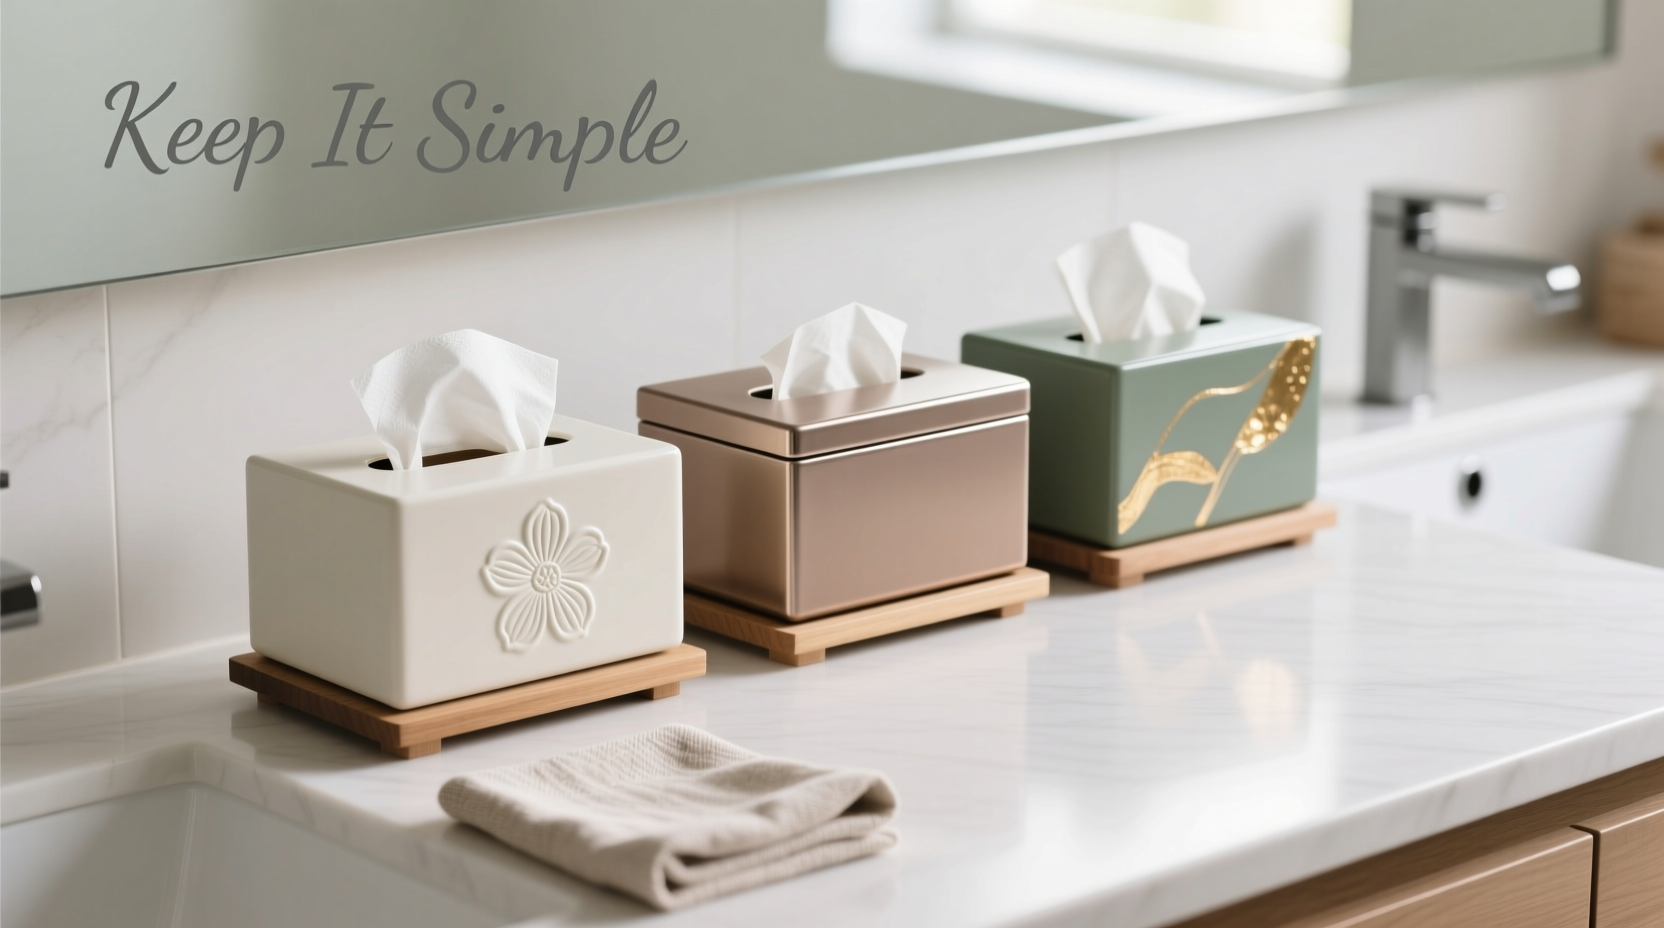
These organizers do more than hide unsightly packaging—they act as curated accents. Available in materials ranging from ceramic and wood to woven fabric and acrylic, they align with various interior styles: minimalist, rustic, modern, or vintage. More importantly, they encourage consistent placement, reducing the need to stock tissues everywhere and minimizing waste.
“Intentional storage transforms mundane items into part of the décor. A well-chosen tissue box shouldn’t be hidden—it should be displayed.” — Lila Montgomery, Interior Stylist & Home Organization Consultant
Choosing the Right Box for Your Space
Not all decorative tissue boxes serve the same purpose. Selecting the right one depends on room function, available space, and design theme. Consider these factors when choosing:
- Size: Ensure the box fits standard facial tissue dimensions (typically 4.5” x 4.5” x 5”). Oversized boxes may not fit refills; undersized ones cause frustration.
- Material: Ceramic suits bathrooms and formal living rooms; bamboo or wood works in bedrooms and studies; acrylic is ideal for modern spaces.
- Ventilation: In humid zones like bathrooms, opt for open-weave or perforated designs to prevent moisture buildup.
- Lid Type: Top-slotted lids allow easy pull-through access; flip-top or open-top versions offer faster access but less dust protection.
Strategic Placement Across Key Rooms
Effective tissue organization isn’t just about having a pretty box—it’s about placing it where it’s most needed without compromising space. Thoughtful positioning improves flow and reduces redundancy.
Living Room
Place a low-profile tissue box on an end table or inside a media console with a front-facing slot. Choose a fabric-covered box that matches throw pillows or a wooden box that echoes your coffee table’s grain. Avoid blocking seating pathways or TV sightlines.
Bedroom
Near the bed, a compact tissue box on a nightstand keeps essentials within reach. Opt for soft textures like linen or felt to maintain a calming atmosphere. If space is tight, consider wall-mounted holders or under-bed storage with pull-out drawers.
Bathroom
Use a water-resistant material such as ceramic or coated wicker. Position near the sink or toilet—but away from direct shower spray. A box with a lid prevents toothpaste splatter and maintains hygiene.
Home Office or Study
A sleek metal or glass box adds professionalism. Keep it beside your desk lamp or keyboard tray. Pair it with a small trash bin to dispose of used tissues discreetly.
| Room | Ideal Box Style | Recommended Material | Space-Saving Tip |
|---|---|---|---|
| Living Room | Low rectangular with top slot | Wood, Fabric, Acrylic | Store inside side table with cutout access |
| Bedroom | Cube-shaped with lid | Felt, Bamboo, Ceramic | Stack with books or use drawer insert |
| Bathroom | Open-top or vented | Ceramic, Coated Wicker | Mount on wall or use over-toilet shelf |
| Office | Slim vertical design | Metal, Glass, Matte Plastic | Attach to desk underside with adhesive mount |
Step-by-Step: Optimizing Tissue Storage in 5 Actions
Follow this sequence to declutter and refine your tissue management system across the home:
- Inventory Current Supplies: Gather all tissue packs from drawers, closets, and rooms. Count how many you have and identify duplicates.
- Select Central Refill Points: Designate one or two primary storage spots—such as a hall closet or utility cabinet—for bulk backup boxes.
- Assign Decorative Boxes: Place one per high-use zone. Never have more than four active dispensers unless managing a large household or guest-heavy space.
- Label for Ease: Use discreet labels on refill boxes (e.g., “Bath,” “Living”) to speed up restocking.
- Routine Check-In: Every two weeks, inspect each box for low supply, dust, or damage. Rotate seasonal designs if desired.
Mini Case Study: The Johnson Family’s Entryway Transformation
The Johnsons, a family of four in Portland, struggled with tissues appearing everywhere—on counters, sofas, and even in coat pockets. Their entryway console was cluttered with a crumpled box, keys, and mail. After consulting an organizing specialist, they installed a slim, walnut-finish tissue box with a magnetic lid, integrated into a multi-compartment organizer.
The new setup included a designated slot for tissues, paired with a built-in coaster and key tray. They kept one refill pack inside the lower drawer. Within a month, household members consistently replaced used tissues, and duplicate boxes disappeared from bedrooms. Guests complimented the tidy, intentional look. The change required minimal effort but significantly improved daily functionality.
Common Mistakes to Avoid
Even with good intentions, poor choices can undermine your efforts. Steer clear of these pitfalls:
- Over-accessorizing: Too many decorative boxes create visual noise. Stick to one per main zone.
- Ignoring Scale: A massive box on a small nightstand overwhelms the space. Proportion matters.
- Using Non-Standard Sizes: Fancy boxes that don’t fit regular refills lead to custom ordering or frustration.
- Placing in Dust-Prone Areas: Avoid open shelves or sunlit ledges where tissues collect particles.
FAQ
Can I use a decorative box for pocket tissues or travel packs?
Absolutely. Small desktop or drawer organizers can group mini tissue packs by type—mint-scented, aloe-infused, etc.—for quick access. Use divided trays or labeled compartments.
How do I clean a fabric-covered tissue box?
Spot-clean with a mild detergent and damp cloth. Avoid soaking, as it may warp the internal structure. For removable liners, check manufacturer instructions. Air dry completely before reuse.
Are there eco-friendly decorative tissue boxes?
Yes. Look for options made from recycled paper, sustainably harvested wood, or biodegradable composites. Some brands offer refillable inserts that reduce plastic waste.
Final Checklist: Mastering Tissue Organization
- ☐ Audit current tissue stock and eliminate duplicates
- ☐ Choose 3–4 decorative boxes suited to your rooms
- ☐ Position boxes in high-traffic, functional locations
- ☐ Store bulk refills in labeled, compact containers
- ☐ Clean boxes monthly and replace worn units annually
- ☐ Align box colors/materials with room aesthetics
Conclusion
Organizing tissues with decorative boxes is a small change with outsized impact. It restores order, enhances cleanliness, and contributes to a polished home environment. By selecting the right styles, placing them strategically, and maintaining a simple system, you turn a utilitarian item into an element of design. Space is too valuable to waste on clutter—every surface should serve a purpose, whether functional or beautiful. Start today: find one spot where a tissue box disrupts your peace, and replace it with something that works smarter and looks better.


 浙公网安备
33010002000092号
浙公网安备
33010002000092号 浙B2-20120091-4
Comments
No comments yet. Why don't you start the discussion?