
When venturing into the wilderness—whether hiking through alpine trails, backpacking across remote regions, or kayaking downriver—every ounce of gear matters. The less bulk, the better. That’s where a money clip steps in as an unsung hero of minimalist outdoor preparedness. Far from being just a sleek accessory for city professionals, a well-used money clip can be a practical, secure, and surprisingly resilient tool in the backcountry. When designed and used thoughtfully, it streamlines access to cash, reduces wallet clutter, and enhances peace of mind during physical activity.
The key lies not just in owning a money clip, but in using it effectively under real-world conditions: moisture, movement, terrain, and unpredictability. This guide breaks down how to integrate a money clip into your outdoor routine without compromising safety, accessibility, or durability.
Why a Money Clip Makes Sense Outdoors
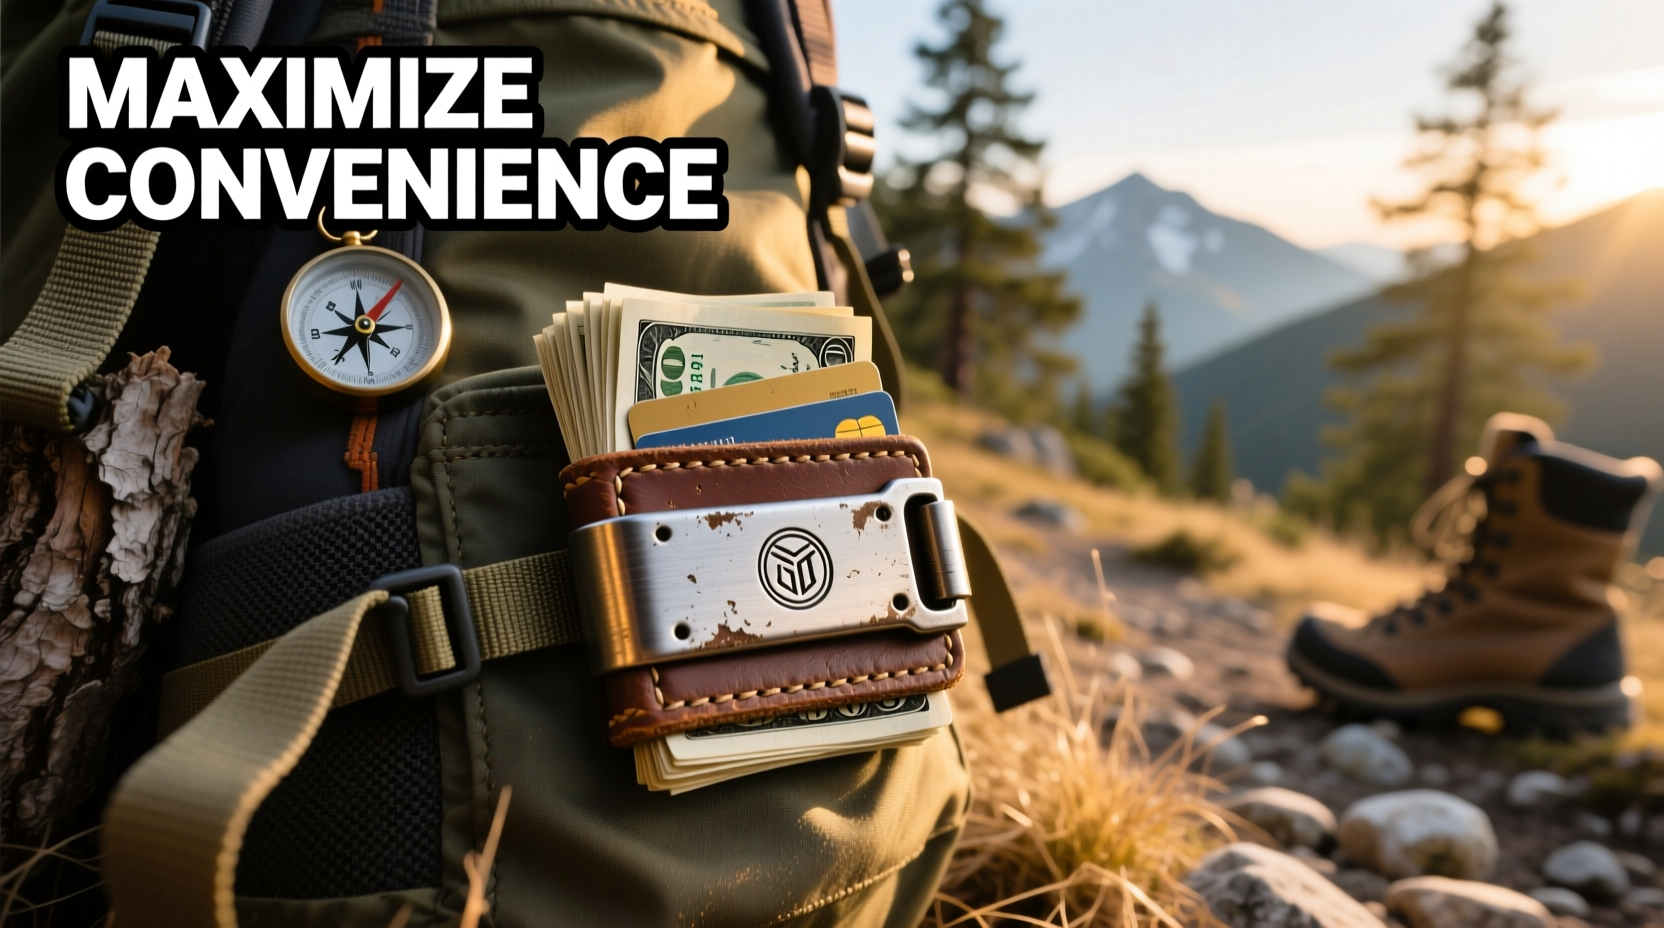
Traditional wallets are bulky, prone to water damage, and often awkward to retrieve while wearing gloves or with wet hands. A compact money clip eliminates these issues by holding only essential currency—typically folded bills and perhaps a single emergency credit card—securely and accessibly.
In fast-moving outdoor scenarios, simplicity wins. A lightweight metal or titanium clip takes up minimal space in a cargo pocket, jacket lining, or even a hydration pack’s zippered compartment. Unlike RFID-blocking wallets that add unnecessary weight, a money clip focuses purely on utility: keeping your cash organized and ready when needed.
“Minimalism isn’t about having less—it’s about carrying only what serves a purpose. In the wild, every item must earn its place.” — Daniel Reyes, Outdoor Gear Specialist and thru-hiker
Choosing the Right Money Clip for Adventure
Not all money clips are built for rugged use. Some are delicate, magnetic, or overly decorative—fine for urban commutes but ill-suited for trail conditions. For outdoor use, prioritize function over form.
Look for materials that resist corrosion and wear:
- Titanium: Lightweight, extremely durable, and rust-resistant.
- Stainless steel: Affordable, strong, and handles moisture well.
- Aluminum alloys: Lighter than steel but slightly less durable; best for low-impact trips.
Avoid plastic or leather-trimmed models unless they’re specifically rated for outdoor exposure. Also consider grip: textured edges or micro-grooves help prevent slippage when handling with damp fingers.
How to Load and Organize Your Money Clip
Overloading defeats the purpose. The goal is quick access, not replicating a wallet. Follow this step-by-step loading process:
- Fold four standard U.S. bills (or equivalent) lengthwise into thirds—this creates a compact stack roughly the size of a credit card.
- If including a card, choose one dedicated to emergencies only (e.g., prepaid Visa, medical ID).
- Slide the folded bills into the clip, ensuring the ends are evenly aligned.
- Place the card behind or between the bills if the clip allows dual retention.
- Test retrieval speed: unfold and refold the stack three times to confirm smooth handling.
Never carry more cash than necessary. For most day hikes or weekend trips, $20–$50 in small denominations is sufficient for unexpected expenses like park fees, trail snacks, or shuttle rides.
| Carry Item | Recommended? | Reason |
|---|---|---|
| Primary debit/credit card | No | Risk of loss; keep in main pack or locked compartment |
| Emergency cash only | Yes | Immediate access without reliance on tech |
| ID card | Sometimes | Only if frequently required at trailheads or checkpoints |
| Multiple currencies | Limited | Only if crossing borders; separate with paper divider |
Smart Placement: Where to Keep Your Money Clip Outside
Location is critical. You want your money accessible—but not so exposed that it falls out during a scramble or gets soaked in rain. Avoid front jeans pockets (prone to dropping items) and loose jacket flaps.
Best options include:
- Cargo pants inner pocket: Zippered or buttoned compartments offer protection from elements and motion.
- Insulated jacket chest pocket: Easily reachable with gloves on, and naturally shielded from wind and rain.
- Belt-mounted pouch: Designed for small essentials, often waterproof and GPS-trackable.
Never store your money clip loosely in a backpack side mesh pocket—too vulnerable to theft or accidental ejection during rapid movement.
Real-World Scenario: Backpacking the John Muir Trail
Consider Sarah, an experienced hiker tackling California’s John Muir Trail. She carries a titanium money clip loaded with two folded $20 bills and a backup prepaid card. It lives in the zippered chest pocket of her Patagonia Nano Puff jacket—a spot she checks instinctively each morning.
On day six, her phone dies unexpectedly, disabling digital payments. At a ranger station near Reds Meadow, she needs $10 for a mandatory permit update. Because her cash is immediately accessible—even with cold hands—she avoids delay and continues her ascent without stress.
Later, during a sudden thunderstorm, she zips her jacket fully closed. Her money stays dry, while a fellow hiker frantically dries waterlogged bills from a fabric wallet. The difference? Intentional placement and proper gear selection.
Common Mistakes and How to Avoid Them
Even seasoned adventurers make errors when integrating new systems. Here’s what to watch for:
- Overloading the clip: Too many bills weaken grip and increase bulk. Stick to 4–6 folded notes max.
- Using weak magnets: Magnetic clips may fail under vibration or temperature shifts. Opt for mechanical spring tension instead.
- Ignoring redundancy: Always have a secondary stash—taped inside a water bottle cap or sewn into a backpack liner.
- Forgetting local norms: In some rural areas, vendors prefer small bills. Break larger denominations early.
Essential Checklist: Preparing Your Money Clip for the Trail
- ✔ Choose a corrosion-resistant metal clip (titanium or stainless steel)
- ✔ Fold bills neatly and test retention strength
- ✔ Limit contents to emergency cash + one backup card
- ✔ Place in a secure, weather-protected pocket
- ✔ Confirm accessibility while wearing gloves or layers
- ✔ Establish a secondary cash hide spot in your pack
- ✔ Check clip condition monthly for wear or spring fatigue
Frequently Asked Questions
Can I use a money clip in extreme weather?
Yes, provided it’s made from non-corrosive material. Titanium and marine-grade stainless steel perform well in snow, humidity, and salt air. Just avoid leaving it exposed to prolonged moisture—dry it promptly if wet.
Is it safe to carry all my cash in a money clip?
Only if you diversify risk. Never rely solely on one point of storage. Hide a small backup amount elsewhere in your gear. If the clip is lost or stolen, you won’t be stranded without funds.
What if my money clip fails mid-trip?
Carry a temporary fix: a rubber band or carabiner clip can bundle cash securely until replacement. Many outdoor stores sell emergency cash holders near trailheads.
Final Thoughts: Simplicity as a Survival Skill
In outdoor adventures, reliability trumps luxury. A money clip isn’t just about style—it’s a tactical choice rooted in efficiency and resilience. When every second counts and every gram adds up, minimizing financial friction becomes part of your survival toolkit.
By selecting the right clip, organizing it wisely, and placing it strategically, you turn a simple piece of metal into a dependable ally against uncertainty. Whether you're summiting a peak or navigating a remote village, knowing your cash is secure and ready brings quiet confidence.


 浙公网安备
33010002000092号
浙公网安备
33010002000092号 浙B2-20120091-4
Comments
No comments yet. Why don't you start the discussion?