
As the holiday season approaches, a flickering or non-responsive outdoor Christmas light timer can throw a wrench into your festive plans. These small devices manage when your lights turn on and off, ensuring energy efficiency and consistent displays without manual intervention. When they fail, it’s more than an inconvenience—it disrupts ambiance, security, and sometimes even neighborhood traditions. Fortunately, most timer malfunctions stem from predictable causes that are relatively simple to diagnose and fix. Whether your lights stay on all night, won’t turn on at all, or behave erratically, this guide walks through real-world troubleshooting strategies backed by electrical safety principles and seasonal maintenance expertise.
Understanding How Outdoor Light Timers Work
Most outdoor Christmas light timers operate using either mechanical or digital programming. Mechanical models use a rotating dial with movable pins representing 15- or 30-minute intervals, while digital versions feature electronic displays, preset schedules, and sometimes Wi-Fi connectivity. Both types plug into standard outdoor GFCI (Ground Fault Circuit Interrupter) outlets and act as intermediaries between the power source and your string lights.
The core function is straightforward: based on user input, the timer closes or opens an internal switch to allow or block electricity flow. However, because these devices are exposed to moisture, temperature swings, insects, and voltage fluctuations, their reliability depends heavily on installation quality and environmental protection.
“Over 60% of reported timer failures during the holidays are due to water intrusion or outlet issues—not defective units.” — Greg Holloway, Residential Lighting Technician with 18 years of field experience
Step-by-Step Troubleshooting Process
Before replacing a timer, follow a systematic approach to identify the root cause. Jumping to conclusions often leads to unnecessary purchases or overlooked hazards. Use the following timeline-based diagnostic sequence:
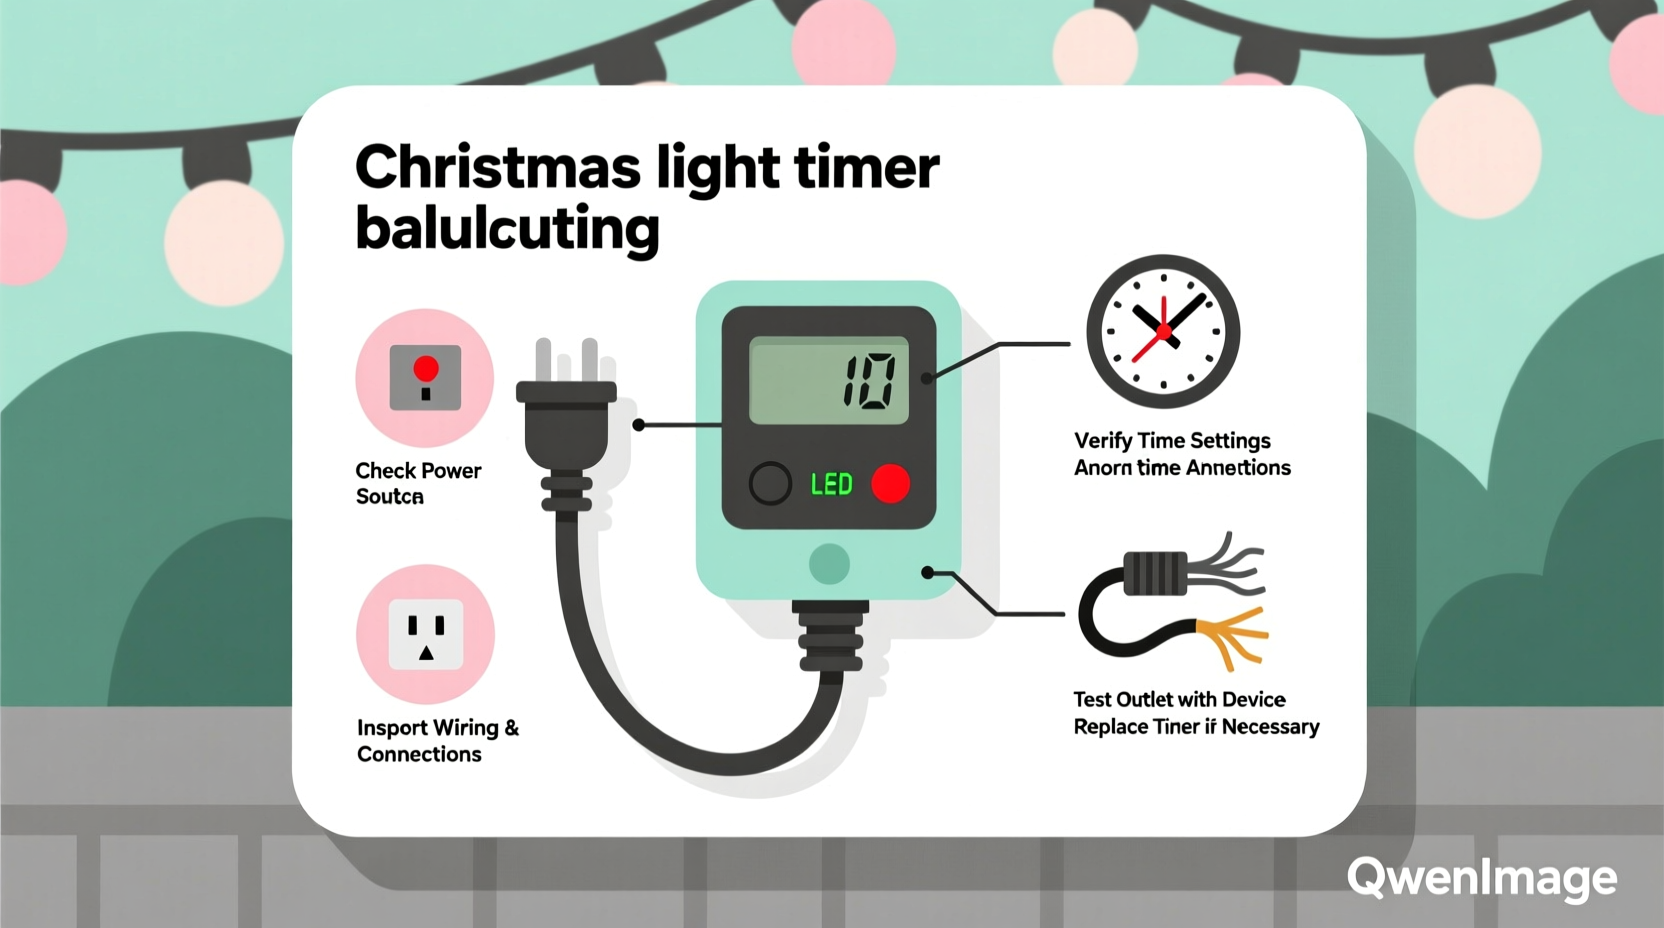
- Verify Power Supply (0–5 minutes)
Check if the outlet is live by plugging in another device like a phone charger or work light. If nothing powers on, the issue may be tripped GFCI, blown circuit breaker, or faulty outdoor receptacle. - Inspect Timer Display and Indicator Lights (5–10 minutes)
Digital timers should show time, mode, or status indicators. A blank screen suggests power delivery failure or internal fuse blowout. For mechanical units, ensure the clock motor is turning—the dial should advance steadily over several minutes. - Test Bypass Configuration (10–15 minutes)
Unplug the timer and connect the light string directly to the outlet. If the lights work, the problem lies with the timer. If not, the fault could be in the cords, bulbs, or main power source. - Examine Physical Condition (15–20 minutes)
Look for cracked housing, corrosion on prongs, swollen components, or signs of insect nests inside the timer casing. Moisture ingress often causes short circuits or erratic behavior. - Review Settings and Programming (20–30 minutes)
Ensure the correct time is set, especially after daylight saving changes. Check whether the timer is in manual override, test mode, or random setting instead of scheduled operation.
Common Causes and Practical Fixes
1. Moisture Damage and Corrosion
Outdoor timers are rated for damp environments, but few are fully waterproof unless specifically labeled “submersible” or “IP67-rated.” Snowmelt, rain splashback, or high humidity can seep into seams, leading to rusted terminals or shorted circuit boards.
To prevent this, install timers under eaves or use a dedicated weatherproof enclosure. Never leave them sitting directly on wet ground or concrete patios. Silicone sealant around cord entries can help—but avoid blocking ventilation slots.
2. Tripped GFCI or Blown Breaker
GFCI outlets automatically cut power when they detect current leakage—common with aged extension cords or damaged insulation. Press the \"Reset\" button on the outlet. If it trips again immediately, there's likely a downstream fault in the lighting circuit.
Similarly, check your home’s electrical panel. Holiday lighting loads can overload circuits, especially when multiple strands are daisy-chained beyond manufacturer limits (typically three sets per run).
3. Incorrect Time or Schedule Settings
Digital timers rely on accurate internal clocks. If the time resets to 12:00 after a power outage—or you forgot to adjust for daylight saving—you’ll see lights come on too early or too late.
Reprogram the current time first, then re-enter your desired on/off schedule. Some smart timers sync via smartphone apps and update automatically, reducing human error.
4. Overloaded Circuit Capacity
Timers have maximum load ratings—usually 10A or 1200W for standard models. Exceeding this limit overheats internal relays, causing premature failure or inconsistent switching.
Calculate total wattage: multiply the number of strings by their individual consumption (e.g., 40-watt incandescent × 5 strings = 200W). LED lights draw far less (often 5–10W per string), making them ideal for complex setups.
5. Internal Relay Failure or Motor Burnout
Mechanical timers use small synchronous motors to drive the clock mechanism. If the dial stops advancing despite having power, the motor may be seized due to age or cold temperatures below freezing.
Digital models use solid-state relays, which degrade over time with frequent cycling. A telltale sign is delayed activation (“lights come on 10 minutes late”) or partial functionality (only turns on, never off).
Troubleshooting Checklist
Use this concise checklist to methodically isolate and resolve timer problems:
- ✅ Confirm the outlet has power (test with another device)
- ✅ Reset any tripped GFCI outlets or household breakers
- ✅ Inspect timer for visible damage, moisture, or corrosion
- ✅ Verify correct time and programmed schedule
- ✅ Ensure total connected load does not exceed timer capacity
- ✅ Test lights by bypassing the timer temporarily
- ✅ Replace batteries in digital models with backup power
- ✅ Clean plug prongs with isopropyl alcohol if oxidized
- ✅ Reinstall timer in a sheltered location away from direct exposure
- ✅ Consider upgrading to a smart timer with remote monitoring
Comparison: Timer Types and Reliability Factors
| Type | Lifespan | Weather Resistance | Load Capacity | Best For |
|---|---|---|---|---|
| Mechanical Dial | 2–4 seasons | Moderate (requires cover) | Up to 1200W | Simple schedules, budget setups |
| Digital Plug-In | 3–5 seasons | Good (sealed housing) | Up to 1200W | Precise timing, multi-event programs |
| Wi-Fi Smart Timer | 4+ seasons | Excellent (indoor/outdoor rated) | Up to 1800W (varies) | Remote control, automation, voice commands |
| Analog Photocell | 1–3 seasons | Fair (sensor exposed) | Up to 1000W | Sunset/sunrise activation only |
Note: All outdoor timers should be used with GFCI protection regardless of type. This significantly reduces electrocution risk in wet conditions.
Real Example: Resolving a Persistent Timer Issue
In December 2023, homeowner Maria T. in Portland, Oregon, reported her digital timer worked intermittently—sometimes turning lights on at midnight instead of dusk. After ruling out app syncing errors (she used a Wi-Fi model), she discovered the outlet beneath her porch was degraded due to years of moisture exposure. Though the timer appeared functional, voltage drops prevented stable communication with the relay.
She replaced the old exterior box with a new PVC weather-resistant model and relocated the timer inside a sealed junction box fed by a conduit. The system ran flawlessly thereafter. Her case highlights how external factors—even those seemingly unrelated—can mimic timer defects.
When to Upgrade vs. Repair
While many issues are repairable, some situations call for replacement:
- Age: Timers older than five years may lack modern safety features and compatibility with LED systems.
- Frequent Failures: If you're replacing fuses or resetting monthly, internal wear has likely compromised long-term reliability.
- Desire for Automation: Smart timers integrate with Alexa, Google Home, or scheduling apps, offering sunrise tracking, vacation modes, and real-time alerts.
- Safety Concerns: Cracked casings, sparking sounds, or warm housings indicate immediate replacement needs.
Modern alternatives offer greater precision and resilience. Look for models with surge protection, tamper-resistant outlets, and IP65+ weather sealing for extended durability.
Frequently Asked Questions
Why do my Christmas lights turn on but not off?
This typically indicates a stuck relay or incorrect timer mode. First, confirm the “off” time is programmed. Then check if the timer is in “manual on” or “always on” mode. If settings are correct, the internal switch may be fused closed due to overload or heat damage—replace the unit.
Can I use an indoor timer outdoors?
No. Indoor timers lack weatherproofing and are unsafe for exterior use. Even brief exposure to rain or snow can create shock hazards or fire risks. Always use timers explicitly rated for outdoor applications (look for UL listing and NEMA 3R or higher).
How can I protect my timer from winter weather?
Install it in a covered area such as under soffits or within a locked weatherproof enclosure. Elevate it off the ground and avoid locations prone to ice dams or pooling water. Use drip loops in cords to prevent water from running into connections.
Final Recommendations and Prevention Tips
Preventing timer failure starts before installation. Choose quality components designed for outdoor duty, respect load limits, and prioritize dry mounting locations. At the end of each season, clean and store timers indoors to extend lifespan. Dust buildup, rodent nesting, and condensation accelerate wear when left unchecked.
Label cords and keep a log of settings annually—this saves time during setup and helps spot recurring issues early. For large displays, consider splitting circuits across multiple timers to reduce strain and improve redundancy.
“A well-maintained timer should last through five holiday seasons or more. The key is treating it like any other electrical appliance—protect it, inspect it, and don’t overload it.” — National Electrical Manufacturers Association (NEMA) Holiday Safety Bulletin, 2024
Conclusion
A malfunctioning outdoor Christmas light timer doesn’t mean your holiday display has to go dark. With methodical testing and attention to detail, most problems can be resolved quickly and safely. From verifying basic power flow to upgrading outdated equipment, every step brings you closer to a reliable, radiant display. Don’t let technical glitches dim the spirit of the season—apply these proven solutions and enjoy peace of mind knowing your lights will shine right on schedule.


 浙公网安备
33010002000092号
浙公网安备
33010002000092号 浙B2-20120091-4
Comments
No comments yet. Why don't you start the discussion?