
Building something from scratch—be it a physical object, a software application, a business, or even a new habit—requires more than just enthusiasm. It demands clarity, planning, and persistence. While the idea of starting from nothing can feel overwhelming, breaking the process into structured phases transforms uncertainty into action. This guide outlines a universal framework applicable across domains, grounded in real-world execution principles used by makers, engineers, entrepreneurs, and creators.
1. Define Your Purpose and Scope
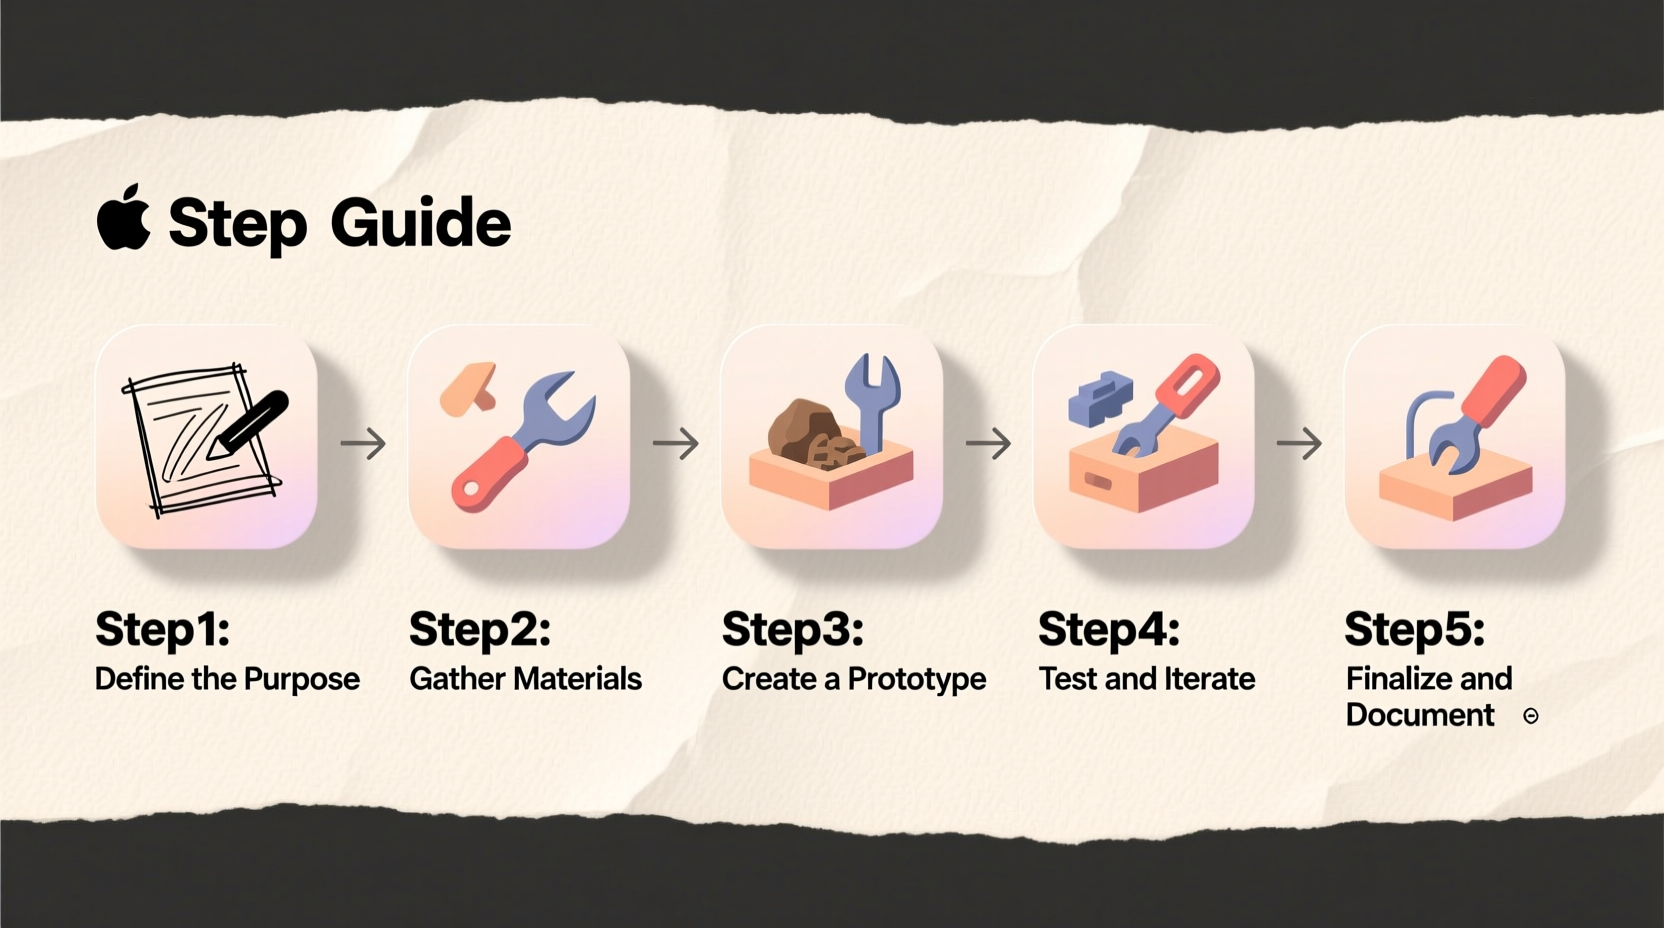
Every successful build begins with a clear “why.” Without a defined purpose, efforts scatter, timelines stretch, and motivation fades. Start by asking: What problem are you solving? Who benefits from this creation? Is the goal functional, artistic, educational, or commercial?
Once purpose is established, define scope. A common pitfall is overambition—attempting too much too soon. Instead, focus on a Minimum Viable Build (MVB): the simplest version that delivers core value. For example, if building a wooden bookshelf, your MVB might be a three-shelf unit using basic joints, not an ornate cabinet with drawers and glass doors.
Ask These Foundational Questions:
- What does success look like when this is finished?
- What resources (time, tools, materials, knowledge) do I already have?
- What constraints (budget, space, deadlines) must I respect?
- Can this be broken into smaller, testable components?
2. Research and Gather Knowledge
You don’t need to know everything upfront, but you must know enough to start intelligently. Research isn’t about endless reading—it’s targeted learning focused on immediate next steps. Identify knowledge gaps early: Do you understand material properties? Are there safety considerations? Is there existing technology or design you can adapt?
Use multiple sources: books, tutorials, forums, expert interviews. Watch video demonstrations. Study similar builds—not to copy, but to learn what worked and what didn’t.
“Amateurs gather inspiration. Professionals gather information.” — David Heinemeier Hansson, creator of Ruby on Rails
Effective Research Tactics:
- Search for case studies or open-source projects related to your idea.
- Join online communities (Reddit, Discord, specialized forums) and ask specific questions.
- Reverse-engineer existing products to understand their construction logic.
- Document findings in a simple log—dates, sources, key takeaways.
3. Plan with Precision
A plan turns vision into sequence. Begin with a high-level roadmap: major phases, estimated time per phase, and milestones. Then drill down into actionable tasks.
Use a task breakdown structure. For instance, building a custom desk involves phases like design, material sourcing, cutting, assembly, finishing. Each phase contains subtasks—measuring wood, sanding edges, applying varnish.
| Phase | Key Tasks | Tools Needed | Time Estimate |
|---|---|---|---|
| Design | Draft sketch, calculate dimensions, choose materials | Pencil, ruler, graph paper or CAD software | 2–4 hours |
| Sourcing | Buy lumber, screws, finish; verify quality | Shopping list, tape measure | 1 day |
| Construction | Cut pieces, assemble frame, secure joints | Saw, drill, clamps, screwdriver | 6–8 hours |
| Finishing | Sand, stain, seal, inspect | Sander, brushes, ventilation | 4–6 hours |
4. Execute in Iterations
Start building, but not all at once. Work in cycles: build a small part, test it, evaluate, adjust. This iterative approach prevents large-scale rework later.
For example, when assembling furniture, dry-fit all pieces before applying glue. When coding software, write one function, test it, then move on. Each iteration validates assumptions and builds confidence.
Mini Case Study: Building a Solar-Powered Garden Light
Maya wanted to create outdoor lighting without wiring. She started small: she bought a single solar panel, LED, and rechargeable battery. Her first prototype wouldn’t turn on at night. Testing revealed the light sensor was blocked. She adjusted placement, added a resistor, and tested again. By the third iteration, it worked reliably. Only then did she scale to five units. This incremental method saved time, money, and frustration.
“Ideas are easy. Execution is everything.” — Chris Guillebeau, author and builder of multiple ventures
5. Troubleshoot and Adapt
No build goes exactly as planned. Problems reveal themselves only through doing. When issues arise—misaligned cuts, code errors, structural weakness—don’t see them as setbacks. See them as data.
Adopt a diagnostic mindset: observe, isolate, test. If a drawer sticks, is it the frame, the slide mechanism, or humidity swelling the wood? Change one variable at a time. Keep a log of problems and solutions—it becomes a personal knowledge base for future projects.
Do’s and Don’ts of Troubleshooting
| Do | Don't |
|---|---|
| Test one change at a time | Make multiple adjustments simultaneously |
| Take notes on what failed and why | Assume the same solution will work every time |
| Ask for help early | Struggle silently for days |
| Verify tools are calibrated (e.g., saw blade square) | Blame materials before checking your process |
Frequently Asked Questions
How do I start if I’ve never built anything before?
Begin with a simple, low-cost project that uses accessible tools. Assemble a birdhouse, wire a lamp, or code a “hello world” webpage. The goal isn’t perfection—it’s completing a full cycle from idea to working result. Success builds competence.
What if I don’t have the right tools?
Many builds can be adapted. Use hand tools instead of power tools. Substitute materials where possible. Libraries, makerspaces, and community workshops often offer tool access. Focus on learning the principle, not the equipment.
How long should a typical build take?
It varies widely. A small project might take 5–10 hours over a weekend. Larger ones span weeks or months. What matters is consistency. Two focused hours weekly yield more progress than sporadic 10-hour marathons.
Conclusion: Start Small, Build Often
Building from scratch is not reserved for experts. It’s a practice available to anyone willing to define a goal, gather knowledge, plan steps, and act. The most important moment is the first one—when you decide to begin. Every master builder was once a beginner holding a poorly cut piece of wood or debugging a line of faulty code.
Use this guide as a repeatable framework. Apply it to your next DIY shelf, website, recipe, or garden. With each completed project, your confidence grows, your judgment sharpens, and your ability to solve problems expands. Creation is a skill, and like any skill, it improves with deliberate effort.


 浙公网安备
33010002000092号
浙公网安备
33010002000092号 浙B2-20120091-4
Comments
No comments yet. Why don't you start the discussion?