
Scaling down dimensions is a fundamental skill across design, construction, engineering, and creative fields. Whether you're building a model of a house, resizing a pattern for sewing, or adapting furniture plans to fit a smaller space, accuracy in scaling ensures your final product maintains proportion, function, and aesthetic integrity. Missteps in scaling can lead to wasted materials, structural flaws, or designs that simply don’t work in practice. This guide breaks down the essential principles, tools, and techniques to help you scale down dimensions with precision—no matter the project.
Understand the Purpose and Proportion
Before adjusting any measurement, clarify why you're scaling down. Are you creating a prototype? Adapting a blueprint to fit a compact room? Or designing a miniature version for presentation? The purpose determines how strictly you must adhere to proportional accuracy.
Proportion is key. Scaling isn't just about making something smaller—it's about preserving the relationship between width, height, depth, and detail. A 1:5 scale model, for instance, means every dimension is reduced to one-fifth of the original. If you reduce length but not height consistently, the result will look distorted.
Choose the Right Scale Ratio
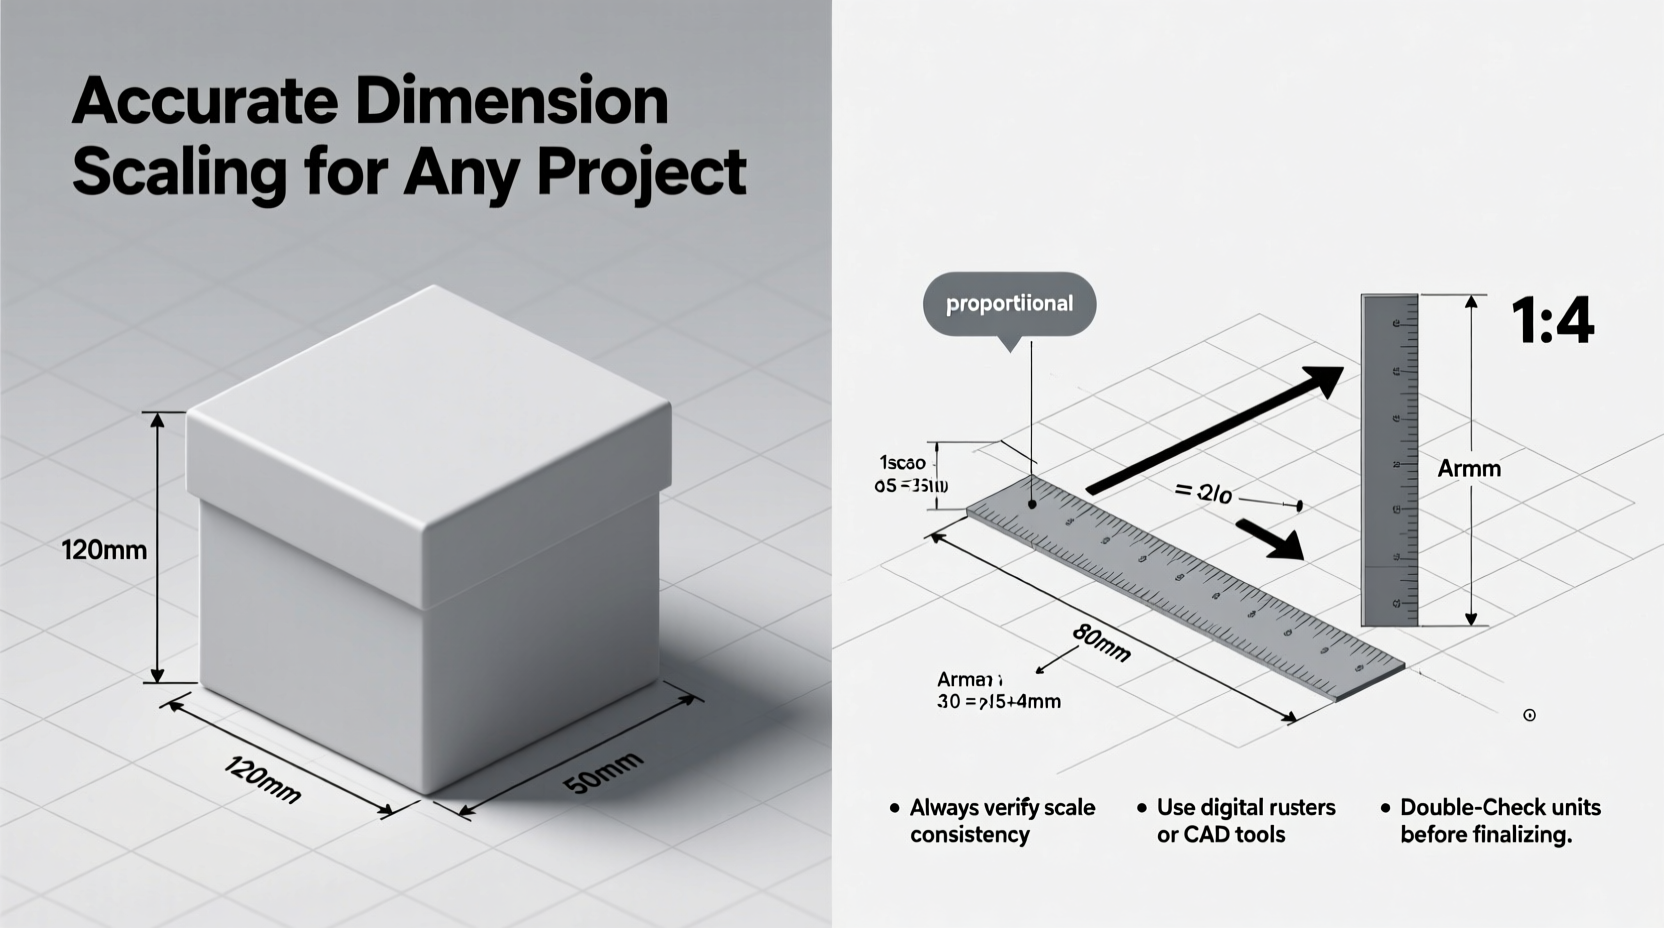
The scale ratio defines how much smaller the new version will be. Common ratios include 1:2 (half size), 1:10 (one-tenth), or 1:50 (common in architectural drawings). Selecting the appropriate ratio depends on several factors:
- Available space: Will the scaled-down version fit in its intended location?
- Level of detail needed: Smaller scales may lose fine features; larger reductions require careful planning.
- Material constraints: Some materials don’t perform well at very small scales (e.g., thick wood in intricate models).
For example, a dollhouse builder might use a 1:12 scale so that 1 inch equals 1 foot, allowing realistic detailing. In contrast, an engineer modeling a bridge might use 1:100 to fit the entire structure on a single sheet.
“Proportional fidelity separates amateur models from professional-grade representations.” — Marcus Lin, Architectural Model Designer
Step-by-Step Guide to Accurate Dimension Scaling
Follow this logical sequence to scale down any set of dimensions reliably:
- Gather original measurements: Record all relevant dimensions—length, width, height, diameter, etc.—in consistent units (preferably metric or imperial, not mixed).
- Determine your scale ratio: Decide whether you need a 1:4, 1:10, or another reduction based on your project goals.
- Convert using division: Divide each original measurement by the second number in the ratio. For a 1:5 scale, divide every dimension by 5.
- Round strategically: If results aren’t whole numbers, decide whether to round up, down, or use fractions. Maintain consistency across all parts.
- Double-check proportions: After conversion, verify that relationships between components remain intact (e.g., door height vs. wall height).
- Create a scaled sketch or plan: Draw the new dimensions to visualize the outcome before cutting materials.
- Test with mock-ups if possible: Use cardboard or paper to build a quick prototype and assess spatial accuracy.
Common Pitfalls and How to Avoid Them
Even experienced makers make mistakes when scaling. Recognizing these common issues helps prevent costly errors:
| Pitfall | Why It Happens | Solution |
|---|---|---|
| Inconsistent scaling across axes | Only reducing one dimension (e.g., width) while ignoring others | Apply the same ratio to all measurements |
| Ignoring material thickness | Not accounting for added bulk from glue, seams, or joinery | Subtract joint allowances *after* scaling, or adjust early |
| Over-rounding measurements | Rounding too aggressively leads to cumulative inaccuracies | Keep decimals during calculation; round only final cuts |
| Using mixed units | Mixing feet and inches or centimeters and millimeters | Convert everything to a single unit before scaling |
Real Example: Scaling a Garden Shed Plan
A homeowner wanted to build a storage shed but found commercial plans too large for their backyard. The original design was 10 ft × 8 ft. They decided on a 1:2 scale to halve the footprint.
They converted each dimension: 10 ÷ 2 = 5 ft, 8 ÷ 2 = 4 ft. Wall heights, window placements, roof pitch, and door size were all divided by two. However, they initially forgot to adjust the recommended lumber size—using full 2×4 studs would have made walls disproportionately thick. By switching to 1×2 strips (scaled equivalent), they preserved visual balance.
The result was a functional, proportional mini-shed that matched the original design intent while fitting perfectly into the available space.
Checklist: Pre-Scaling Preparation
Use this checklist before beginning any scaling task:
- ☑ All original dimensions are recorded and verified
- ☑ Units are standardized (all in inches or all in cm)
- ☑ Desired scale ratio is chosen and documented
- ☑ Tools are ready (calculator, ruler, graph paper, or software)
- ☑ Material limitations are considered (minimum cut size, flexibility)
- ☑ Joint and seam allowances are accounted for in final adjustments
- ☑ A test layout or drawing has been created
Tools and Techniques for Precision
While manual calculations work, leveraging tools improves speed and accuracy:
- Scale rulers: Triangular rulers marked with multiple scales (e.g., 1:10, 1:20) allow direct measurement without math.
- Graph paper: Ideal for hand-drawing scaled layouts. Choose grid sizes that match your ratio (e.g., 1 square = 1 inch at 1:12 scale).
- Spreadsheet formulas: Enter original values once, then apply automatic division across columns.
- CAD or vector software: Programs like SketchUp, AutoCAD, or Adobe Illustrator let you resize objects precisely and maintain aspect ratios.
When working manually, always label scaled drawings clearly with the ratio used. Mislabeling a 1:4 drawing as 1:5 can cause cascading errors downstream.
Frequently Asked Questions
Can I scale down irregular shapes accurately?
Yes. Break complex shapes into measurable segments—triangles, curves with radius points, or grids. Use coordinate scaling: map key points on an X-Y grid and reduce each coordinate by the scale factor. For organic forms, consider using proportional dividers or digital tracing tools.
What if my scaled dimensions result in awkward fractions?
This is common. You can either round to the nearest standard measurement (e.g., 3/8\", 1/2\") or adjust slightly while keeping overall proportions balanced. Just ensure all related parts are adjusted uniformly to avoid misalignment.
Do I need to scale fasteners and hardware too?
Functionally, yes—but practically, no. While a screw should technically be smaller in a scaled model, real-world hardware comes in fixed sizes. Instead, choose the closest available fastener and focus on visual proportion. In non-functional models, decorative pins or dots can simulate hardware without mechanical requirements.
Final Thoughts: Accuracy Builds Confidence
Scaling down dimensions isn’t just arithmetic—it’s a blend of technical precision and design awareness. When done correctly, it allows you to translate big ideas into manageable, buildable forms without losing their essence. Whether you're a hobbyist building a model train layout or a designer prototyping a product, mastering scaling empowers you to innovate within constraints.
The difference between a rough approximation and a professionally executed scaled piece often comes down to attention to detail: consistent ratios, thoughtful rounding, and respect for proportion. These habits compound over time, elevating the quality of every project you undertake.


 浙公网安备
33010002000092号
浙公网安备
33010002000092号 浙B2-20120091-4
Comments
No comments yet. Why don't you start the discussion?