
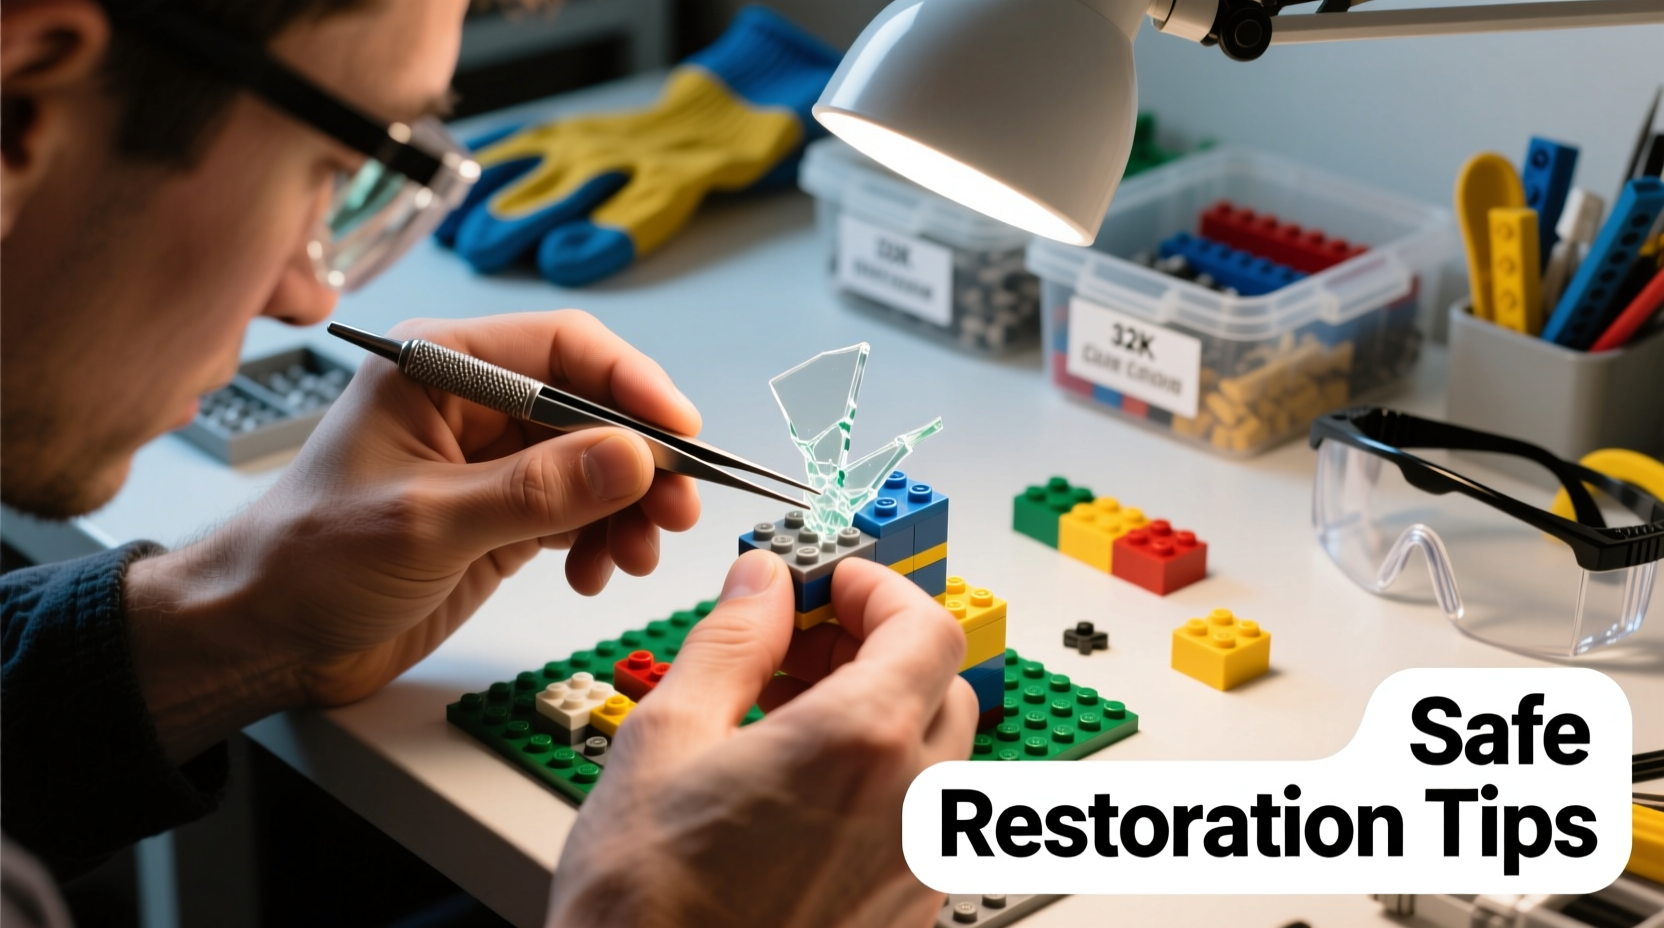
Building blocks—whether LEGO, Megabloks, or other interlocking systems—are engineered for durability, but over time, wear, environmental exposure, or improper handling can lead to damage. Chipped edges, faded colors, cracked connectors, or warped bricks compromise both play value and structural performance. While replacement is often the easiest solution, many damaged pieces can be safely restored with the right approach. This guide offers tested, non-destructive techniques to extend the life of your collection while maintaining safety and functionality.
Assessing Damage: Know What Can Be Saved
Not every damaged piece is a candidate for restoration. The first step is accurate diagnosis. Minor surface scratches or light discoloration are typically cosmetic and easily addressed. However, structural flaws—such as cracks near connection points, warping, or deep fractures—require careful evaluation before any intervention.
Focus on three key areas:
- Connectivity: Can the piece still securely attach to others without slipping?
- Integrity: Are there stress fractures that could worsen under pressure?
- Safety: Are there sharp edges or loose fragments that pose a hazard?
Pieces with compromised structural zones should be retired from active builds, particularly in models intended for children or load-bearing applications. Cosmetic-only damage, however, opens the door for safe restoration.
Safe Cleaning Methods for Surface Restoration
Dirt, grime, and oxidation often mimic more serious damage. Before attempting repairs, clean the piece thoroughly using gentle, material-safe techniques.
- Soak in warm soapy water: Use lukewarm water (never boiling) with a few drops of mild dish soap. Soak for 10–15 minutes. Avoid prolonged soaking, which can degrade plastic over time.
- Scrub gently: Use a soft-bristled toothbrush to remove debris from crevices. Never use metal tools or abrasive pads.
- Rinse and air-dry: Rinse under cool running water and lay flat on a lint-free towel. Do not use heat sources like hair dryers.
For yellowed or oxidized ABS plastic (common in older sets), a hydrogen peroxide and UV light treatment can restore color. Mix 3% hydrogen peroxide with OxyClean (sodium percarbonate) in a 1:1 ratio, submerge the piece in a clear container, and place it under direct sunlight or a UV lamp for 2–6 hours. Monitor closely to avoid overexposure.
“Plastic degradation starts at the molecular level. Gentle cleaning prevents further breakdown and can reverse superficial aging.” — Dr. Lena Torres, Materials Scientist, Polymer Research Institute
Repair Techniques for Common Damage Types
When physical damage occurs, targeted repair strategies can stabilize or improve function. Always prioritize safety and compatibility with original materials.
Fixing Cracked Studs or Tubes
The internal tubes and external studs are the most vulnerable to breakage. Small cracks may not immediately impair function but can propagate under stress.
A low-temperature plastic adhesive designed for ABS (acrylonitrile butadiene styrene) can bond minor fractures. Apply sparingly with a pin tip, clamp lightly if possible, and allow 24 hours to cure in a dust-free environment.
Smoothing Sharp Edges
If a piece has chipped and created a sharp point, carefully smooth it using fine-grit sandpaper (600+ grit). Wet-sanding reduces dust and prevents overheating. After smoothing, clean thoroughly to remove particulate residue.
Reinforcing Warped Bricks
Warped pieces often result from heat exposure. To gently reshape them, place the brick between two flat, heat-resistant surfaces (like ceramic tiles) and apply light weight. Warm the assembly slightly using a radiator or indirect heat source (not exceeding 40°C / 104°F). Monitor every 15 minutes and stop once the shape stabilizes.
| Damage Type | Recommended Action | Avoid |
|---|---|---|
| Surface Scratches | Clean, polish with microfiber | Steel wool, solvents |
| Yellowing/Oxidation | Hydrogen peroxide + UV treatment | Bleach, scrubbing hard |
| Cracked Studs | ABS-safe adhesive, minimal application | Super glue on large areas |
| Warping | Controlled reshaping with light heat | Oven, boiling water |
| Faded Printing | No safe restoration; preserve as-is | Repainting with permanent markers |
Real-World Example: Restoring a Vintage Technic Gear
Mark, a collector in Manchester, inherited a 1980s LEGO Technic set with several cracked gear wheels. Rather than replace them (which would reduce authenticity), he stabilized the fractures using a solvent-based ABS cement applied via syringe. He clamped each gear between foam-lined boards and allowed seven days for full fusion. Post-repair, the gears rotated smoothly and held torque during testing. Mark now uses these in display models only, avoiding high-stress mechanisms.
This case illustrates that with patience and precision, even delicate components can be preserved—without risking safety or long-term stability.
Prevention and Long-Term Care Checklist
Restoration is valuable, but prevention reduces the need for intervention. Follow this checklist to protect your collection:
- ✅ Store pieces in climate-controlled environments (avoid attics, garages)
- ✅ Keep away from direct sunlight to prevent UV degradation
- ✅ Sort by type and size to minimize pressure on fragile parts
- ✅ Rotate display models periodically to reduce static stress
- ✅ Use original boxes or modular storage with dividers
- ✅ Clean hands before handling to reduce oil transfer
- ✅ Inspect builds regularly for early signs of fatigue
Frequently Asked Questions
Can I use glue on building blocks without ruining them?
Yes, but only with plastics-compatible adhesives like ABS cement or cyanoacrylate formulated for rigid polymers. Apply minimally and avoid gluing entire assemblies unless creating a permanent display. Over-gluing weakens surrounding material and creates brittle zones.
Is it safe to repair pieces used by young children?
No. Repaired pieces should not be used in toys handled by children under 6. Even well-bonded fractures can fail unexpectedly, posing choking hazards. Reserve restored bricks for adult collections or static displays.
How do I know if a crack will get worse?
Inspect under bright light and magnification. If the crack extends into a load-bearing area (like inside a tube or along a stud wall), it’s likely to propagate. Tap the area lightly—if you hear a hollow or inconsistent sound, internal stress may already be present.
Conclusion: Preserve with Purpose
Restoring damaged building blocks isn’t about perfection—it’s about thoughtful stewardship of functional design. By applying safe, science-backed methods, enthusiasts can rescue valuable or sentimental pieces without compromising safety. Whether preserving vintage sets, replacing rare components, or simply reducing waste, every careful repair reflects respect for engineering and craftsmanship.


 浙公网安备
33010002000092号
浙公网安备
33010002000092号 浙B2-20120091-4
Comments
No comments yet. Why don't you start the discussion?