
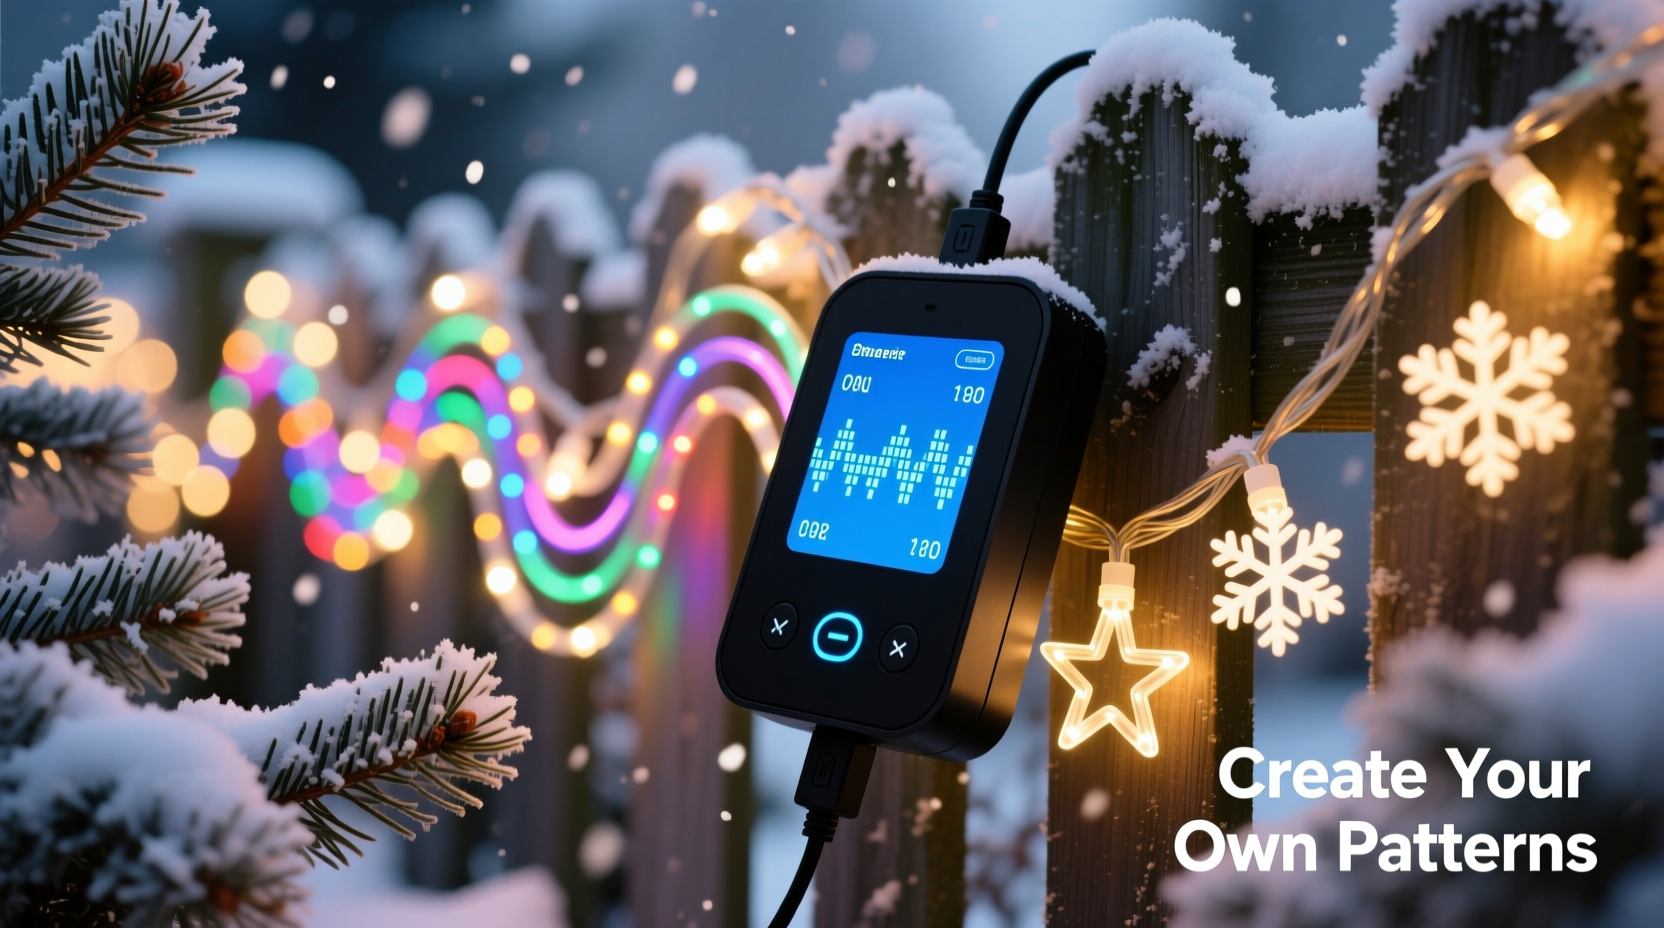
For decades, holiday lighting meant static strings or simple twinkle modes—predictable, charming, but limited. Today’s programmable Christmas light controllers change that entirely. They transform seasonal displays into dynamic, expressive canvases: synchronized to music, responsive to motion, or animated with bespoke sequences crafted in your garage or living room. The short answer is yes—you *can* make your own patterns. But the deeper question isn’t just “can you?” It’s “how do you do it well, reliably, and without frustration?” This article cuts through marketing hype and fragmented tutorials to deliver a grounded, practical roadmap for designing original light animations—from first-time hobbyist to intermediate maker.
How Programmable Controllers Actually Work (Beyond the Buzzwords)
At their core, programmable Christmas light controllers are microcontroller-based devices that send timed electrical signals to individual LEDs or LED segments. Unlike basic timers or remote-controlled dimmers, they interpret instructions—often written in code or configured via visual software—to determine precisely when each pixel (or group) turns on/off, changes color, fades, pulses, or transitions. Most modern systems use either WS2811/WS2812B (commonly called “NeoPixel”) or APA102 (“DotStar”) addressable LEDs, where each bulb contains its own tiny driver chip. That enables per-pixel control—the essential foundation for custom patterns.
Controllers range from plug-and-play units like the Light-O-Rama PixLite or Falcon F16v3 (used by professional display builders) to low-cost, open-hardware options like the ESP32 or Raspberry Pi Pico paired with a simple MOSFET board. What separates true programmability from “preset-only” devices is access to the underlying logic layer: the ability to edit, compile, and upload new behavior—not just select from factory-loaded effects.
Three Realistic Paths to Custom Pattern Creation
Not all DIY routes are equal in effort, cost, or flexibility. Here’s how the most viable options compare in practice:
| Approach | Hardware Required | Technical Barrier | Pattern Flexibility | Best For |
|---|---|---|---|---|
| Visual Sequencing Software (e.g., xLights, Vixen Lights) |
USB-connected controller (e.g., FPP, SanDevices E68x), 12V power supply, addressable lights | Low-to-moderate: drag-and-drop timeline, no coding needed—but requires learning signal timing, channel mapping, and export workflows | High: frame-by-frame precision, audio sync, multi-universe support, complex transitions | Home display builders prioritizing reliability and repeatability over raw code control |
| Microcontroller Coding (e.g., Arduino IDE + FastLED library) |
ESP32 or Arduino Nano, level shifter, power supply, soldering tools | Moderate-to-high: requires understanding of C++ syntax, loops, arrays, and timing functions; debugging often involves serial logs and trial-and-error | Maximum: full control over every millisecond, conditional logic (e.g., “if temp < 5°C, shift to cool-blue palette”), sensor integration | Hobbyists comfortable with electronics and eager to build interactive or adaptive displays |
| Web-Based Scripting (e.g., WLED on ESP32) |
Pre-flashed ESP32-based controller (like NodeMCU), Wi-Fi network, browser | Low: configure palettes, speed, and blending via intuitive UI; advanced users can write Lua snippets or modify JSON effect definitions | High for customization: 100+ built-in effects, customizable parameters, REST API for external triggers | Beginners wanting quick wins plus room to grow—no IDE setup or compilation required |
The choice isn’t about “best,” but fit. A retired teacher building a 200-bulb porch display may thrive with xLights’ visual timeline. A high-school robotics mentor might choose FastLED to teach students real-time embedded programming. And a busy parent who wants snowflake pulses triggered by doorbell motion? WLED’s MQTT integration delivers that in under an hour.
A Step-by-Step Guide: Building Your First Original Pattern (FastLED + ESP32)
This sequence assumes basic soldering skills and familiarity with installing Arduino IDE. No prior C++ experience is required—each step includes context and purpose.
- Assemble the Hardware: Solder a 5V power wire and data line from your ESP32 (GPIO 2 for most boards) to the input of a WS2812B strip. Add a 470Ω resistor between data line and strip input to reduce signal noise. Connect ground from ESP32 to strip and power supply common ground.
- Install Dependencies: In Arduino IDE, install the FastLED library (via Library Manager) and ESP32 board support (Tools > Board > Boards Manager > search “esp32”). Select “ESP32 Dev Module” and correct COM port.
- Create a Base Sketch: Start with FastLED’s “Blink” example. Replace the default loop with a simple color wipe: iterate through pixels one at a time, setting each to red, then delay 50ms before advancing.
- Add Parameterization: Define global variables for
speed(delay time),hue(color angle on HSV wheel), anddirection(boolean). Now your wipe can be slow or fast, warm or cool, left-to-right or right-to-left—all adjustable without rewriting logic. - Introduce State Logic: Add a counter that increments each loop. When it hits 100, switch to a new animation—say, a rainbow cycle. This creates a multi-phase pattern that evolves over time, not just repeats.
- Test & Refine: Upload, observe, adjust delays and color values. Use Serial.print() to log frame counts or sensor readings if extending later.
This six-step process yields more than a blink—it yields a *foundation*. From here, adding sound-reactive beats (using an electret mic module), weather-triggered effects (via OpenWeather API call), or even generative art (Perlin noise for organic shimmer) becomes iterative—not foundational.
Real Example: The “Neighborhood Pulse” Display in Portland, OR
In 2023, software engineer Lena Ruiz converted her modest 120-foot roofline into a neighborhood landmark—not with brightness, but with intention. Using four ESP32s running FastLED and synced via Wi-Fi, she created a pattern she calls “Breathing House.” Each segment of lights mimics inhalation and exhalation: a soft white gradient sweeps inward from eaves toward the peak over 8 seconds, pauses for 2 seconds at full intensity, then recedes outward over 8 seconds. Hue subtly shifts from warm (2800K) at “inhalation” to cooler (4200K) at “exhalation,” simulating natural light temperature change.
Lena didn’t start with this vision. She began with the FastLED “Fire2012” demo, modified the color palette, slowed the speed, then replaced random flicker with a cosine wave for smooth acceleration/deceleration. She added a physical button to toggle between “Breathing,” “Starry Night” (gentle random twinkles), and “Holiday Chime” (audio-reactive pulses mapped to piano notes from a local radio stream). Her total build time: 14 hours over three weekends. Neighbors now refer to her home as “the breathing house”—proof that technical depth serves emotional resonance.
“Custom patterns aren’t about complexity—they’re about expressing something specific. A good pattern has rhythm, contrast, and intentionality. If your lights tell a story—even a quiet one about calm or warmth—that’s success.” — David Hines, Founder of HolidayLighting.com and co-author of Practical Pixel Mapping
What NOT to Do: Common Pitfalls and How to Avoid Them
Creating custom patterns is rewarding—but certain missteps waste time, damage hardware, or produce underwhelming results. These are the top five errors observed across maker forums, Reddit communities, and professional install reviews:
- Ignoring Power Distribution: Running long strips (>5m) from a single power injection point causes voltage drop—pixels at the far end appear dim or glitch. Solution: inject 5V power every 2–3 meters, using thick-gauge wire (16 AWG minimum) and separate ground connections.
- Overlooking Timing Constraints: WS2812B requires precise 800kHz data timing. Delays longer than ~5µs between bits corrupt the signal. Never use
delay()inside tight pixel loops—usemillis()-based non-blocking timing instead. - Skipping Ground Isolation: Connecting multiple controllers or power supplies without tying all grounds together creates floating references and erratic behavior. Always bond all DC negatives to a single common ground bus bar.
- Assuming “More Pixels = Better Effect”: A 1000-pixel chase looks cheap if poorly timed. Focus first on clean transitions, meaningful pacing, and intentional color theory—not pixel count. Start small: 30 pixels teach more than 300 rushed ones.
- Forgetting Thermal Management: High-brightness white LEDs on dense strips generate significant heat. Enclosing them in gutters or behind vinyl siding traps heat, accelerating LED degradation. Mount strips with airflow gaps, or reduce max brightness to 70% in enclosed runs.
FAQ: Practical Questions from First-Time Builders
Do I need to know how to code to make custom patterns?
No—but your options narrow. Visual sequencers like xLights require no coding, only time and attention to detail. WLED offers a middle path: configuration via web UI, with optional Lua scripting for advanced users. Only FastLED/Arduino demands C++ literacy. If coding feels daunting, begin with WLED or xLights. You’ll still design original sequences—you’ll just express them differently.
Can I mix different brands or types of addressable lights on one controller?
Technically yes—but strongly discouraged. WS2812B, SK6812, and APA102 have different voltage requirements, data protocols, and timing tolerances. Mixing them on a single data line causes unpredictable flickering or complete failure. Stick to one chipset per controller. If you must integrate legacy strings, use separate controllers and sync them via DMX or network time protocol (NTP).
How long does it realistically take to build and deploy a custom pattern?
For a modest 50-pixel display using WLED: under 2 hours (including wiring, flashing firmware, and adjusting settings). For a 300-pixel xLights sequence with audio sync: 6–10 hours spread over several sessions (mapping channels, editing beat markers, refining transitions). For a FastLED project with sensor integration: 12–20+ hours, depending on debugging complexity. The biggest time sink isn’t coding—it’s physical installation and power management.
Conclusion: Your Lights, Your Voice
Programmable Christmas light controllers are no longer niche tools for tech enthusiasts. They’re accessible, robust, and deeply expressive platforms—just waiting for your ideas. Whether you sketch animations in xLights’ timeline, tweak hue values in a WLED preset, or craft elegant C++ loops that respond to winter wind or midnight frost, you’re doing more than lighting up a house. You’re translating feeling into light: calm, joy, nostalgia, wonder. The hardware is merely the instrument. You hold the score.
Start small. Wire ten pixels. Make them breathe. Then make them pulse to your favorite carol. Then add a second strip—and choreograph them as partners. There’s no gatekeeper, no certification, no “right way” beyond what works for your space, your skill, and your spirit. The most memorable displays aren’t the brightest or longest—they’re the ones that feel unmistakably human.


 浙公网安备
33010002000092号
浙公网安备
33010002000092号 浙B2-20120091-4
Comments
No comments yet. Why don't you start the discussion?