
Over time, even the most durable hard iPhone cases accumulate scratches from daily use—keys in pockets, drops on concrete, or just friction against surfaces. While these marks may seem minor, they can dull the appearance of your device and diminish its overall aesthetic. The good news is that many scratches can be effectively reduced or removed using simple, accessible methods. With the right tools and techniques, you can restore clarity, shine, and protection to your case without spending money on a replacement.
Understanding Hard iPhone Case Materials
Most hard iPhone cases are made from polycarbonate, acrylic, or thermoplastic polyurethane (TPU). These materials offer rigidity and impact resistance but are prone to surface scratching. Unlike soft silicone cases that flex and absorb impacts, hard cases rely on their structural integrity, making visible scratches more noticeable—especially on transparent or glossy finishes.
The depth of the scratch determines the best restoration method. Surface-level scuffs disrupt light reflection and appear as white lines, while deeper grooves can catch fingernails and compromise structural aesthetics. Knowing the difference helps you choose the appropriate repair strategy.
“Surface scratches on polycarbonate cases are often optical illusions caused by micro-abrasions. With proper polishing, up to 90% can be eliminated.” — Dr. Alan Zhou, Materials Scientist at MobileTech Labs
Step-by-Step Guide: Removing Light to Moderate Scratches
For everyday wear-and-tear, non-invasive techniques work best. These methods preserve material integrity while improving visual clarity.
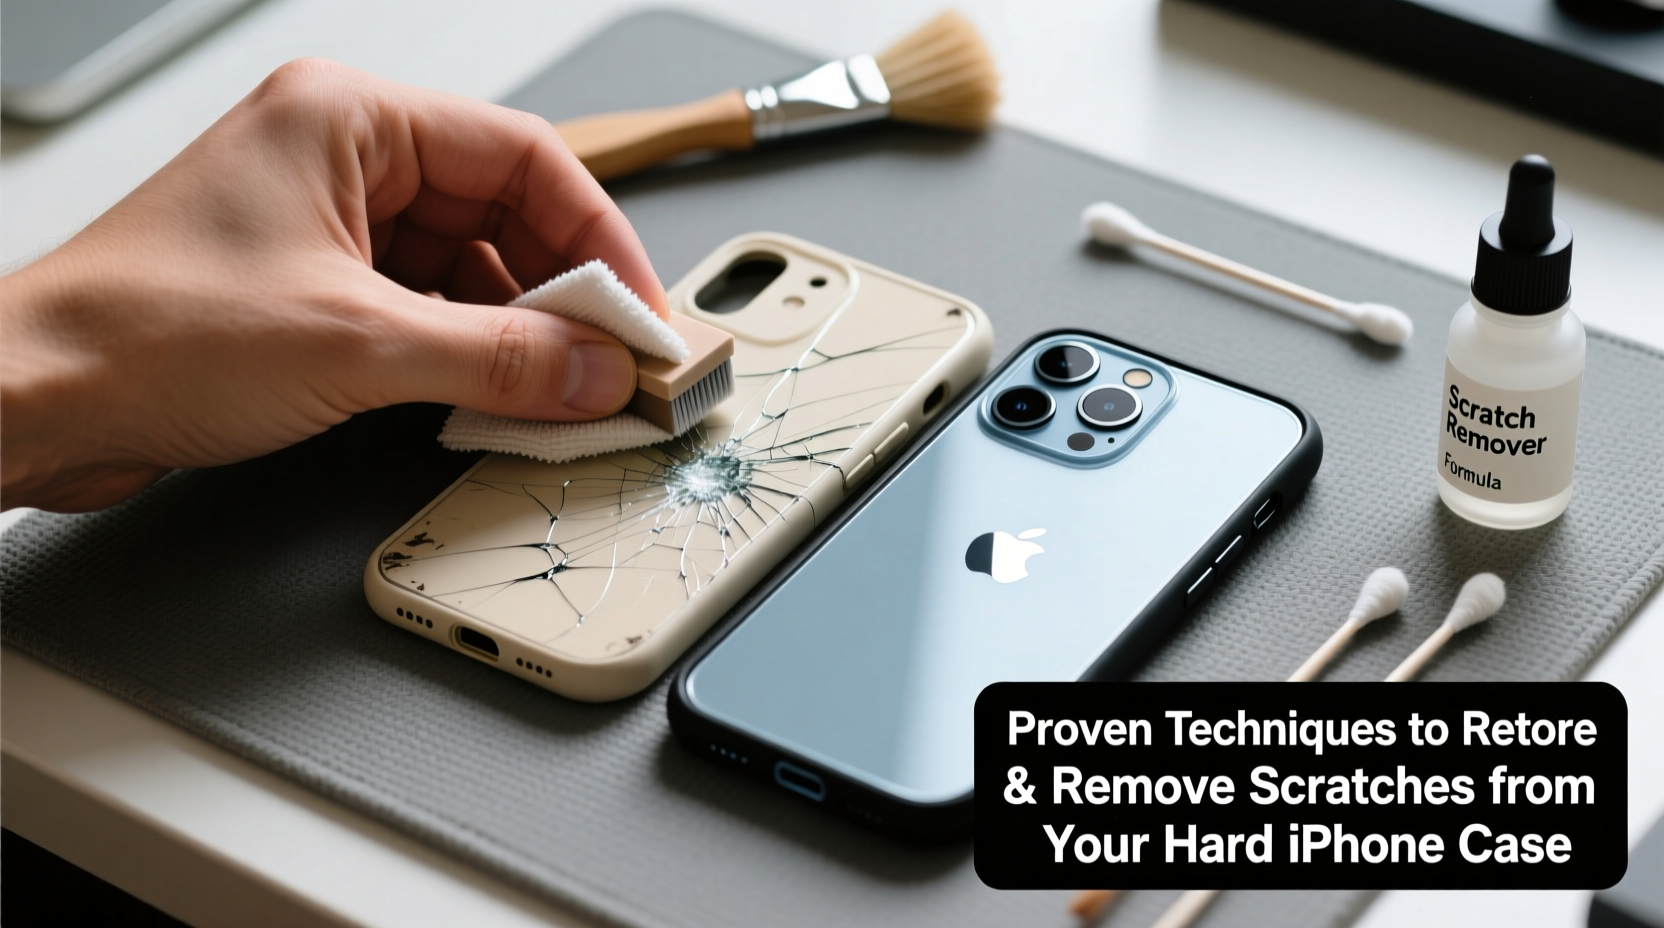
- Clean the case thoroughly: Use isopropyl alcohol (70%) and a microfiber cloth to remove dirt, oils, and debris from the surface. This prevents further abrasion during treatment.
- Apply toothpaste (non-gel, non-whitening): Squeeze a pea-sized amount onto the scratch. Rub gently in circular motions with a soft cloth for 30–60 seconds. The mild abrasives in standard toothpaste act like a fine polish.
- Rinse and dry: Wipe off residue with a damp cloth, then dry completely.
- Evaluate results: Repeat if necessary. Most light scratches fade significantly after one application.
Using Polishing Compounds for Deeper Scratches
When toothpaste fails, step up to automotive or plastic-specific polishing compounds. These products contain finer abrasives designed to level microscopic imperfections without removing excessive material.
Popular options include:
- Meguiar’s PlastX Scratch Remover
- Novus Plastic Polish (Level 2 for moderate scratches)
- Turtle Wax Renew Headlight Restoration Compound
Application steps:
- Apply a small amount of compound to a foam applicator pad.
- Work in 2-inch circular motions over the scratched area for 1–2 minutes.
- Wipe clean with a lint-free cloth.
- Repeat once if needed, then finish with a microfiber buff.
This method restores optical clarity by smoothing the surface so light passes through uniformly again. It's particularly effective on clear cases where scratches create haze.
Advanced Method: Wet Sanding for Severe Damage
For deep gouges or heavily scratched cases, wet sanding offers a more aggressive—but controlled—solution. This technique gradually removes thin layers of plastic to eliminate grooves.
You’ll need:
- Sandpaper (1500, 2000, and 2500 grit)
- Water spray bottle or bowl
- Soft sponge or cloth
- Plastic polish (for final finish)
- Soak sandpaper in water for 5 minutes.
- Hold the case under running water or keep it wet with a spray bottle.
- Begin with 1500-grit paper, sanding gently in straight lines across the scratch (not circular) to avoid uneven wear.
- Rinse frequently to check progress and remove debris.
- Move to 2000-grit, then 2500-grit, repeating the process with lighter pressure.
- Dry the case and apply plastic polish to restore gloss.
Caution: Do not exceed 2500 grit unless aiming for a matte finish. Over-sanding can thin the case and weaken protection.
| Scratch Type | Recommended Method | Expected Results |
|---|---|---|
| Light surface scuffs | Toothpaste or baking soda paste | 90% reduction after 1–2 applications |
| Moderate haze or multiple scratches | Plastic polishing compound | Near-complete clarity restoration |
| Deep grooves (nail catches) | Wet sanding + polish | Scratch removal with smooth finish |
| Cracks or structural damage | Replacement recommended | No safe DIY fix available |
Mini Case Study: Restoring a 2-Year-Old Clear Case
Jamal had used the same transparent polycarbonate case for his iPhone 13 since purchase. After two years of pocket carry and occasional drops, the back was covered in fine webbing of scratches and several deep marks near the camera cutout. He tried wiping it down but saw no improvement.
He followed the wet sanding method using 1500–2500 grit waterproof paper, taking care to maintain even pressure. After 15 minutes of careful sanding and rinsing, he applied Novus #2 polish with a microfiber cloth. The transformation was immediate—the case looked nearly new, with restored transparency and no visible deep lines. Jamal extended the life of his favorite case by over a year, avoiding unnecessary plastic waste.
Checklist: How to Restore Your iPhone Case in 6 Steps
- ✅ Remove the case from your iPhone
- ✅ Clean with isopropyl alcohol and dry thoroughly
- ✅ Assess scratch depth (surface vs. deep)
- ✅ Choose method: toothpaste, polish, or wet sanding
- ✅ Apply treatment with gentle, consistent motion
- ✅ Finish with a polish or protective coating (optional)
What Not to Do: Common Mistakes
Avoid these practices—they can worsen damage or degrade your case:
- Using steel wool or harsh abrasives: These leave behind permanent swirl marks and deepen scratches.
- Drying with paper towels: They’re coarser than microfiber and can add micro-scratches.
- Applying heat directly: Hairdryers or lighters may warp plastic, especially around edges.
- Ignoring chemical compatibility: Some solvents (e.g., acetone) dissolve polycarbonate. Stick to alcohol-based cleaners only.
FAQ
Can I use car wax on my iPhone case?
Yes—after polishing, a thin layer of automotive-grade plastic sealant or wax can enhance shine and provide temporary scratch resistance. Avoid waxes with dyes or strong solvents.
Will these methods work on colored cases?
They work best on translucent or glossy black/white cases. On textured or matte-colored cases, polishing may create shiny spots. Test in a small area first.
How often should I treat my case?
Only when visible scratches appear. Over-polishing thins the plastic. Most users find treatment every 3–6 months sufficient with regular handling.
Conclusion: Extend Life, Reduce Waste
Your iPhone case doesn’t need to look worn just because it’s been well-used. With proven techniques like toothpaste buffing, plastic polishing, and careful wet sanding, you can reverse cosmetic damage and keep your device looking sharp. These methods are cost-effective, environmentally responsible, and surprisingly satisfying to perform.


 浙公网安备
33010002000092号
浙公网安备
33010002000092号 浙B2-20120091-4
Comments
No comments yet. Why don't you start the discussion?