
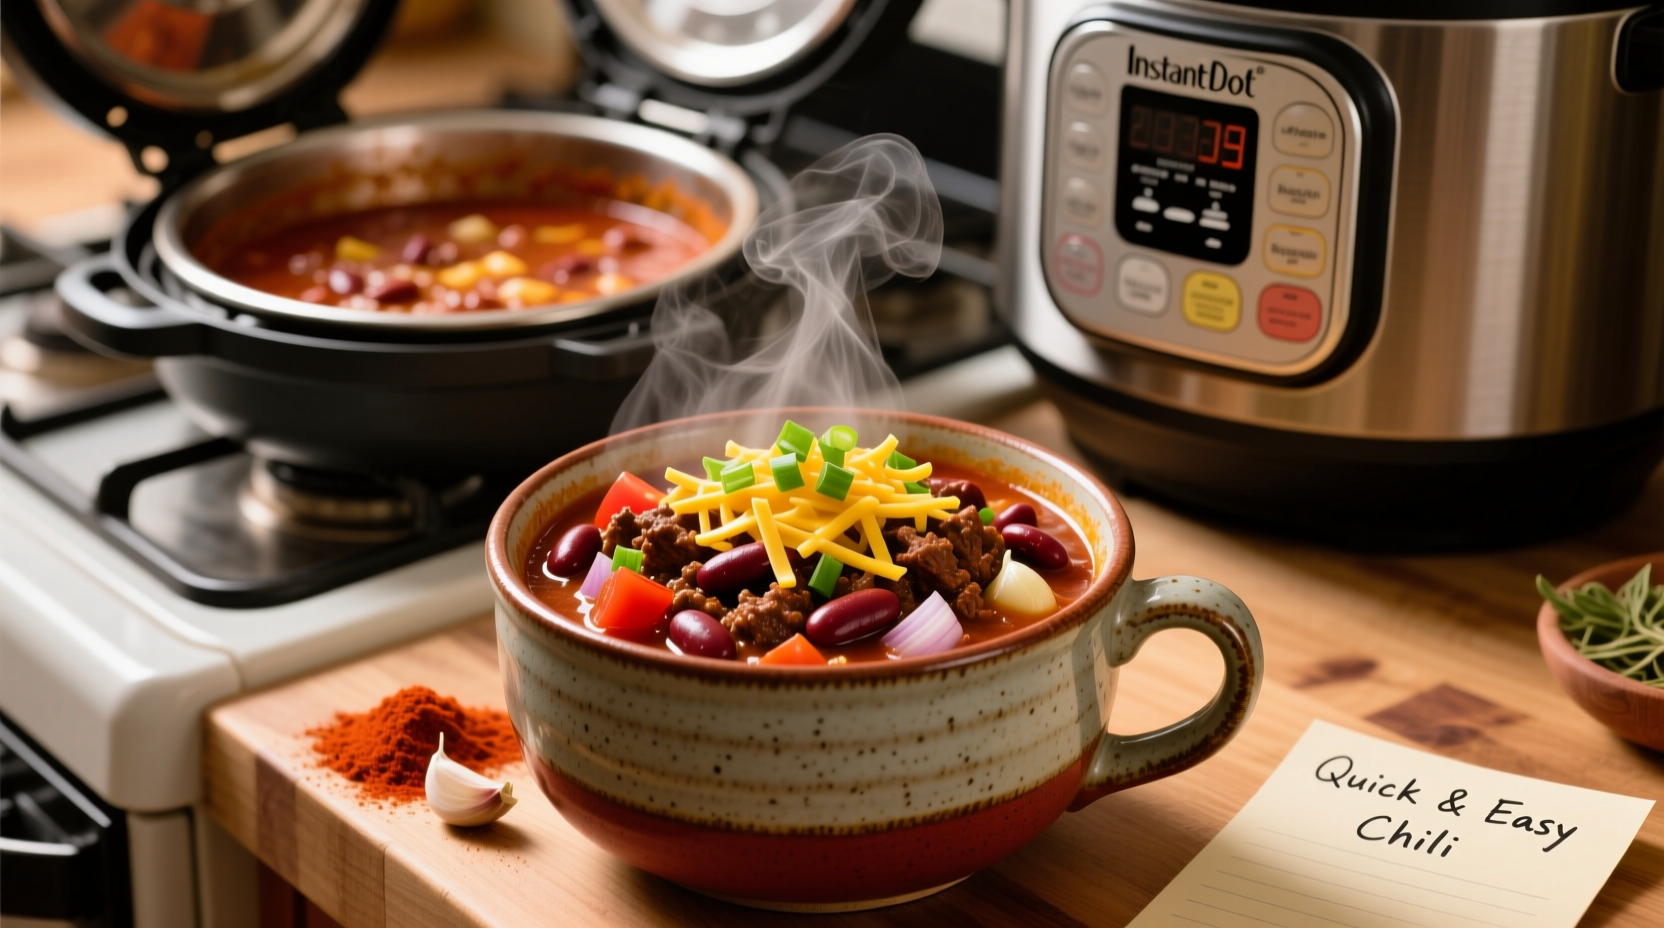
For home cooks seeking hearty, satisfying meals without long stovetop simmering, the Instant Pot has revolutionized chili preparation. What once required hours of slow development can now be achieved in under 45 minutes—with deep flavor, tender meat, and perfectly cooked beans. This pressure-cooked chili delivers all the complexity of traditional methods while eliminating the wait. Whether you're feeding a family on a busy weeknight or preparing a make-ahead meal for freezing, this method balances speed, taste, and texture like no other. The result is a robust, aromatic chili that rivals any slow-simmered version, with minimal hands-on time and maximum convenience.
Definition & Overview
Chili, formally known as *chili con carne* (Spanish for \"chili with meat\"), is a savory stew originating in Texas and deeply rooted in Southwestern American and Northern Mexican culinary traditions. While variations abound, the core components include ground or cubed meat (typically beef), beans (often kidney or pinto), tomatoes, onions, garlic, and a blend of spices led by chili powder. Modern interpretations embrace vegetarian versions, alternative meats like turkey or chicken, and regional spice adjustments.
The Instant Pot adaptation of chili preserves these foundational elements while leveraging high-pressure cooking to accelerate collagen breakdown in meat, hydrate dried ingredients rapidly, and meld flavors efficiently. Unlike slow cookers, which rely on prolonged low heat, the Instant Pot achieves depth through controlled pressure and precise temperature—locking in moisture while building complexity quickly. This makes it ideal for modern kitchens where time is limited but flavor expectations remain high.
Key Characteristics of Instant Pot Chili
- Flavor Profile: Deeply savory, with smoky, slightly sweet, and moderately spicy notes depending on seasoning.
- Aroma: Warm and earthy, dominated by toasted cumin, smoked paprika, and sautéed onions.
- Texture: Thick, chunky, and cohesive—meat becomes fork-tender, beans fully plump without disintegrating.
- Color: Rich reddish-brown from tomato paste and chili powder; enhanced by seared meat fond.
- Heat Level: Adjustable—from mild to medium-hot—based on chili powder type and optional additions like cayenne or fresh chiles.
- Cooking Time: Approximately 30 minutes active and passive time combined, including pressure build and release.
- Shelf Life: Refrigerated up to 5 days; freezes well for up to 3 months.
Pro Tip: Natural pressure release after cooking allows fibers in meat and beans to relax gradually, preventing overexpansion and maintaining structural integrity. A quick release can cause beans to burst and textures to turn mushy.
Practical Usage: How to Make Quick and Easy Chili in the Instant Pot
This recipe yields six generous servings and uses common pantry staples with minimal prep. It leverages the Instant Pot’s sauté function to develop foundational flavor before pressure cooking—a critical step often skipped in rushed versions.
Ingredients
- 1½ lbs (680g) ground beef (80/20 lean-to-fat ratio recommended)
- 1 large yellow onion, finely diced
- 1 bell pepper (any color), chopped
- 3 cloves garlic, minced
- 2 tbsp tomato paste
- 2 tbsp chili powder (see variants below for selection guidance)
- 1 tsp ground cumin
- 1 tsp smoked paprika
- ½ tsp dried oregano
- ¼ tsp cayenne pepper (optional, for heat)
- 1½ tsp kosher salt, divided
- ½ tsp black pepper
- 1 (15 oz) can kidney beans, drained and rinsed
- 1 (15 oz) can pinto beans, drained and rinsed
- 1 (28 oz) can crushed tomatoes
- 1 cup beef broth (low sodium preferred)
- 1 tbsp apple cider vinegar (added at end for brightness)
Step-by-Step Instructions
- Sauté Aromatics: Set the Instant Pot to “Sauté” mode. Add the ground beef and cook until browned, breaking it apart with a spoon (about 5–7 minutes). Drain excess fat if desired, though leaving some enhances mouthfeel.
- Add Vegetables: Stir in the onion and bell pepper. Cook until softened, about 4 minutes. Add garlic and tomato paste, stirring constantly for 1 minute to toast the paste and deepen its umami character.
- Bloom Spices: Sprinkle in chili powder, cumin, smoked paprika, oregano, cayenne (if using), 1 tsp salt, and black pepper. Stir vigorously for 30 seconds—this step activates volatile oils in the spices, releasing their full aroma and integrating them into the fat base.
- Build the Base: Pour in crushed tomatoes and beef broth, scraping the bottom thoroughly to deglaze and prevent burn warnings. Use a wooden spoon to loosen any stuck bits—the fond contributes significant flavor.
- Add Beans: Gently stir in both types of beans. Do not seal yet—ensure no food particles obstruct the sealing ring or float near the lid.
- Pressure Cook: Seal the lid, set the valve to “Sealing,” and select “Manual” or “Pressure Cook” on High for 10 minutes. The pot will take 10–15 minutes to reach pressure before timing begins.
- Natural Release: Once the cycle completes, allow the pressure to release naturally for 15 minutes. Afterward, carefully turn the valve to “Venting” to release any remaining steam.
- Finish and Adjust: Open the lid away from your face. Stir in apple cider vinegar and the remaining ½ tsp salt. Taste and adjust: add more chili powder for depth, cayenne for heat, or a pinch of sugar if acidity is too sharp.
Serving Suggestions
Ladle hot chili into bowls and top with one or more of the following:
- Shredded cheddar or Monterey Jack cheese
- Chopped fresh cilantro
- Sliced green onions
- Sour cream or Greek yogurt
- Diced avocado or guacamole
- Tortilla chips for crunch
Pair with cornbread, crackers, or a simple green salad for a complete meal.
Batch Cooking Note: Double the recipe and freeze half in portion-sized containers. Reheat directly from frozen by adding a splash of water and using the “Soup” function for 8–10 minutes.
Variants & Types of Chili You Can Make in the Instant Pot
The beauty of this method lies in its adaptability. By changing proteins, legumes, or seasonings, you can create entirely different profiles—all within the same time frame.
1. Turkey Chili (Lighter Option)
Substitute ground turkey for beef. Increase smoked paprika slightly to compensate for milder flavor. Add 1 cup frozen corn during the last minute of natural release for sweetness and texture.
2. White Chicken Chili
Use boneless chicken thighs (cut into 1-inch cubes) instead of beef. Replace red beans with canned white beans (cannellini or Great Northern). Omit tomato paste and crushed tomatoes; use 2 cups chicken broth and 1 roasted green chile (diced). Season with cumin, coriander, and a bay leaf. Cook on High Pressure for 12 minutes.
3. Vegetarian Three-Bean Chili
Omit meat entirely. Sauté mushrooms or crumbled tempeh for umami. Use vegetable broth. Combine kidney, black, and pinto beans. Boost richness with ¼ cup cocoa powder added with spices—creates a mole-like depth without heat.
4. Texas-Style (No Beans)
Purists prefer chili without beans. Simply omit all canned beans and increase beef to 2 lbs. Add ½ lb of cubed chuck roast for extra tenderness. Extend cook time to 25 minutes on High Pressure to break down connective tissue. Finish with a dash of Worcestershire sauce.
5. Spicy Habanero Variation
Add 1 seeded and finely minced habanero pepper during sautéing. Wear gloves when handling. Balance heat with 1 tsp honey stirred in at the end.
| Type | Protein | Beans | Special Ingredients | Pressure Time (High) |
|---|---|---|---|---|
| Classic Beef | Ground beef | Kidney, Pinto | Tomato paste, chili powder | 10 min |
| Turkey & Corn | Ground turkey | Black, Pinto | Corn, chipotle powder | 8 min |
| White Chicken | Chicken thighs | White beans | Green chiles, cumin | 12 min |
| Vegetarian | Mushrooms/Tempeh | Three-bean mix | Cocoa powder, lentils | 10 min |
| Texas-Style | Chuck roast + ground beef | None | Beef tallow, bay leaf | 25 min |
Comparison with Similar Dishes
While often confused, chili differs significantly from other stews and sauces in composition and cultural context.
| Dish | Key Differences | Best Used For |
|---|---|---|
| Chili con Carne | Bean-based (in most U.S. versions), dry spice blend, no roux or flour thickener | Standalone bowl, nachos, hot dogs |
| Goulash (American) | Includes bell peppers and tomatoes, but always contains potatoes; often thicker | Serving over egg noodles |
| Beef Stew | Thickened with flour, includes root vegetables, wine or stock-based, no chili spices | Winter comfort meals with bread |
| Ragù alla Bolognese | Italian slow-cooked meat sauce with milk, carrots, celery, pancetta; served with pasta | Pasta dishes like tagliatelle |
| Sloppy Joes | Sweeter, ketchup-based, softer texture, served on buns | Casual sandwiches |
\"The Instant Pot doesn’t just save time—it intensifies the early stages of flavor development. When you bloom spices in rendered fat before pressurizing, you’re creating a concentrated base that permeates every bite, even in short cook times.\" — Chef Elena Ruiz, Culinary Instructor, Austin School of Foodcraft
Practical Tips & FAQs
Q: Can I use dried beans instead of canned?
A: Yes, but they must be pre-soaked. Use ¾ cup dried beans per can, soaked overnight or quick-soaked (boil 2 minutes, rest 1 hour). Add with broth and extend cook time to 25 minutes on High Pressure. Unsoaked dried beans may not cook evenly and risk underdoneness.
Q: Why did my chili trigger a burn notice?
A: This occurs when food sticks to the inner pot, especially after sautéing. Always deglaze thoroughly with broth or water, scraping the bottom until no browned bits remain. Avoid using thick tomato sauces without dilution. If a burn error appears, cancel the program, release pressure, and stir well before restarting.
Q: How do I thicken or thin the chili?
A: To thicken, simmer uncovered on “Sauté” mode for 5–8 minutes after pressure cooking. To thin, add warm broth or water ¼ cup at a time until desired consistency is reached.
Q: Can I make this recipe in a slow cooker?
A: Yes, but with trade-offs. Follow the same sauté steps, then transfer to a slow cooker and cook on Low for 6–8 hours or High for 3–4 hours. However, flavor integration won’t be as tight, and beans may become overly soft.
Q: Is chili better the next day?
A: Often yes. As chili rests, starches absorb liquid and spices continue to meld. Reheating enhances perceived richness. Store in the refrigerator overnight for optimal flavor development.
Q: What are good low-carb substitutions?
A: Omit beans and add diced zucchini, cauliflower florets, or chopped mushrooms. Use tomato puree instead of crushed tomatoes if lower sugar is desired. Top with cheese and sour cream for satiating fats.
Storage Guidelines: Cool chili within two hours of cooking. Store in airtight containers for up to 5 days. Freeze for longer storage—leave 1-inch headspace in containers. Thaw overnight in the fridge or reheat from frozen using the “Soup” function with added liquid.
Summary & Key Takeaways
The Instant Pot transforms chili from a weekend project into a feasible weeknight staple without sacrificing quality. By combining rapid pressure cooking with smart flavor layering—especially spice blooming and fond utilization—it produces restaurant-quality results in under 45 minutes total time.
Key advantages include:
- Time Efficiency: From raw ingredients to serving in less than an hour.
- Flavor Depth: Achieved through sautéing, deglazing, and spice activation prior to pressure cooking.
- Versatility: Adaptable to dietary needs—vegetarian, gluten-free, dairy-free, low-carb.
- Meal Prep Friendly: Scales easily, freezes well, reheats beautifully.
- Consistency: Eliminates guesswork of simmering; pressure ensures uniform doneness.
Mastering this technique opens the door to endless experimentation: try different meats, beans, chile powders, or global twists like adding cocoa, coffee, or cinnamon for nuance. Once you’ve made chili this way, returning to all-day simmering feels unnecessary—unless, of course, you enjoy the aroma filling your home on a lazy Sunday afternoon.
Challenge Yourself: Next time, try making chili with dried ancho and guajillo chiles—toast them lightly, soak in hot water, then blend into a paste and use in place of canned tomatoes. The depth is extraordinary, and the Instant Pot handles it effortlessly.


 浙公网安备
33010002000092号
浙公网安备
33010002000092号 浙B2-20120091-4
Comments
No comments yet. Why don't you start the discussion?