
A bean bag chair is more than just a piece of furniture—it's a cozy retreat, a space-saving solution, and a customizable accent that fits any room. While store-bought versions can be expensive or limited in design, making your own allows full control over size, shape, fabric, and comfort level. With just a few basic materials and some straightforward sewing, you can create a durable, plush seat tailored to your needs. This guide walks you through every step, from selecting the right filling to stitching a seamless cover, ensuring your DIY bean bag is both functional and inviting.
Why Build Your Own Bean Bag Chair?
Commercial bean bags often use low-density foam that compacts over time, leading to sagging and discomfort. By building your own, you choose high-quality fillings like expanded polystyrene (EPS) beads or shredded memory foam, which retain shape and support. You also avoid synthetic fabrics that trap heat, opting instead for breathable cotton, soft fleece, or durable canvas. Beyond comfort, homemade bean bags reflect personal style—whether minimalist, bohemian, or kid-friendly. Plus, the total cost is typically under $50, significantly less than premium retail models.
“DIY bean bags aren’t just economical—they’re an opportunity to create truly ergonomic seating.” — Lena Torres, Furniture Designer & Sustainable Living Advocate
Materials and Tools You’ll Need
Before starting, gather all necessary supplies. Most can be found at craft stores, hardware outlets, or online retailers. Choose materials based on intended use: lightweight fills for children’s chairs, denser options for adult lounging.
Core Materials
- Fabric: 2–3 yards of durable, stretch-resistant material (e.g., canvas, denim, corduroy, or outdoor-grade polyester)
- Lining fabric (optional): Cotton or muslin to prevent bead leakage
- Filling: 3–5 cubic feet of EPS beads, polyfill, or shredded foam (amount varies by size)
- Thread: Heavy-duty polyester thread for strength
Tools
- Sewing machine with straight and zigzag stitch capability
- Scissors or rotary cutter
- Measuring tape and fabric chalk
- Pins or clips
- Funnel or plastic bottle with cut-off top (for filling)
- Needle and hand-sewing thread (for final closure)
Step-by-Step Construction Guide
This method uses a spherical design made from six identical pentagon-shaped panels—a classic \"buckyball\" structure that evenly distributes weight and resists flattening.
Step 1: Design and Cut the Panels
Decide on the final size. For a standard adult-sized bean bag, cut six pentagons with 12-inch sides. Draw one template on cardboard, then trace it onto fabric, adding a ½-inch seam allowance around each edge. Cut two sets—one for outer fabric, one for lining (if used).
Step 2: Sew the Outer Shell
Pair each outer panel with its lining (if applicable), right sides together. Sew along one edge using a ½-inch seam, leaving corners unstitched. Repeat for all six panels. Then, begin assembling them in a sequence: attach three panels in a row, then add side pieces to form a bowl shape. Mirror this process with the remaining three to create a second dome. Finally, align both domes with right sides facing, pin edges, and sew around the perimeter, leaving a 6–8 inch gap for filling.
Step 3: Reinforce Seams
Go over all seams with a zigzag stitch or French seam technique to prevent fraying and bead escape. Trim excess threads and turn the shell right-side out through the opening.
Step 4: Insert Inner Liner (Optional but Recommended)
Place a separate cotton or nylon liner inside the shell before filling. This adds a barrier against bead leakage and makes future refills easier. Secure the liner loosely with a few stitches near the opening so it doesn’t shift during use.
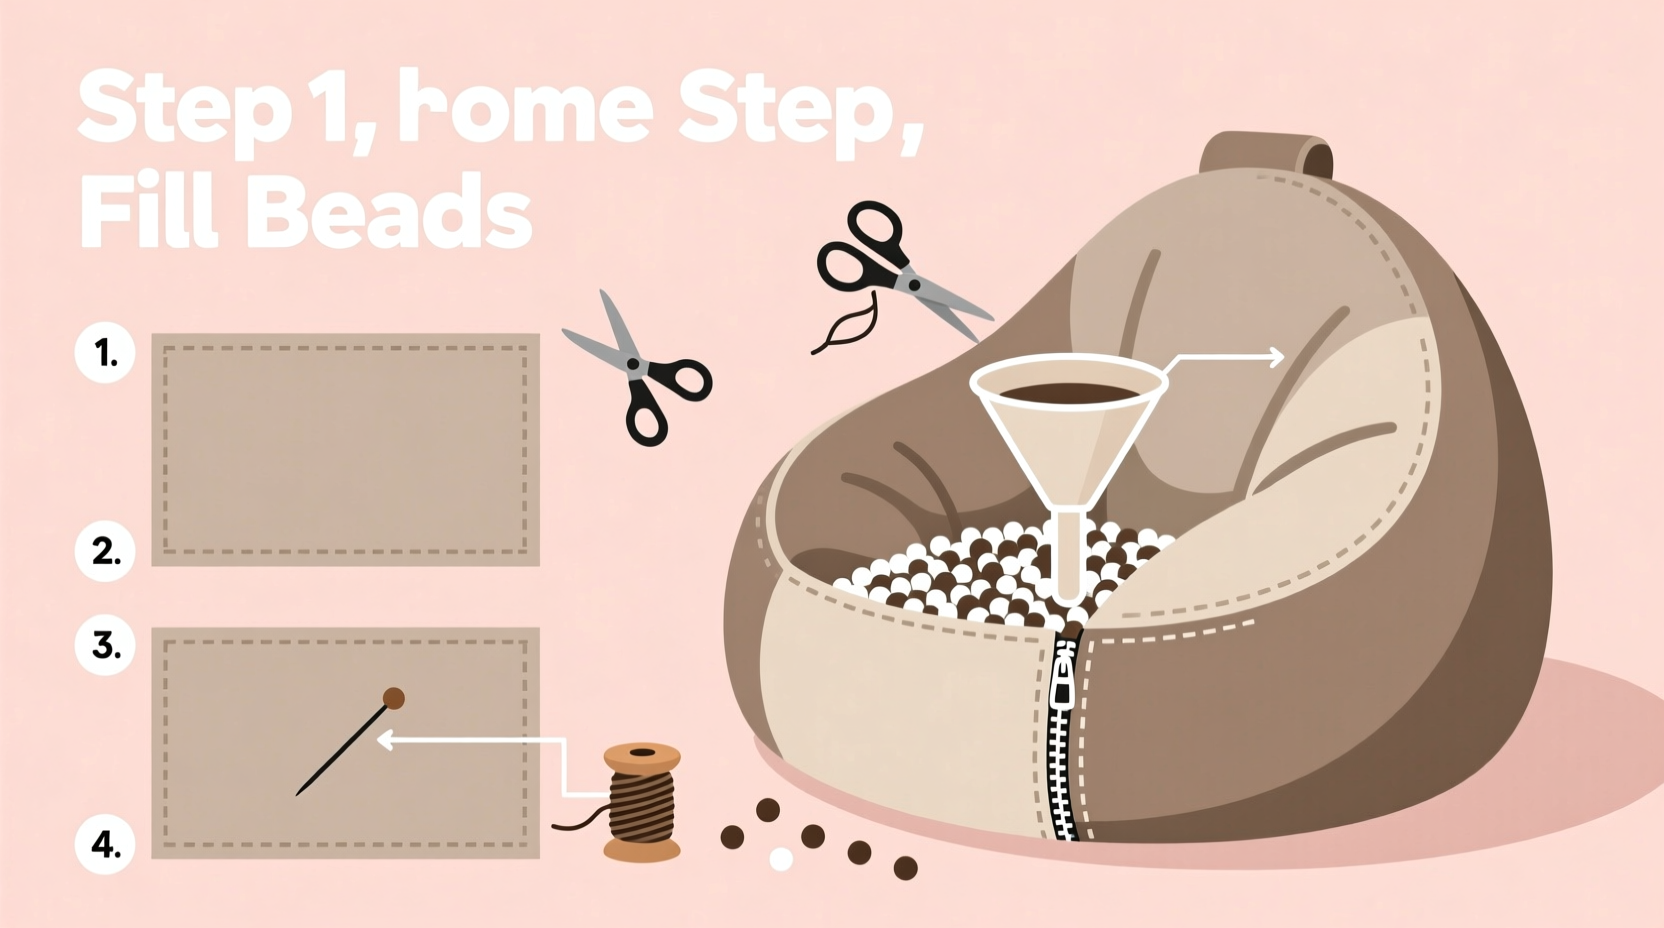
Step 5: Fill the Bean Bag
Using a funnel, slowly pour in EPS beads or foam chunks. Start with 3 cubic feet and test firmness by sitting on it. Add more until it supports your body without feeling too stiff. Avoid overfilling—ideal density allows slight indentation when seated.
Step 6: Close the Opening
Fold the raw edges inward and hand-stitch the gap closed with a ladder stitch for an invisible finish. Double-knot the thread and trim excess.
Do’s and Don’ts: Building a Long-Lasting Bean Bag
| Do’s | Don’ts |
|---|---|
| Use tightly woven, abrasion-resistant fabric | Use thin cotton or knit that stretches and tears |
| Add a zipper or Velcro closure for easy maintenance | Sew shut permanently without access to refill |
| Combine EPS beads with 10% memory foam scraps for better support | Fill entirely with cheap packing peanuts—they compact quickly |
| Vacuum clean surface monthly to remove dust and allergens | Machine wash the entire bag unless fabric is explicitly labeled safe |
| Rotate the bag weekly to distribute wear evenly | Place near radiators or in direct sunlight—heat degrades foam |
Real-Life Example: A Family’s Weekend Project
The Rivera family wanted a fun, soft seating option for their kids’ playroom but found commercial bean bags too small and overpriced. Over a weekend, they built a large oval-shaped bean bag using recycled denim from old jeans and 4 cubic feet of EPS beads purchased online. They added a hidden zipper on the bottom seam for future refills. The result was a sturdy, washable chair that survived daily jumping, snuggling, and even spilled juice. Two years later, it still holds its shape after one minor refill. “It cost less than $30 and feels more comfortable than anything we’ve bought,” said Maria Rivera, who led the project.
Frequently Asked Questions
Can I make a bean bag without sewing?
Yes. Use a large duffel bag or heavy-duty laundry sack as the outer shell. Fill it with beads, then seal the opening with strong duct tape or adhesive Velcro strips. While not as polished, this no-sew version works well for temporary or outdoor use.
How much filling do I need for a medium-sized bean bag?
A chair measuring about 36 inches in diameter requires approximately 3.5 to 4 cubic feet of EPS beads. Shredded foam may require slightly more volume due to lower density. Always start with less and add gradually to achieve desired firmness.
Is it safe to use a homemade bean bag for young children?
Yes, provided the seams are secure and there’s no risk of bead leakage. Use non-toxic fillings and avoid small openings where beads could escape. Supervise toddlers initially to ensure safety.
Final Checklist Before You Begin
- ☐ Measure available space to determine ideal bean bag size
- ☐ Select durable, pet- and child-safe fabric
- ☐ Purchase filling with good resilience (EPS beads recommended)
- ☐ Prepare sewing tools and test machine tension
- ☐ Cut all panels accurately using a template
- ☐ Include an inner liner or zippered access point
- ☐ Allow time for trial filling and adjustments
Conclusion: Create Comfort on Your Terms
Building a bean bag chair at home isn’t just a craft project—it’s a smart investment in personalized comfort. With thoughtful material choices and careful assembly, you can produce a seating solution that rivals or surpasses mass-market alternatives. Whether you’re furnishing a dorm room, creating a reading nook, or designing a playful corner for kids, this DIY approach puts quality and customization within reach. The satisfaction of sitting on something you made yourself, perfectly suited to your space and lifestyle, is unmatched. Gather your supplies, follow these steps, and enjoy a new level of relaxed living—crafted by your own hands.


 浙公网安备
33010002000092号
浙公网安备
33010002000092号 浙B2-20120091-4
Comments
No comments yet. Why don't you start the discussion?