
Keeping tissues within easy reach while driving isn’t just about convenience—it’s a small upgrade that enhances comfort, hygiene, and safety. Whether you're dealing with sudden sneezes, wiping fogged glasses, or cleaning up minor spills, having tissues readily available can make a noticeable difference. Yet, many drivers either leave them loose in cup holders or toss them into door pockets where they’re hard to grab. Installing a dedicated car tissue box holder takes only minutes and ensures tissues are always accessible without distraction.
This guide walks through practical, no-fuss methods to install a tissue box in your vehicle using common mounting techniques and smart placement strategies. From identifying the ideal location to selecting the right holder and securing it properly, these steps apply to most car models and interior designs.
Choose the Right Tissue Box Holder
Not all tissue holders are created equal. The best one for your car depends on your vehicle’s layout, how often you use tissues, and whether passengers need access too. There are several types available:
- Clip-on holders: Attach to sun visors, headrests, or seatbacks via spring-loaded clips. Ideal for compact cars with limited space.
- Adhesive-mounted pouches: Stick directly to dashboards, center consoles, or rear seats using strong double-sided tape or gel pads. Great for clean, low-profile installation.
- Vent-mounted holders: Clip onto air vents using adjustable arms. Keeps tissues visible and within thumb’s reach but may block airflow if oversized.
- Console or cup holder inserts: Designed to sit inside existing storage spaces. Best for larger boxes and frequent users.
Identify the Optimal Location
Location is everything when installing a tissue box. It should be visible, reachable with minimal hand movement, and not obstruct your view or interfere with controls. Consider these factors:
- Driver accessibility: Can you reach it without taking your eyes off the road?
- Passenger use: Will front or back passengers also need access?
- Clearance: Does opening the box interfere with gear shifts, steering, or seat adjustments?
- Aesthetics: Does it clutter the cabin or look out of place?
The most effective spots include:
- Lower dashboard (driver side): Near the knee area, out of sight but easy to locate by touch.
- Center console side panel: Vertical surface between seats; perfect for vent or clip-on models.
- Front seat headrest: Especially useful for backseat passengers or family vehicles.
- Inside glove compartment door: For discreet access—best with smaller travel-sized boxes.
“Ergonomic placement reduces distraction. A well-installed tissue holder should feel like a natural extension of the cabin.” — Mark Tran, Automotive Interior Designer
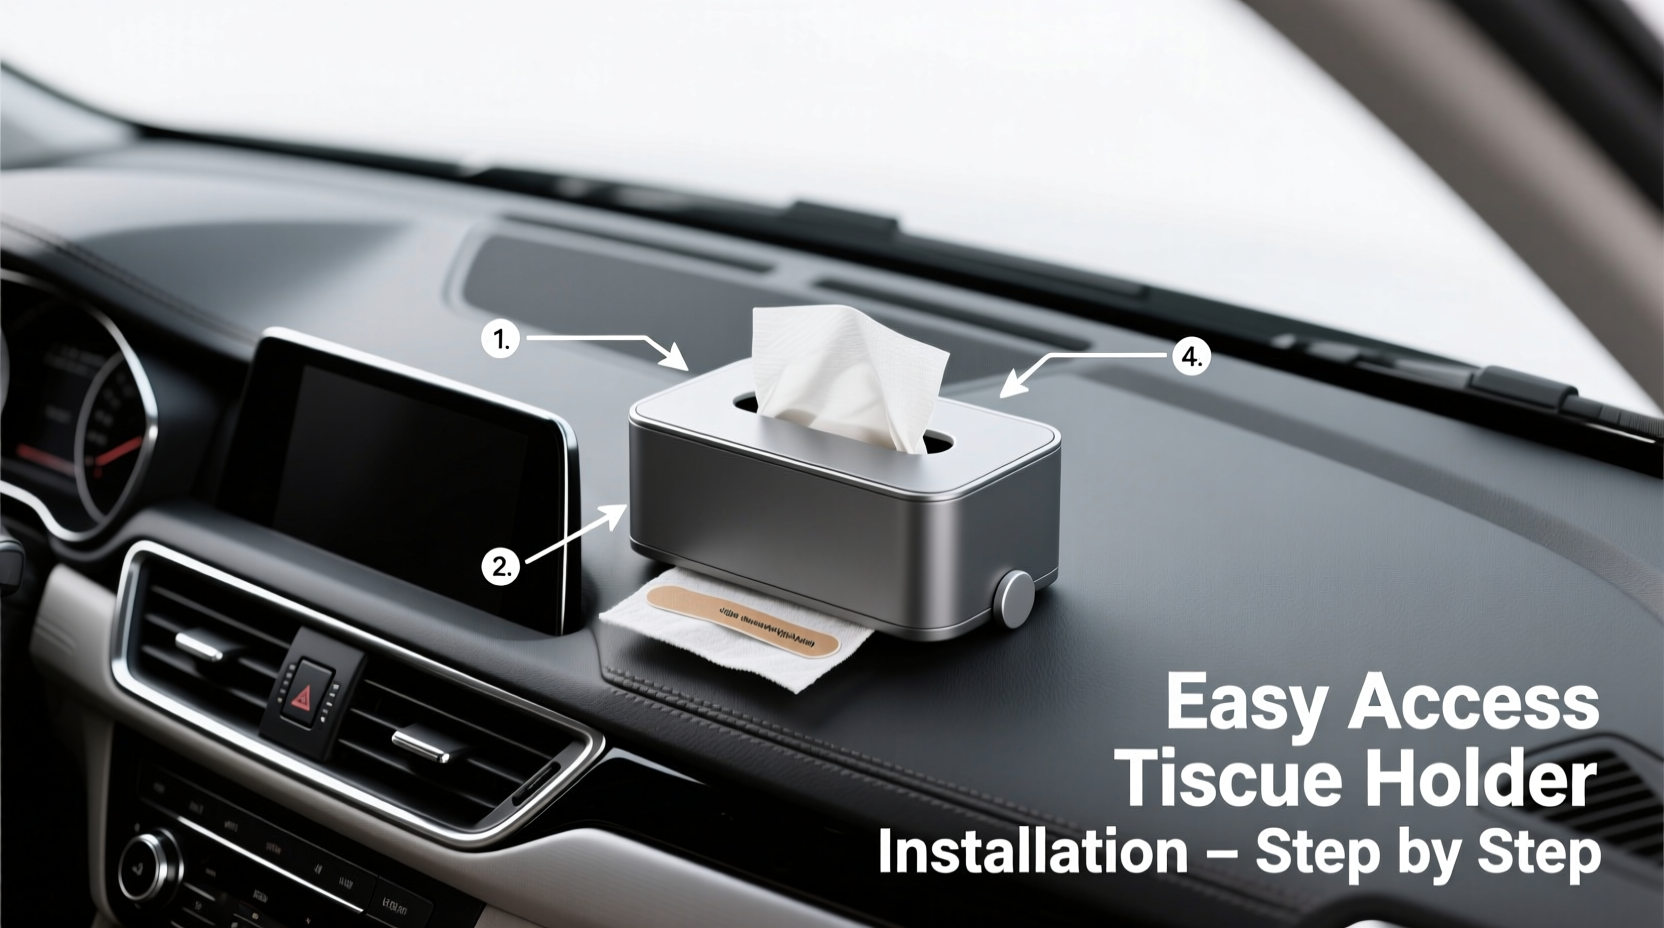
Step-by-Step Installation Guide
Follow this universal process to securely install any type of tissue box holder in under 10 minutes.
- Gather materials: Tissue box, compatible holder, cleaning wipe, and optional microfiber cloth.
- Clean the surface: Wipe the intended mounting area with alcohol or glass cleaner to remove dust, grease, and residue. Let dry completely.
- Dry-fit the holder: Position it without attaching to test reach, visibility, and clearance. Adjust angle as needed.
- Peel and press (adhesive types): Remove backing from adhesive pad and press firmly for 30 seconds. Apply even pressure to ensure full contact.
- Clip or snap (mechanical mounts): Secure clip-on or vent-mounted units by gently expanding the mechanism and locking it into place.
- Insert the tissue box: Open the top flap and feed it through the dispenser slot. Ensure the first tissue is partially pulled out for easy grabbing.
- Test functionality: Reach for a tissue while seated normally. Confirm it dispenses smoothly and doesn’t tip over.
Do’s and Don’ts of Car Tissue Box Placement
| Do’s | Don’ts |
|---|---|
| Install within arm’s reach of the driver | Block windshield visibility or instrument cluster |
| Use UV-resistant adhesive for dash installations | Mount on leather surfaces without protective liner |
| Choose a size that fits standard or travel tissue boxes | Overload the holder beyond its capacity |
| Check periodically for loosening or misalignment | Place near heat vents that could dry out tissues |
| Opt for low-profile designs to maintain clean aesthetics | Use makeshift solutions like rubber bands or tape |
Real-World Example: Sarah’s Family SUV Upgrade
Sarah, a mother of two, frequently drives her kids to school and activities. Tissues were always scattered—on the floor, in backpacks, or buried in pockets. After a messy juice spill in the backseat, she decided to install a dual-access system.
She chose a headrest-mounted holder on the driver’s seat for her own use and added a second adhesive pouch on the center armrest for passengers. Both were installed in less than 15 minutes. Now, her children can reach tissues independently, and she no longer fumbles during allergy season. “It’s such a tiny change,” she said, “but it’s made our rides so much cleaner and calmer.”
Maintenance and Long-Term Use
An installed tissue holder isn’t set-and-forget. To keep it functional and hygienic:
- Refill regularly: Check weekly, especially if used by multiple passengers.
- Clean the exterior: Wipe down plastic or fabric surfaces with a damp cloth to prevent dust buildup.
- Inspect mounting points: Shake the holder gently every few weeks to test stability.
- Replace worn holders: If adhesive fails or clips lose tension, replace the unit rather than re-taping.
- Seasonal adjustment: In winter, switch to lotion-infused tissues; in summer, avoid leaving scented boxes in hot cabins to prevent fragrance degradation.
Frequently Asked Questions
Can I reuse an adhesive-mounted tissue holder?
Most cannot be reused once removed, as the adhesive loses effectiveness. Some premium models come with replaceable adhesive discs, allowing repositioning without buying a new unit.
Will a vent-mounted holder damage my air vents?
Not if used correctly. Choose a vent clip designed for your vent type (horizontal vs. vertical). Avoid forcing it onto brittle or thin plastic vents, especially in older vehicles.
What size tissue box fits most car holders?
Travel-sized boxes (typically 35–60 tissues) fit nearly all holders. Standard boxes require larger console or floor-standing mounts, which are less common in modern installations.
Final Checklist Before You Drive Off
- Holder selected based on vehicle type and usage
- Mounting surface cleaned and dried
- Position tested for reach and safety
- Holder securely attached (adhesive pressed or clip locked)
- Tissue box inserted with first sheet exposed
- No obstruction to driving controls or visibility
- Functionality confirmed by user and passengers
Drive Smarter, Stay Prepared
Installing a car tissue box isn’t about luxury—it’s about preparedness. A two-minute setup can save you from discomfort, distraction, or embarrassment on the road. Whether you choose a sleek adhesive pouch or a versatile clip-on model, the key is consistency: pick a spot, install it right, and maintain it over time.
Now that you know exactly how to do it, take action today. Grab a holder, find the perfect spot in your car, and enjoy the peace of mind that comes with being ready for life’s little messes—without ever taking your focus off the road.


 浙公网安备
33010002000092号
浙公网安备
33010002000092号 浙B2-20120091-4
Comments
No comments yet. Why don't you start the discussion?