
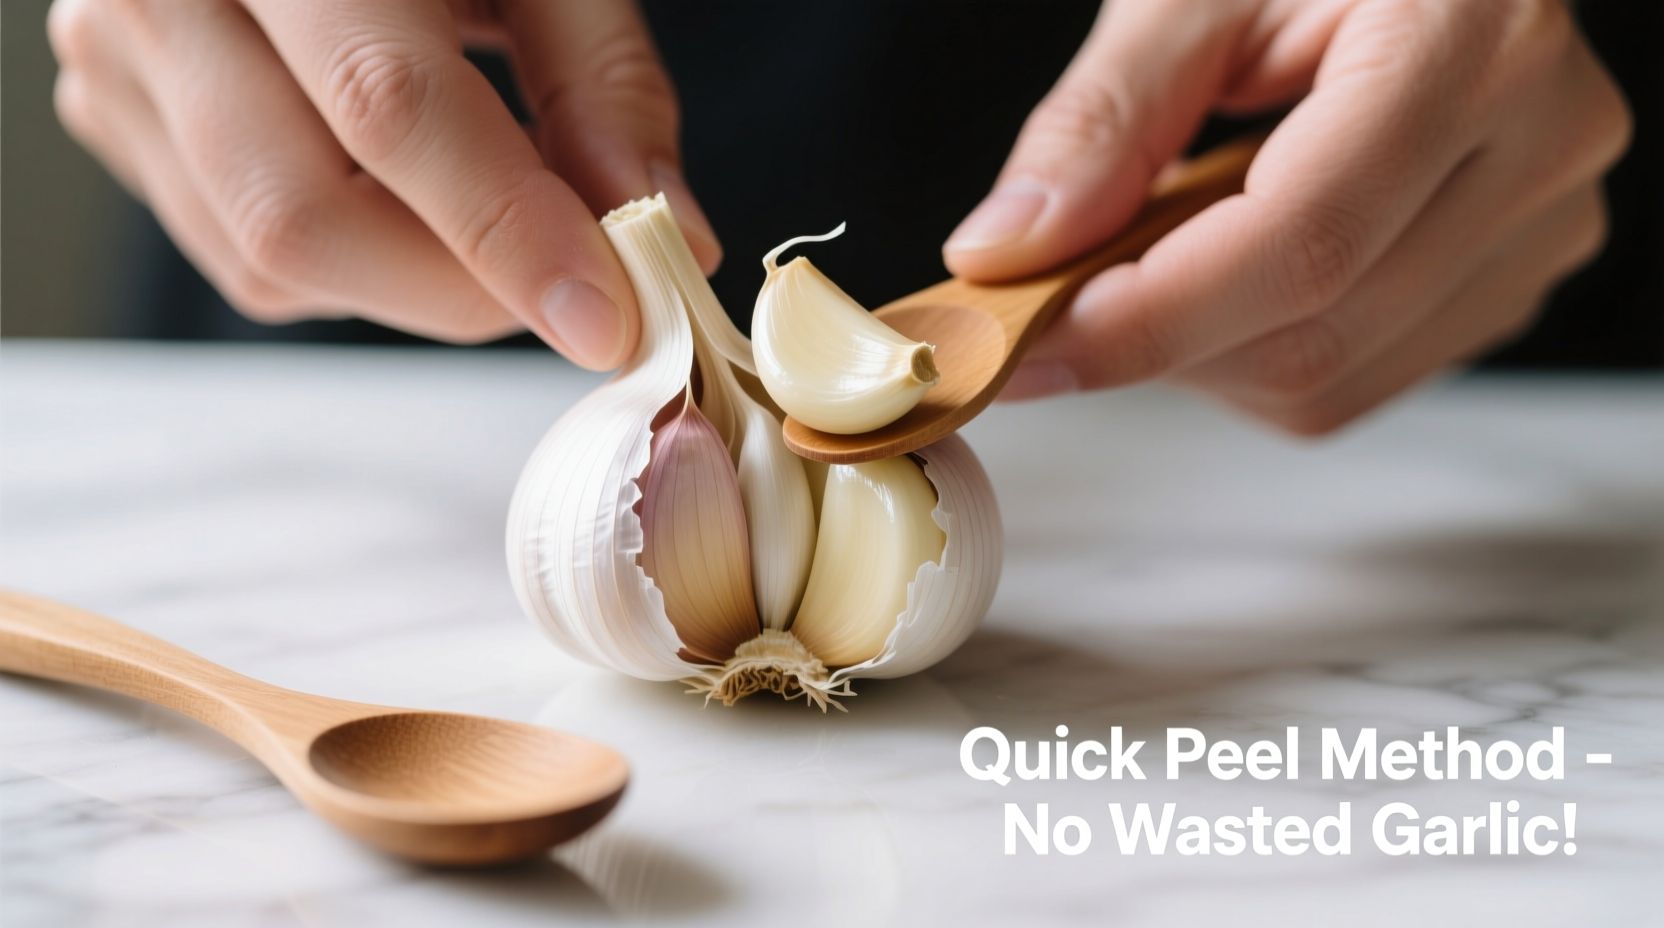
Peeling garlic is one of the most common yet frustrating kitchen tasks. The papery outer layer clings stubbornly to cloves, especially when dealing with multiple bulbs or under time pressure. For home cooks and culinary professionals alike, efficiency matters—and nothing disrupts a smooth prep session like struggling with garlic skins. Fortunately, several proven, fast techniques can strip away that thin membrane in seconds, preserving the clove’s integrity while minimizing mess and effort. These methods leverage physics, temperature, and simple tools found in any kitchen. Whether you're mincing for a sauce, roasting whole heads, or pickling cloves, mastering these peeling strategies will streamline your workflow and elevate your cooking experience.
Definition & Overview
Garlic (Allium sativum) is a bulbous plant belonging to the onion family, widely used as a flavoring agent across global cuisines. Each bulb consists of multiple individual segments called cloves, typically 10–20 per head, encased in a protective, parchment-like skin. This outer layer must be removed before consumption or cooking, as it is fibrous, inedible, and resistant to breakdown during heat application.
The challenge lies not in the complexity of the task but in its repetition and inefficiency when done manually. Traditional peeling—using a knife to loosen the skin or pressing with the flat of a blade—can be slow, imprecise, and damaging to the clove. Over decades, both home cooks and chefs have refined alternative approaches that exploit garlic's structural properties: the slight separation between clove and skin, the effect of moisture and heat, and the mechanical force of agitation.
Modern kitchens demand speed without sacrificing quality. The following techniques are grounded in food science and practical experience, offering reliable results regardless of garlic variety or freshness.
Key Characteristics of Garlic Skin
- Texture: Thin, dry, and papery; becomes brittle when dehydrated.
- Adhesion: Loosely attached to the clove surface but prone to tearing into fragments.
- Moisture Sensitivity: Absorbs water quickly, which can make wet-peeling methods less effective if overdone.
- Thermal Response: Contracts slightly when heated, creating micro-gaps between skin and clove.
- Culinary Function: Protective barrier during growth and storage; no edible or functional role in cooking.
- Shelf Life Influence: Intact skin helps preserve garlic by reducing moisture loss and microbial exposure.
Understanding these traits explains why certain peeling methods succeed where others fail. Techniques that introduce motion, heat, or controlled pressure take advantage of natural separations rather than fighting against them.
Practical Usage: How to Use These Methods in Real Cooking
Efficient garlic peeling isn’t just about saving time—it enhances precision and consistency in preparation. When cloves remain whole and undamaged, they respond predictably to slicing, crushing, or roasting. Damaged or bruised garlic releases enzymes prematurely, altering flavor development and increasing bitterness.
Below are six field-tested methods, each suitable for different scenarios—from single cloves to bulk prep. All require minimal equipment and deliver consistent results.
1. The Jar Shake Method (Best for Multiple Cloves)
This technique uses centrifugal force and impact to separate skin from clove. It works exceptionally well with firm, fresh garlic.
- Separate cloves from the bulb but do not peel.
- Place cloves inside a rigid container—a glass mason jar, metal shaker, or hard plastic container—with a secure lid.
- Seal tightly and shake vigorously for 15–30 seconds.
- Open the container: most skins will have split open, and cloves will fall free.
Pro Tip: For even better results, lightly crush each clove with the heel of your hand before shaking. This breaks the internal structure slightly, making separation easier without turning the clove to mush.
This method scales efficiently—ideal for preparing large batches for soups, sauces, or fermented garlic oil. Chefs in high-volume kitchens often use industrial tumblers for this purpose, but a simple jar achieves nearly identical outcomes at home.
2. Microwave Blanch (Fastest for Immediate Use)
Heat causes rapid expansion of moisture within the clove-skin interface, loosening adhesion almost instantly.
- Leave cloves unpeeled.
- Microwave on high for 10–15 seconds per cup of garlic.
- Allow to cool briefly (10 seconds), then pinch each clove at the base—the skin should slide off cleanly.
Caution: Do not exceed 20 seconds, as partial cooking alters texture and flavor. This method is best reserved for recipes requiring raw or lightly cooked garlic, such as dressings or compound butters.
3. Hot Water Soak (Gentle and Low-Impact)
Submerging garlic in hot (not boiling) water softens the skin and hydrates the interface layer, easing manual removal.
- Bring water to approximately 80–90°C (176–194°F)—just below simmering.
- Immerse unpeeled cloves for 60 seconds.
- Drain and pat dry; gently squeeze each clove from the pointed end.
This approach preserves delicate clove structure and minimizes waste. However, excess moisture may interfere with subsequent steps like sautéing or roasting unless cloves are thoroughly dried first.
4. Knife Tap + Roll (Classic Kitchen Technique)
A staple in professional kitchens, this method combines mechanical force with leverage.
- Lay a clove flat on a cutting board.
- Place the broad side of a chef’s knife over it.
- Press down firmly with the heel of your hand to crush the clove slightly.
- Roll the knife forward to break the skin further, then peel with fingers.
The light crush ruptures cell walls, releasing aroma compounds while loosening the skin. While slightly more labor-intensive for multiple cloves, it offers excellent control and integrates seamlessly into active prep workflows.
5. Silicone Tube Roller (Innovative Tool-Based)
Specially designed silicone tubes (often marketed as \"garlic peelers\") work by trapping the clove inside a flexible cylinder and rolling it across the counter.
- Insert an unpeeled clove into the tube.
- Roll back and forth with moderate pressure for 5–10 seconds.
- Remove: the friction and compression force the skin away from the clove.
This method leaves cloves intact and requires no electricity or cleanup beyond rinsing the tube. Highly recommended for those who cook with garlic frequently and prefer ergonomic tools.
6. Roast Before Peel (For Mellow, Spreadable Garlic)
When the goal is roasted garlic paste or creamy blends, skip peeling altogether—roast whole bulbs and extract softened cloves afterward.
- Cut the top ¼ inch off a whole garlic head to expose clove tips.
- Drizzle with olive oil, sprinkle salt, and wrap in foil.
- Bake at 190°C (375°F) for 40–50 minutes until soft and golden.
- Squeeze from the root end: cloves emerge fully peeled and caramelized.
This transforms sharp, pungent garlic into a sweet, buttery ingredient perfect for spreads, mashed potatoes, or blending into aioli.
Variants & Types of Garlic and Their Peeling Behavior
Not all garlic behaves the same way during peeling. Varietal differences influence ease of skin removal, moisture content, and response to mechanical stress.
| Type | Peelability | Best Peeling Method | Notes |
|---|---|---|---|
| Softneck Garlic | Harder to peel when fresh; skin adheres tightly | Jar shake or microwave | Common in supermarkets; stores longer; ideal for braids |
| Hardneck Garlic | Easier to peel; larger cloves with looser skin | Knife tap or roll | More flavorful; shorter shelf life; includes varieties like Rocambole and Porcelain |
| Solo (Single-Clove) Garlic | Very easy; skin often splits naturally | Finger peel or light microwave | Also known as Pearl or Elephant garlic; milder taste |
| Pickled or Fermented Garlic | Already peeled; skin removed prior to processing | N/A | Used in condiments; prepped commercially |
Freshness also plays a critical role. Newly harvested \"wet\" garlic has higher moisture content and tends to stick more than cured, dry-stored bulbs. For optimal peeling performance, allow garlic to cure for 2–3 weeks in a cool, ventilated space after harvest.
Comparison with Similar Ingredients
While onions and shallots share botanical kinship with garlic, their peeling dynamics differ significantly due to structural variations.
| Ingredient | Skin Texture | Peeling Difficulty | Recommended Method |
|---|---|---|---|
| Garlic | Papery, thin | Moderate (varies by type) | Shake, microwave, or crush |
| Onion | Thicker, net-like outer layer | Low to moderate | Peel by hand after trimming ends |
| Shallot | Fine, coppery sheath | High (due to small size) | Blanch briefly or use knife tap |
| Ginger | Thin, wrinkled bark | High (irregular shape) | Scrape with spoon |
\"The key to efficient allium prep is matching the method to the ingredient’s anatomy. Garlic responds best to shock and vibration—onions to hydration and gravity.\" — Chef Elena Torres, Culinary Instructor, Institute of Artisan Foods
Unlike onions, which benefit from cold storage to reduce lachrymatory compound release, garlic peels more easily at room temperature. Cold conditions tighten the skin-clove bond, making refrigerated garlic harder to handle.
Practical Tips & FAQs
How can I prevent garlic odor on my hands?
Wash hands immediately with stainless steel (e.g., rubbing on a spoon or faucet) under running water. The sulfur compounds in garlic bind to metal ions, neutralizing the smell. Alternatively, use lemon juice or vinegar rinse.
Can I peel garlic ahead of time?
Yes, but store properly. Peeled garlic oxidizes faster and develops a green sprout core. Keep in an airtight container in the refrigerator for up to 5 days. For longer storage, submerge in olive oil (use within 4 days to avoid botulism risk) or freeze whole peeled cloves for up to 6 months.
Why does some garlic resist peeling even with these methods?
Overly dry or old garlic shrinks inside the skin, increasing surface contact. Conversely, very fresh (\"green\") garlic contains too much moisture, causing the skin to cling. Optimal peeling occurs with garlic aged 2–8 weeks post-harvest.
Is there a difference between peeling whole bulbs vs. separated cloves?
Peeling cloves after separation is always easier. Leaving cloves attached to the bulb restricts movement and reduces effectiveness in shaking or rolling methods.
What tools should I keep for efficient garlic prep?
- A wide-mouth glass jar with lid
- Silicone garlic peeler tube
- Microplane grater (for immediate use after peeling)
- Airtight containers for storing peeled garlic
Can I use a food processor to peel garlic?
No. Blenders and processors chop or pulverize cloves rather than removing skin. They are unsuitable for peeling and increase oxidation, leading to bitter flavors.
Storage Checklist:
✔ Store unpeeled garlic in a cool, dark, well-ventilated place
✔ Avoid plastic bags—use mesh or wire baskets for airflow
✔ Never store in the fridge unless peeled (and then only short-term)
✔ Discard cloves with green sprouts unless using for growing
Summary & Key Takeaways
Removing garlic skin doesn't need to be tedious. By understanding garlic’s physical properties and applying targeted techniques, peeling becomes a swift, almost automatic step in meal prep. The most effective methods—jar shaking, microwaving, and knife tapping—exploit natural separations through motion, heat, or pressure, eliminating unnecessary effort.
Choose the right method based on volume, intended use, and available tools. For batch processing, the jar shake reigns supreme. For immediate cooking, a quick microwave burst delivers instant results. And for precision work, the classic knife tap remains unmatched in control and integration with other prep tasks.
Remember that garlic variety, age, and storage conditions influence peeling success. Hardneck types generally peel more easily than softnecks, and properly cured bulbs outperform overly fresh or dried-out ones. Pair these insights with proper storage practices to maintain quality from market to plate.
Ultimately, mastering effortless garlic peeling reflects a broader principle in cooking: working smarter, not harder. Small efficiencies compound over time, transforming routine chores into seamless parts of the culinary process. Try each method once—you’ll likely find one that fits your rhythm perfectly.
Next time you reach for garlic, skip the struggle. Pick a technique, apply it confidently, and reclaim valuable minutes in your kitchen routine.


 浙公网安备
33010002000092号
浙公网安备
33010002000092号 浙B2-20120091-4
Comments
No comments yet. Why don't you start the discussion?