
Resin 3D printing offers exceptional detail and surface finish, but even experienced users encounter issues when the raft fails to slice or adhere properly. A poorly formed or missing raft can lead to print failure, warping, or detachment mid-print. Understanding why rafts don’t slice correctly—and how to resolve it—is essential for consistent, high-quality results. This guide breaks down the technical and practical factors behind raft slicing problems and provides actionable fixes you can apply immediately.
Why the Raft Matters in Resin Printing
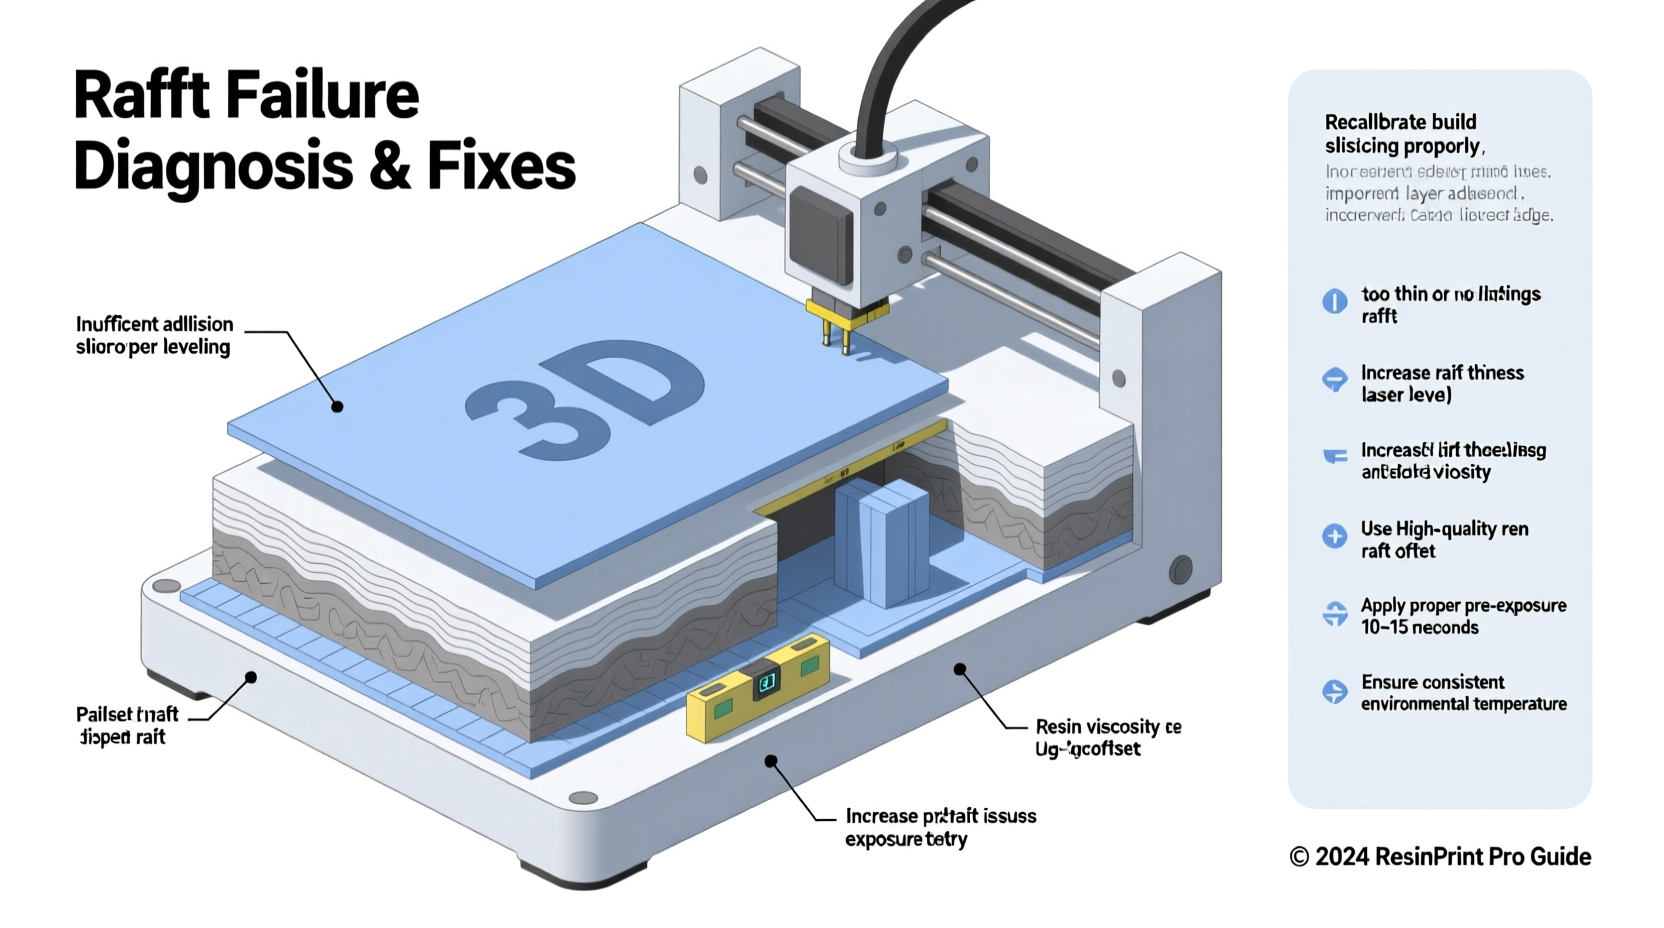
In resin 3D printing (SLA, DLP, or LCD-based), the raft serves as a foundational layer between the build plate and your model. It ensures strong initial adhesion, distributes stress during peeling, and stabilizes tall or narrow models. Unlike FDM printing, where the first layer bonds through heat, resin relies on UV curing and mechanical adhesion. If the raft doesn’t form correctly during the slicing process, the entire print is compromised from the start.
Slicing software like Chitubox, Lychee Slicer, or PrusaSlicer generates the raft based on user-defined settings and model geometry. When the software fails to generate a proper raft—or slices it incorrectly—it’s usually due to misconfigured parameters, software bugs, or physical printer limitations.
Common Causes of Raft Slicing Failures
Raft slicing issues stem from both software and hardware-related factors. Identifying the root cause is key to applying the right solution.
1. Incorrect Build Plate Dimensions
If the slicing software doesn’t recognize the correct build volume, it may fail to generate a raft that fits within the printable area. This often occurs after switching printers or using third-party resins with non-standard profiles.
2. Model Placement Outside the Build Area
A model positioned too close to the edge—or partially outside the build plate—can prevent the slicer from generating a raft. The software detects insufficient space and disables raft creation as a safety measure.
3. Incompatible Raft Settings
Settings such as raft thickness, offset, or pattern type must align with your printer’s capabilities. For example, setting a raft thickness below 0.1 mm may fall below the software’s minimum threshold, causing it to be ignored.
4. Software Glitches or Outdated Versions
Bugs in older versions of slicing software can interfere with raft generation. Users have reported cases where updating to the latest version resolved sudden raft disappearance issues.
5. Model Geometry Issues
Models with extremely thin bases, inverted normals, or non-manifold edges can confuse the slicer. The software may interpret the base as invalid for raft attachment, especially if contact points are minimal.
Step-by-Step Guide to Fix Raft Slicing Problems
Follow this structured troubleshooting process to diagnose and resolve raft slicing failures.
- Verify Printer Profile: Confirm that the correct printer model is selected in your slicer. Double-check build plate dimensions (X, Y, Z) under machine settings.
- Reposition the Model: Center the model on the build plate. Ensure at least 5–10 mm clearance from all edges.
- Check Raft Settings: Navigate to the “Platform Adhesion” or “Supports” tab. Enable raft and set thickness between 0.4–0.8 mm for most prints.
- Inspect Model Integrity: Use a mesh repair tool (like Netfabb or MakePrintable) to fix holes, flipped faces, or intersecting geometry.
- Update Slicing Software: Download the latest stable release of your slicer. Clear cache if available.
- Test with a Simple Model: Slice a basic cube with default raft settings. If the raft appears, the issue lies with the original model or its configuration.
- Reinstall Profiles if Necessary: Corrupted profile files can disable features. Re-import factory settings or create a new custom profile.
Do’s and Don’ts: Raft Configuration Best Practices
| Do’s | Don’ts |
|---|---|
| Use a raft thickness of 0.6 mm for standard prints | Set raft thickness below 0.2 mm |
| Enable “Generate Skirt” to test leveling | Place models near the edge of the build plate |
| Use moderate raft offset (0.2–0.3 mm) | Use excessive offset (>0.5 mm), reducing contact |
| Ensure model base is flat and horizontal | Attempt to print models with point-only contact |
| Update slicer software monthly | Ignore software update notifications |
Mini Case Study: Recovering a Failed Dental Model Print
A dental lab technician was attempting to print a series of crown models using an Elegoo Mars 4. Despite correct orientation, the slicer (Lychee Slicer v4.7.8) refused to generate a raft. The preview showed only supports touching the platform.
After reviewing the workflow, the technician realized the model had been scaled unevenly, resulting in a non-planar base. Using Meshmixer, the base was flattened and re-exported as an STL. Upon re-slicing, the raft appeared instantly. The print succeeded with no adhesion issues.
This case highlights how subtle geometry flaws—often invisible to the naked eye—can disrupt critical processes like raft generation.
“Many raft-related failures aren’t about the printer or resin—they’re silent geometry errors that bypass visual inspection.” — Dr. Lena Torres, 3D Bioprinting Specialist
Troubleshooting Checklist
- ✅ Confirm correct printer model is selected in slicer
- ✅ Ensure model is centered and fully within build volume
- ✅ Verify raft option is enabled and thickness is ≥0.4 mm
- ✅ Check for model errors using a repair tool
- ✅ Update slicing software to the latest version
- ✅ Test with a known-good model (e.g., calibration cube)
- ✅ Clean the build plate and ensure it’s level
- ✅ Reapply FEP film if peeling or warped
Frequently Asked Questions
Can I print without a raft in resin printing?
Yes, but only for small, low-profile models with large surface contact. Tall or delicate parts require a raft for stability. Skipping the raft increases the risk of detachment during the peel cycle.
Why does my raft look incomplete in the preview?
An incomplete raft often indicates that part of the model extends beyond the build plate boundary. Zoom out in the slicer view to confirm full placement. Also, check if support structures are blocking raft generation zones.
How thick should a resin print raft be?
For most applications, a raft thickness of 0.6 mm is ideal. For larger or heavier models, increase to 0.8 mm. Avoid going below 0.3 mm, as thinner rafts may not cure properly or resist peeling forces.
Conclusion: Ensuring Reliable Raft Slicing for Every Print
A missing or improperly sliced raft is one of the most preventable causes of failed resin prints. By methodically verifying your slicer settings, model integrity, and printer profile, you can eliminate this issue from your workflow. Remember that precision begins long before the first layer cures—accurate digital preparation determines physical success.
Don’t let minor configuration oversights undermine hours of design and printing effort. Apply these solutions consistently, maintain updated software, and inspect each model before slicing. With attention to detail, every print can start on a solid foundation—literally.


 浙公网安备
33010002000092号
浙公网安备
33010002000092号 浙B2-20120091-4
Comments
No comments yet. Why don't you start the discussion?