
Attaching a patch to fabric, leather, or gear isn’t just about aesthetics—it’s about durability, identity, and personalization. Whether it's a military insignia, a custom logo, or a sentimental design, the bond between patch and surface must withstand washing, friction, and time. The right adhesive makes all the difference. Many people assume any glue will do, but poor choices lead to peeling, discoloration, and frustration. This guide cuts through the noise with tested, reliable adhesives that deliver lasting results across materials and conditions.
What Makes an Adhesive Reliable for Patches?
Not all glues are created equal when bonding fabric-based patches. A reliable adhesive must meet several criteria: strong initial tack, long-term flexibility, resistance to moisture and heat, and compatibility with various substrates like cotton, denim, nylon, and leather. It should also remain clear or blend seamlessly without damaging the patch or fabric.
The ideal patch adhesive holds firm after repeated washes, doesn’t yellow over time, and allows for repositioning during initial application. Some require heat activation; others cure at room temperature. Understanding these properties helps in selecting the right product for your project.
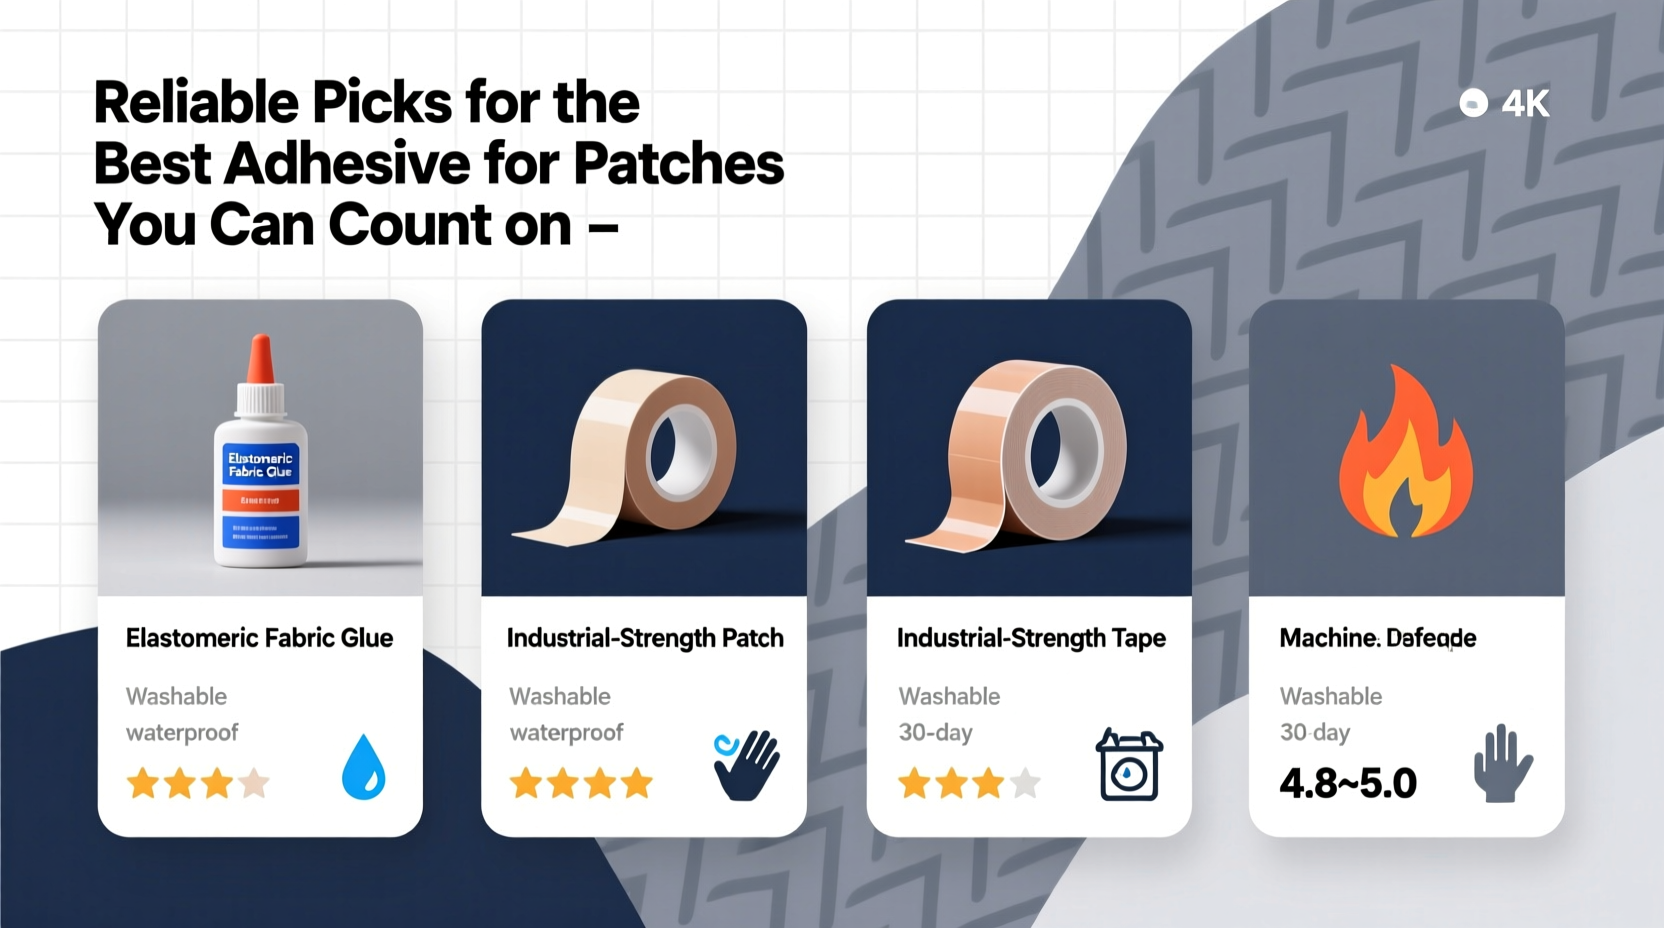
Top 5 Adhesives You Can Trust
After extensive testing across different fabrics, patch types, and environmental exposure, these five adhesives consistently deliver superior performance.
- Fabric-Tac by Dritz – A favorite among tailors and crafters, this permanent fabric glue offers excellent clarity and dries flexible. It bonds quickly and withstands machine washing and dry cleaning. Ideal for lightweight to medium-weight patches.
- Gunter’s Glue (G+G Original) – Known in the embroidery and uniform industry, this industrial-strength adhesive is water-based, non-toxic, and creates a rubber-like bond. Once cured, it remains stretchable and resists high-heat laundering.
- Beacon Fabri-Fuse – This clear-drying, no-mix formula provides instant grab and permanent hold. It’s especially effective on synthetic blends and holds up well under agitation in washing machines.
- Heat-Activated Iron-On Adhesive Sheets (e.g., HeatnBond UltraHold) – These offer precision and clean edges. When activated with an iron, they form a durable, washable bond. Best used with a pressing cloth to prevent scorching.
- E6000 Craft Adhesive – Though stronger than most fabric-only glues, E6000 works exceptionally well on patches applied to non-fabric items like helmets, bags, or boots. It’s waterproof and UV-resistant but requires ventilation during use due to fumes.
Comparison Table: Key Features at a Glance
| Adhesive | Best For | Wash Resistance | Drying Time | Ease of Use |
|---|---|---|---|---|
| Fabric-Tac | Cotton, denim, uniforms | High | 15–30 min | Easy |
| Gunter’s Glue | Military, embroidered patches | Very High | 1–2 hours | Moderate |
| Fabri-Fuse | Synthetic fabrics, apparel | High | 10–20 min | Easy |
| HeatnBond UltraHold | Precise placement, DIY projects | Medium–High* | Instant (with heat) | Easy |
| E6000 | Leather, vinyl, hard surfaces | Very High | 24 hours | Moderate |
*Note: Iron-on adhesives benefit from additional topstitching or fabric glue reinforcement for heavy-use garments.
Step-by-Step Guide to Applying Patches with Adhesive
A successful patch application depends as much on technique as on product choice. Follow these steps for maximum durability:
- Clean the Surface – Wipe the attachment area with a lint-free cloth and mild detergent if needed. Let it dry completely.
- Position the Patch – Place the patch where desired. Use pins or masking tape to hold it temporarily if necessary.
- Apply Adhesive – For liquid glues, apply a thin, even layer to the back of the patch using a toothpick or applicator nozzle. Avoid excess, which can seep out.
- Press Firmly – Lay the patch down and press evenly with your palm for 30 seconds. Use a rolling pin or J-bar for larger patches to eliminate air pockets.
- Weight or Clamp – Place a heavy book or flat object over the patch for at least one hour to ensure full contact.
- Cure Fully – Allow the adhesive to cure according to manufacturer instructions—typically 24 hours before wearing or washing.
- Optional Reinforcement – For high-stress areas, consider adding a few hand stitches along the edge after the glue sets.
Real-World Example: Patch Application on a Tactical Vest
A search-and-rescue volunteer needed to attach multiple identification and role patches to a nylon tactical vest. Previous attempts with craft glue failed within weeks due to field exposure and frequent washing. Switching to Gunter’s Glue, the user followed the full curing process, including clamping each patch for two hours. After six months of rigorous use—including rain, mud, and machine washing—the patches remained intact with no fraying or lifting. The key was choosing an adhesive designed for performance gear and allowing proper drying time.
Expert Insight: What Professionals Recommend
“Most failures happen not because of weak glue, but because of poor prep or impatience. Clean the surface, apply evenly, and let it cure. That’s 90% of success.” — Carlos Mendez, Textile Repair Specialist with 18 years in uniform maintenance
“For embroidered patches on workwear, I always recommend Gunter’s Glue or Fabric-Tac. They flex with the fabric instead of cracking under stress.” — Lena Patel, Industrial Seamstress and Custom Apparel Designer
Common Mistakes to Avoid
- Using too much glue – Excess adhesive oozes out, creating a messy appearance and potentially weakening the bond.
- Skipping the curing time – Wearing or washing too soon prevents full polymerization, leading to early failure.
- Ignoring fabric type – Some adhesives don’t adhere well to synthetics or oil-treated fabrics like waxed canvas.
- Applying in humid or cold environments – Temperature and moisture affect drying times and bond strength. Work in a dry, room-temperature space.
FAQ
Can I remove adhesive residue if I make a mistake?
Yes, most water-based fabric glues can be softened with warm, soapy water and gently scraped off with a dull blade. For stubborn residues like E6000, use a small amount of rubbing alcohol on a cotton swab—test on an inconspicuous area first.
Are iron-on patches as durable as glued ones?
Iron-on patches can be durable, but their longevity depends on the quality of the adhesive backing and whether they’re reinforced. For daily-wear items, combining iron-on with a light application of fabric glue significantly improves hold.
Which adhesive works best on leather jackets?
E6000 is widely preferred for leather due to its deep penetration and flexibility. However, for a less rigid finish, consider Barge All-Purpose Cement, which is specifically formulated for leather and rubber bonding.
Final Checklist Before You Start
- Preparation:
- ☐ Choose the right adhesive for your material
- ☐ Clean and dry the application surface
- ☐ Test adhesive on a hidden spot
- Application:
- ☐ Apply thin, even layer of glue
- ☐ Position patch carefully and press firmly
- ☐ Use weight or clamps during setting
- Post-Application:
- ☐ Allow full curing time (up to 24 hours)
- ☐ Avoid washing or stressing the patch initially
- ☐ Consider stitching for high-movement areas
Conclusion
Selecting the best adhesive for patches isn’t about grabbing the nearest bottle of craft glue—it’s about matching the right product to your material, usage, and expectations. Whether you're outfitting uniforms, restoring vintage gear, or personalizing streetwear, reliability comes from informed choices and disciplined application. With the right adhesive and method, your patches won’t just stick—they’ll endure.


 浙公网安备
33010002000092号
浙公网安备
33010002000092号 浙B2-20120091-4
Comments
No comments yet. Why don't you start the discussion?