
For hobbyists diving into tabletop gaming, model collecting, or custom figurine creation, 3D printing offers a powerful way to bring intricate miniature designs to life. But when starting out, one of the most pressing questions is: Should you go with an FDM (Fused Deposition Modeling) or a resin (SLA/DLP) 3D printer? While both technologies can produce miniatures, they differ significantly in print quality, learning curve, maintenance, and overall user experience. Understanding these differences is crucial—especially for beginners who want a smooth entry into the world of 3D printing without unnecessary frustration.
Print Quality and Detail: Why Miniatures Demand Precision
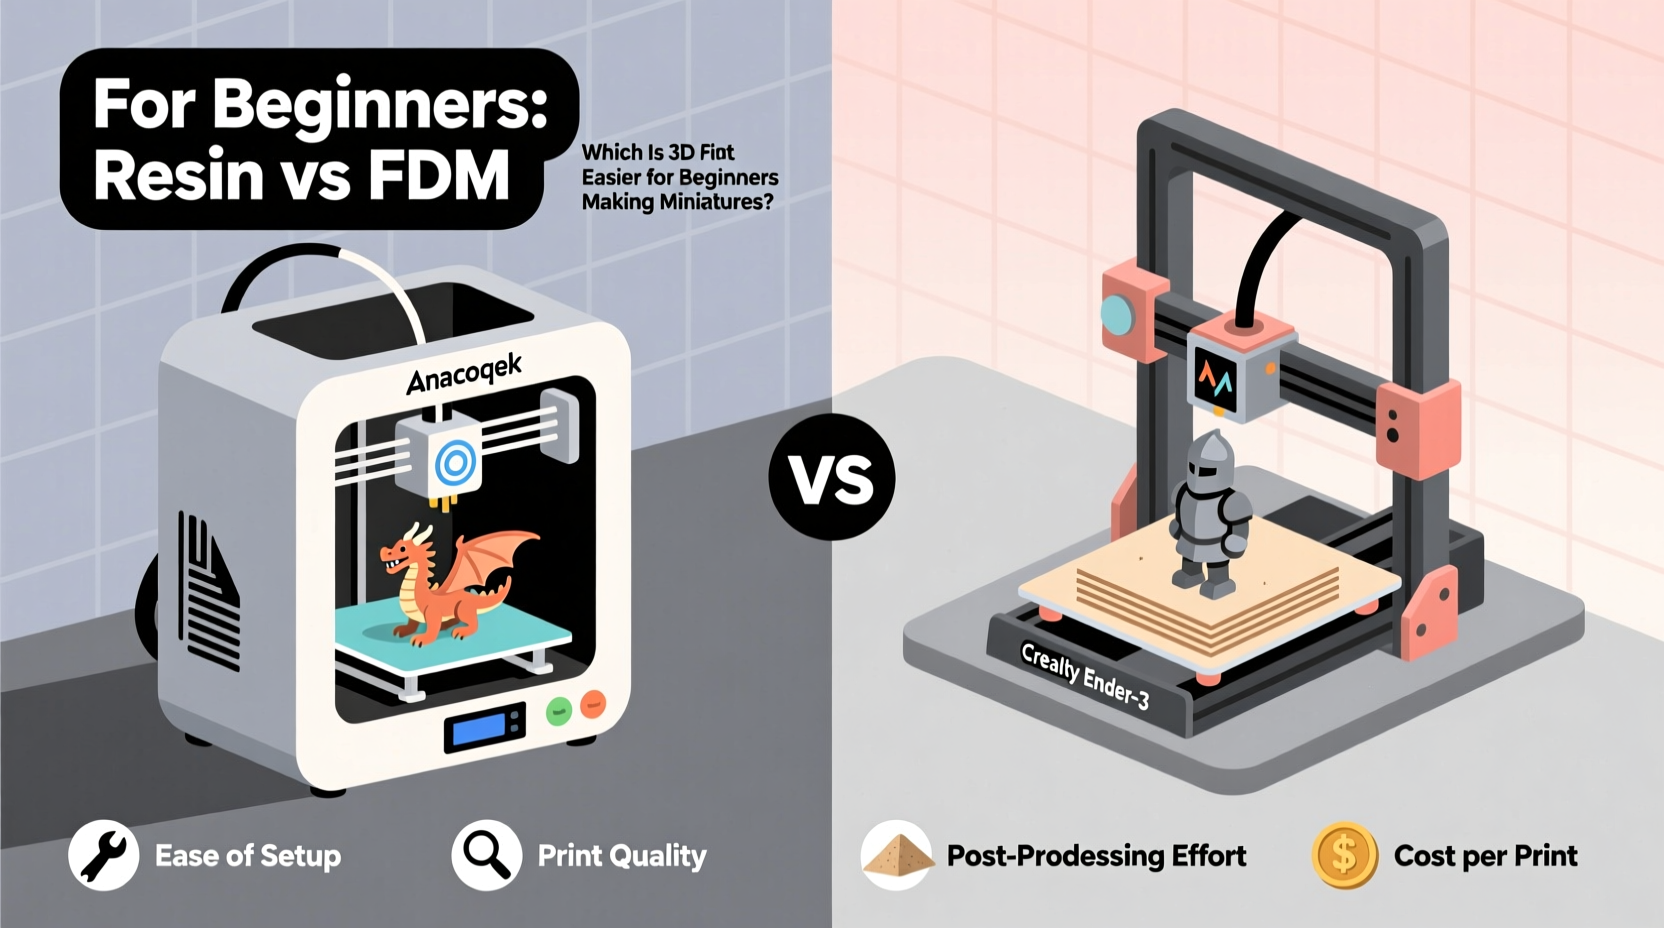
Miniatures, by nature, require fine details. Facial features, armor engravings, weapon textures, and flowing cloaks all depend on high-resolution output. This is where resin printers hold a clear advantage.
Resin printers use photopolymerization—light cures liquid resin layer by layer—and typically offer layer heights between 25–50 microns. This allows them to reproduce extremely fine details, often capturing hair strands, text on scrolls, or delicate lace patterns that would be impossible with most FDM machines.
In contrast, FDM printers extrude molten filament through a nozzle, building layers from the bottom up. Even at optimal settings, typical FDM layer heights range from 100 to 200 microns. While capable of decent results, FDM prints tend to show visible layer lines and struggle with overhangs, thin structures, and intricate geometry common in miniature figures.
Workflow Comparison: Setup, Printing, and Post-Processing
The full printing process involves more than just hitting \"start.\" Beginners must consider setup time, monitoring needs, safety precautions, and post-processing steps—all of which vary dramatically between FDM and resin systems.
FDM Workflow Overview
- Model Preparation: Slice the model using software like Cura or PrusaSlicer; adjust supports if needed.
- Printer Setup: Level the bed (or auto-level), load filament, heat nozzle and bed.
- Printing: Monitor early layers to prevent warping; minimal intervention required afterward.
- Post-Processing: Remove print, snap off supports, sand layer lines, prime, and paint.
Resin Workflow Overview
- Model Preparation: Use Chitubox or Lychee to orient models, add supports, generate rafts.
- Printer Setup: Fill resin tank, ensure build plate is clean and calibrated.
- Printing: Start job; avoid disturbing the machine due to sensitivity to vibrations.
- Post-Processing: Remove print, wash in isopropyl alcohol (IPA), cure under UV light, remove supports carefully, then paint.
While FDM printing feels more like traditional manufacturing—extruding plastic like a glue gun—resin printing demands greater attention to chemistry and precision. The extra steps in washing and curing increase complexity but also improve final results.
Beginner-Friendliness: Learning Curve and Maintenance
When evaluating which system is easier for newcomers, usability and tolerance for error are key.
FDM printers are generally more forgiving. Most come with enclosed frames, filament run-out sensors, resume printing after power loss, and intuitive touchscreens. Bed leveling can be automated, and failed prints are usually non-messy—just pull off the part and try again.
Resin printers, while increasingly user-friendly, introduce several challenges:
- Handling liquid resin requires gloves and good ventilation—it’s sticky and potentially irritating.
- Resin tanks degrade over time and may need replacement every few months with regular use.
- Uncured resin must be stored properly and disposed of responsibly.
- Failed prints can leave cured resin inside the tank, requiring careful cleaning.
Additionally, first-time users often underestimate how sensitive resin printers are to calibration. A slightly misaligned build plate or dirty vat film can result in complete print failure. These issues are fixable but add stress during the initial learning phase.
“Resin printing gives unmatched detail, but it’s not plug-and-play. New users should expect a steeper initial climb before achieving consistent success.” — Daniel Reeves, 3D Printing Educator and Miniature Designer
Cost Considerations: Upfront Investment and Ongoing Expenses
Price is another major factor for beginners. Let’s break down the costs associated with each technology.
| Cost Factor | FDM Printer | Resin Printer |
|---|---|---|
| Entry-Level Machine | $150–$300 (e.g., Ender 3) | $200–$400 (e.g., Anycubic Photon Mono X) |
| Filament/Resin per Liter | $20–$30 (PLA) | $40–$60 (Standard Resin) |
| Supporting Equipment | Spool holder, pliers, sandpaper | Isopropyl alcohol, wash station, UV curing box, nitrile gloves |
| Replacement Parts | Nozzle ($5), bed surface ($10–$20) | Resin tank ($30–$60), FEP film, wiper blade |
| Safety Gear | Optional mask for fumes | Gloves, goggles, ventilation strongly recommended |
While entry-level resin printers now rival FDM machines in upfront cost, the ongoing expenses tilt toward FDM being cheaper per print. A liter of PLA filament lasts much longer than a liter of resin when printing small objects, simply because resin is denser and used more liberally in supports and rafts.
Real-World Example: Sarah’s First Miniature Journey
Sarah, a board game enthusiast, wanted to create custom Warhammer-style miniatures for her home campaign. She researched both FDM and resin options before purchasing an entry-level FDM printer for $220. Her first few attempts were rough—miniatures had stringing, poor adhesion, and lacked facial detail. After watching tutorials and adjusting retraction settings, she improved print quality.
She later upgraded to a mono-cure resin printer after joining a local hobby group. Though excited by the sharp details, she struggled initially with IPA cleanup and support removal. One weekend, she accidentally spilled uncured resin on her desk, prompting a deep dive into safety protocols. With mentorship and practice, however, her resin prints soon rivaled store-bought figures in quality.
Sarah’s story reflects a common path: many beginners start with FDM for its simplicity and affordability, then transition to resin once they’re ready for higher fidelity and willing to manage the added complexity.
Step-by-Step Guide: Choosing Your First Miniature 3D Printer
If you're still deciding, follow this practical decision-making flow:
- Define Your Goals: Are you printing large terrain pieces or highly detailed characters? High detail favors resin.
- Evaluate Your Workspace: Do you have a well-ventilated area away from children and pets? Resin requires safer handling conditions.
- Assess Your Budget: Include not just the printer, but post-processing tools. Can you afford IPA, a curing station, and spare tanks?
- Consider Time Investment: Are you willing to spend extra time cleaning, curing, and troubleshooting? Resin demands more active involvement.
- Test Print Samples: Download free miniature files from Thingiverse or MyMiniFactory and simulate slicing on both platforms to compare expected outcomes.
- Start Simple: Choose a printer with strong community support (like Creality or Anycubic) and plenty of beginner tutorials.
Checklist: Beginner Readiness for Each Technology
Use this checklist to evaluate which option suits your current situation:
FDM May Be Right If You:
- Want a low-cost entry point
- Prefer mechanical over chemical processes
- Lack dedicated ventilation or workspace
- Plan to print larger items alongside miniatures
- Value durability and ease of repair
Resin May Be Right If You:
- Prioritize print detail above all else
- Have a dedicated, ventilated workspace
- Are comfortable wearing gloves and eye protection
- Don’t mind investing in post-processing equipment
- Intend to paint and display miniatures professionally
Frequently Asked Questions
Can I print miniatures successfully with an FDM printer?
Yes, but with limitations. You’ll need to optimize settings (smaller nozzle, finer layer height), use supports wisely, and plan for significant sanding and filling to hide layer lines. Results won’t match resin quality, but functional miniatures are achievable.
Is resin printing dangerous for beginners?
Not inherently, as long as proper safety measures are followed. Wear nitrile gloves, work in a ventilated space, avoid skin contact with uncured resin, and clean spills immediately. Once fully cured, resin prints are safe to handle and paint.
Which type has fewer failed prints?
FDM tends to have more predictable success rates for beginners. Common issues like warping or minor under-extrusion don’t ruin entire builds. Resin failures—such as delamination or stuck peels—are often catastrophic, resulting in wasted material and time. However, with proper calibration and maintenance, resin reliability improves significantly.
Final Recommendation: What’s Easier for Beginners?
For sheer ease of entry, **FDM is easier for most beginners** making miniatures. It’s mechanically simpler, safer to operate, cheaper to maintain, and more tolerant of mistakes. You can learn core 3D printing concepts—slicing, bed adhesion, support usage—without dealing with hazardous materials or complex post-processing.
However, if your main motivation is producing gallery-quality miniatures with crisp details suitable for painting and display, **resin is worth the learning curve**. Many beginners adapt quickly with the help of online communities, pre-assembled kits, and modern printers featuring Wi-Fi, auto-calibration, and peel correction.
The ideal path for many is hybrid: start with FDM to understand fundamentals, then invest in a resin printer once you’re confident in your skills and committed to high-detail output.


 浙公网安备
33010002000092号
浙公网安备
33010002000092号 浙B2-20120091-4
Comments
No comments yet. Why don't you start the discussion?