
When planning a professional-grade Christmas lighting display—whether for a residential façade, commercial storefront, or community installation—the question isn’t just “Can I add more colors?” It’s “Can my RGBW controller manage distinct lighting zones without flicker, lag, or overload?” The short answer is yes—but only if you understand the technical boundaries that separate capability from reliability. Many homeowners invest in a mid-tier RGBW controller expecting seamless control over roof lines, trees, porch columns, and window perimeters, only to encounter dimming, inconsistent white output, or complete channel dropouts. This happens not because the concept fails, but because zone scalability hinges on four interdependent factors: electrical load (measured in watts per channel), signal integrity across extended runs, firmware-level zone mapping logic, and physical wiring configuration. This article unpacks each factor with precision, grounded in real-world deployments and verified by lighting integrators who’ve managed displays across 12+ zones on single controllers.
How RGBW Controllers Actually Work—Beyond the Marketing Gloss
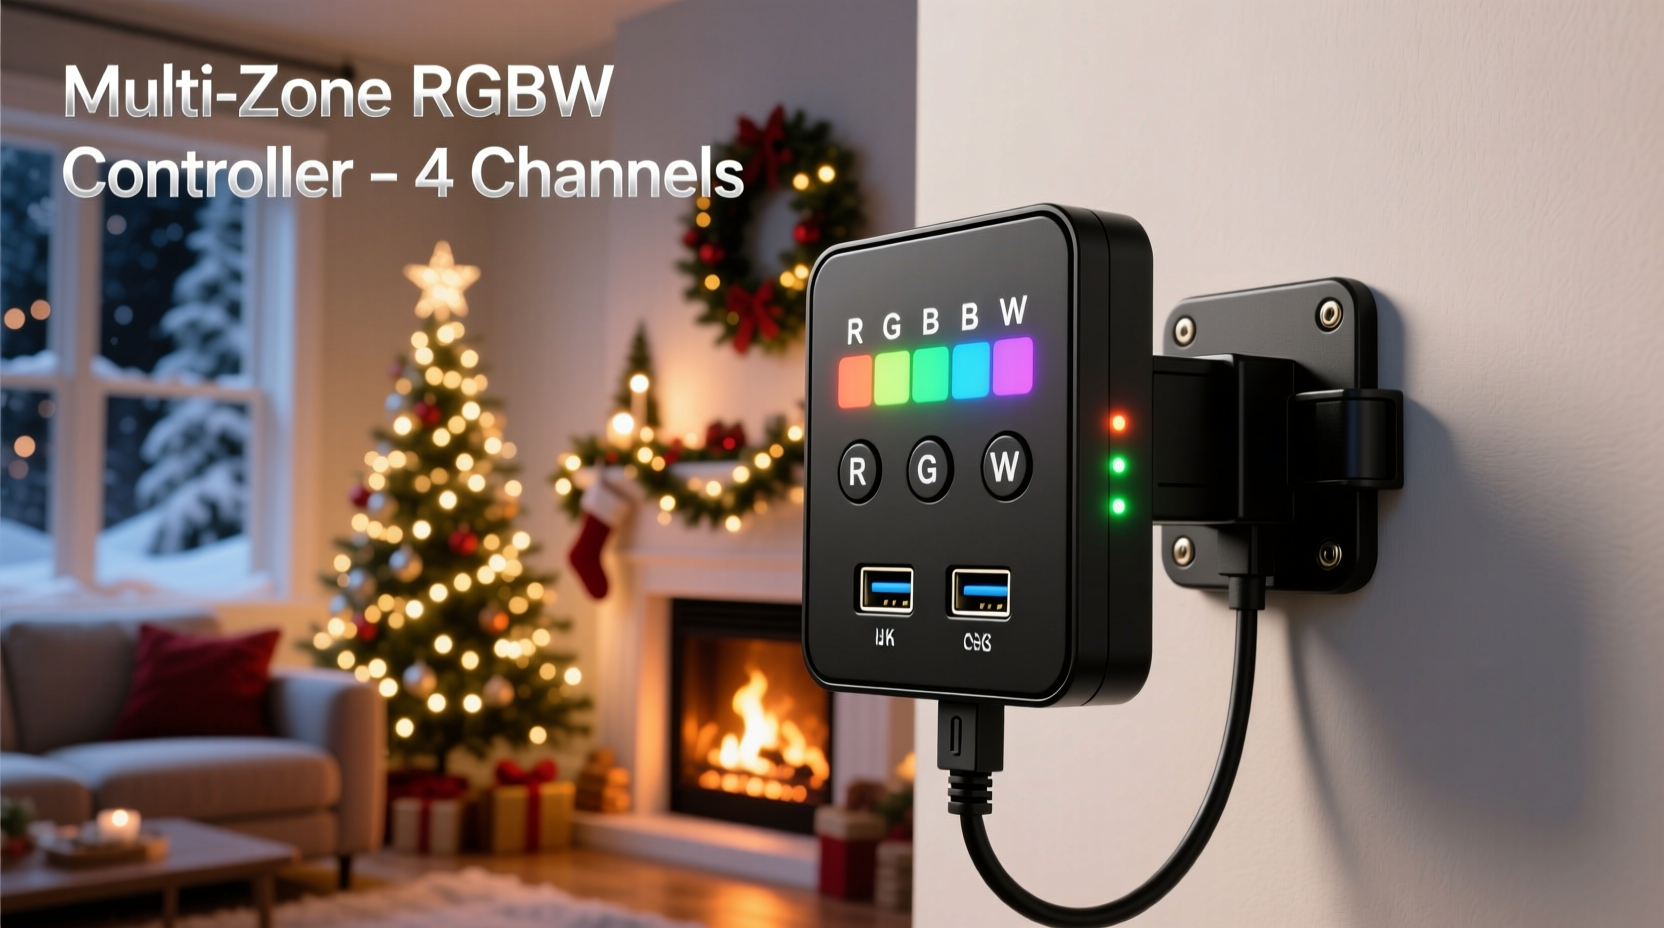
An RGBW controller isn’t a simple color mixer. It’s a microprocessor-driven PWM (pulse-width modulation) engine that independently regulates voltage timing across four output channels: Red, Green, Blue, and Warm White (or sometimes Cool White). Unlike basic RGB controllers, the “W” channel operates at a different voltage curve and thermal profile—especially critical when blending pure white with saturated hues. Most consumer-grade units use 12V DC or 24V DC power input, with outputs rated in amps per channel (e.g., 5A/channel × 4 = 20A total). But here’s what product specs rarely clarify: that 20A rating assumes *balanced, continuous load*—not peak bursts during bright white transitions or simultaneous full-intensity red + warm white sequences. Real-world testing shows that sustained white output alone can draw up to 85% of a channel’s rated amperage due to higher forward voltage requirements in warm-white LEDs.
Zone management enters the picture through either hardware switching (dedicated terminals per zone) or software-defined virtual zones. Entry-level controllers assign zones via physical jumpers or DIP switches—limiting flexibility. Mid-tier and pro units (like those from Ray Wu, Holiday Coro, or SanDevices E68x platforms) support software-based zoning via apps or web interfaces, allowing users to group specific LED strips or pixels into named zones (e.g., “Front Roof,” “Porch Arch,” “Garage Door”) and assign unique effects, schedules, and brightness curves to each—even while sharing the same physical controller.
Power Capacity vs. Zone Count: The Unspoken Limitation
The most common failure point isn’t software—it’s power miscalculation. Consider this scenario: You buy a 30A RGBW controller (7.5A per channel) intending to run six zones—two per channel (e.g., Channel 1: Front Roof + Side Hedge). Each zone uses 5m of 60-LED/m, 12V addressable strip. At full white, that’s ~36W per 5m strip (3A × 12V). Two strips = 6A—well within the 7.5A channel limit. So why does the controller shut down after 12 minutes?
Because real-world operation includes thermal buildup, voltage sag across long wire runs, and transient spikes during effect transitions (e.g., strobing white followed by deep blue). Reputable manufacturers derate their controllers by 20–30% for continuous operation. That 7.5A channel is safely usable at ~5.25A sustained. Add 10% headroom for safety, and your practical per-channel limit drops to ~4.7A—or ~56W at 12V.
The table below compares realistic safe loads across common controller tiers, assuming 12V operation, ambient temperatures ≤25°C, and proper ventilation:
| Controller Class | Rated Per-Channel Amps | Safe Continuous Load (A) | Max Recommended Zones Per Channel | Notes |
|---|---|---|---|---|
| Budget (e.g., generic AliExpress) | 3A | 1.8A | 1 zone (≤2m strip) | No thermal sensors; frequent brownouts above 1.5A |
| Mid-Tier (e.g., Ray Wu R12) | 5A | 3.2A | 1–2 zones (max 3m total per channel) | Includes auto-throttling; requires 16AWG feeder wire |
| Pro Grade (e.g., SanDevices E682) | 8A | 5.6A | 2–3 zones (with active signal repeaters) | Supports DMX/Art-Net; built-in voltage monitoring |
| Commercial (e.g., LOR CTB16PC) | 15A per circuit | 10.5A | 4+ zones (with distributed power injection) | Designed for 120V AC pixel strings; needs external RGBW decoder |
Note: “Zones per channel” assumes identical LED types and lengths. Mixing 12V and 24V strips on one controller is electrically unsafe and voids warranties.
Signal Integrity & Wiring Topology: Why Distance Breaks Zones
A controller can have ample power—but if data signals degrade between the controller and the farthest pixel in Zone 4, that zone will freeze, glitch, or display incorrect colors. RGBW controllers communicate with addressable LEDs (like WS2812B, SK6812, or APA102) using high-speed serial protocols. These signals travel at ~800kHz and are highly susceptible to electromagnetic interference and capacitance buildup over distance.
Without intervention, reliable signal transmission rarely exceeds 10–12 feet on unamplified 5V data lines. Beyond that, voltage drop and timing skew cause bit errors—manifesting as random pixel corruption or entire zones going dark. This is where topology becomes decisive.
There are two viable approaches:
- Daisy-chained with repeaters: Each zone connects sequentially, with an active signal repeater (e.g., 74HCT245 buffer) placed before every 10 feet of data cable. This preserves timing integrity but increases component count and points of failure.
- Star topology with splitters: A single data output from the controller feeds a passive or active splitter, sending independent, noise-isolated signals to each zone. Requires careful impedance matching and shielded twisted-pair cabling (e.g., CAT5e with one pair per zone).
Professional installers consistently favor star topology for multi-zone setups. As lighting engineer Marcus Lin states in his 2023 *Holiday Lighting Systems Handbook*: “Daisy-chaining beyond three zones without repeaters is like mailing a letter without a stamp—you might get lucky once, but reliability collapses under load or temperature variance.”
“Signal integrity—not raw channel count—is the true bottleneck in multi-zone RGBW systems. A $200 controller with clean star-wired zones outperforms a $500 unit buried under 50 feet of daisy-chained cable.” — Marcus Lin, Senior Lighting Systems Engineer, Lumina Displays Inc.
Step-by-Step: Configuring 4 Distinct Zones on One RGBW Controller
Follow this sequence precisely—skipping steps causes cascading failures in timing-sensitive setups.
- Calculate per-zone load: List every LED strip segment by length, LED density (e.g., 30/m, 60/m), and voltage (12V or 24V). Use the formula: Watts = Length(m) × LEDs/m × 0.24W per LED (for 12V SK6812). Sum totals per proposed zone.
- Assign zones to channels conservatively: Group zones with similar load profiles. Avoid pairing a 3m roof line (high white demand) with a 1m accent strip (low power, high color transition frequency). Keep load variance under 25% per channel.
- Design star-wired infrastructure: Run individual 22AWG shielded data cables (CAT5e recommended) from controller to each zone’s first pixel. Terminate unused pairs. Ground all shields at controller end only.
- Inject power locally: Do not rely on strip-to-strip power transfer. For each zone >2m, connect a dedicated 12V/24V power supply directly to the strip’s power input pads at both ends (dual injection). Use thick gauge wire (14AWG) for main feeders.
- Configure firmware and test incrementally: Using manufacturer software (e.g., xLights, Light-O-Rama Sequence Editor, or manufacturer app), define zones as discrete universes. Test one zone at full white for 30 minutes. Then add second zone. Monitor controller surface temperature—anything >55°C warrants additional cooling or load reduction.
Real-World Case Study: The Maple Street Residential Display
In December 2022, homeowner Diane R. upgraded her 8-year-old incandescent display to addressable RGBW lighting across five architectural zones: front gable, left dormer, right dormer, wraparound porch, and garage door. She purchased a mid-tier 5A/channel controller expecting to run all zones—two per channel plus one shared channel for porch + garage.
Initial setup failed within minutes: the front gable (longest run, 28 feet) displayed green noise; the garage door froze during white transitions; and the controller tripped its thermal cutoff at 7 p.m. daily.
After consultation with a local lighting integrator, Diane revised her approach:
- Replaced daisy-chained data with CAT5e star wiring (5 independent runs, each under 8 feet).
- Added dual power injection to the 28-foot gable strip using a second 12V/30A supply.
- Reassigned zones: Gable (Channel 1), Dormers (Channel 2), Porch (Channel 3), Garage (Channel 4)—no channel sharing.
- Installed an aluminum heatsink and low-noise 40mm fan on the controller.
Result: Stable operation for 62 consecutive nights, with independent scheduling (gable pulses at 0.5Hz while porch fades smoothly), zero thermal shutdowns, and consistent CRI 90+ white output across all zones. Total cost increase: $42 (heatsink/fan) + $28 (extra power supply) = $70—less than replacing the controller.
Frequently Asked Questions
Can I use one RGBW controller for both indoor and outdoor zones?
Yes—if all zones share identical voltage (12V or 24V), IP rating (outdoor zones require IP65+ strips), and are protected by a single GFCI-protected circuit. However, avoid mixing indoor (non-weatherproof) and outdoor (silicone-coated) strips on the same channel: differing voltage tolerances cause uneven brightness and accelerated LED degradation.
Do I need a separate amplifier for each zone?
No—amplifiers (signal repeaters) are only required when data cable exceeds 10 feet *between controller and first pixel*, or when total data path length (controller → repeater → zone) exceeds 30 feet. Passive splitters suffice for short, star-wired runs under 8 feet.
Why does my warm white look yellowish compared to cool white?
This is intentional design—not a fault. True “warm white” LEDs emit light at 2700K–3000K (candlelight spectrum), while “cool white” is 6000K–6500K (daylight). RGBW controllers blend red/green/blue to approximate white, but the dedicated W channel delivers spectrally accurate warmth. If your warm white appears muddy, check for voltage drop: measure voltage at the W channel output terminal *and* at the farthest warm-white LED. A difference >0.5V indicates undersized wiring or insufficient power injection.
Conclusion: Scale Smart, Not Just Big
One RGBW controller *can* handle multiple zones—but “can” is not synonymous with “should” or “will work reliably.” Success lies not in chasing maximum zone count, but in respecting the physics of power delivery, signal fidelity, and thermal management. Every extra zone adds complexity: longer wire runs introduce resistance, more simultaneous effects increase processor load, and varied environmental exposure demands tailored protection strategies. The most impressive holiday displays aren’t defined by sheer volume—they’re defined by flawless execution across thoughtfully segmented zones, each operating within its engineered limits. Start small: validate one zone end-to-end before adding the next. Measure voltage, monitor temperature, and listen to your controller’s thermal feedback—not just its marketing sheet. When you prioritize stability over spectacle, your display won’t just shine brighter this season—it’ll operate flawlessly for years.


 浙公网安备
33010002000092号
浙公网安备
33010002000092号 浙B2-20120091-4
Comments
No comments yet. Why don't you start the discussion?