
Air pumps are essential for inflating everything from sports balls to inflatable furniture and pool toys. But when the inflation needle gets stuck, it can turn a simple task into a frustrating ordeal. Forcibly yanking it out may damage the pump valve, bend the needle, or even cause injury. The good news is that with the right approach, most stuck needles can be removed safely and efficiently—without tools or excessive force.
This guide walks you through practical, tested techniques to free a stuck inflation needle, backed by expert insights and real-world experience. Whether you're dealing with a high-pressure bike pump or a compact hand pump for sports gear, these steps will help you resolve the issue quickly and prevent future occurrences.
Why Inflation Needles Get Stuck
Inflation needles become lodged due to a combination of pressure, material fatigue, and improper alignment. When air is forced through the needle into a narrow valve (like those in basketballs or air mattresses), friction increases. Over time, repeated use can deform the rubber gasket inside the valve or cause the metal needle to slightly expand, making removal difficult.
Additionally, inserting the needle at an angle or over-tightening the connection can create a binding effect. Some users unknowingly twist the needle while attaching it, which threads it slightly into the rubber lining, increasing grip and resistance.
“Most cases of stuck needles result from misalignment or excessive inflation pressure. Prevention starts with proper insertion technique.” — Carlos Mendez, Sports Equipment Technician with 15 years of field experience
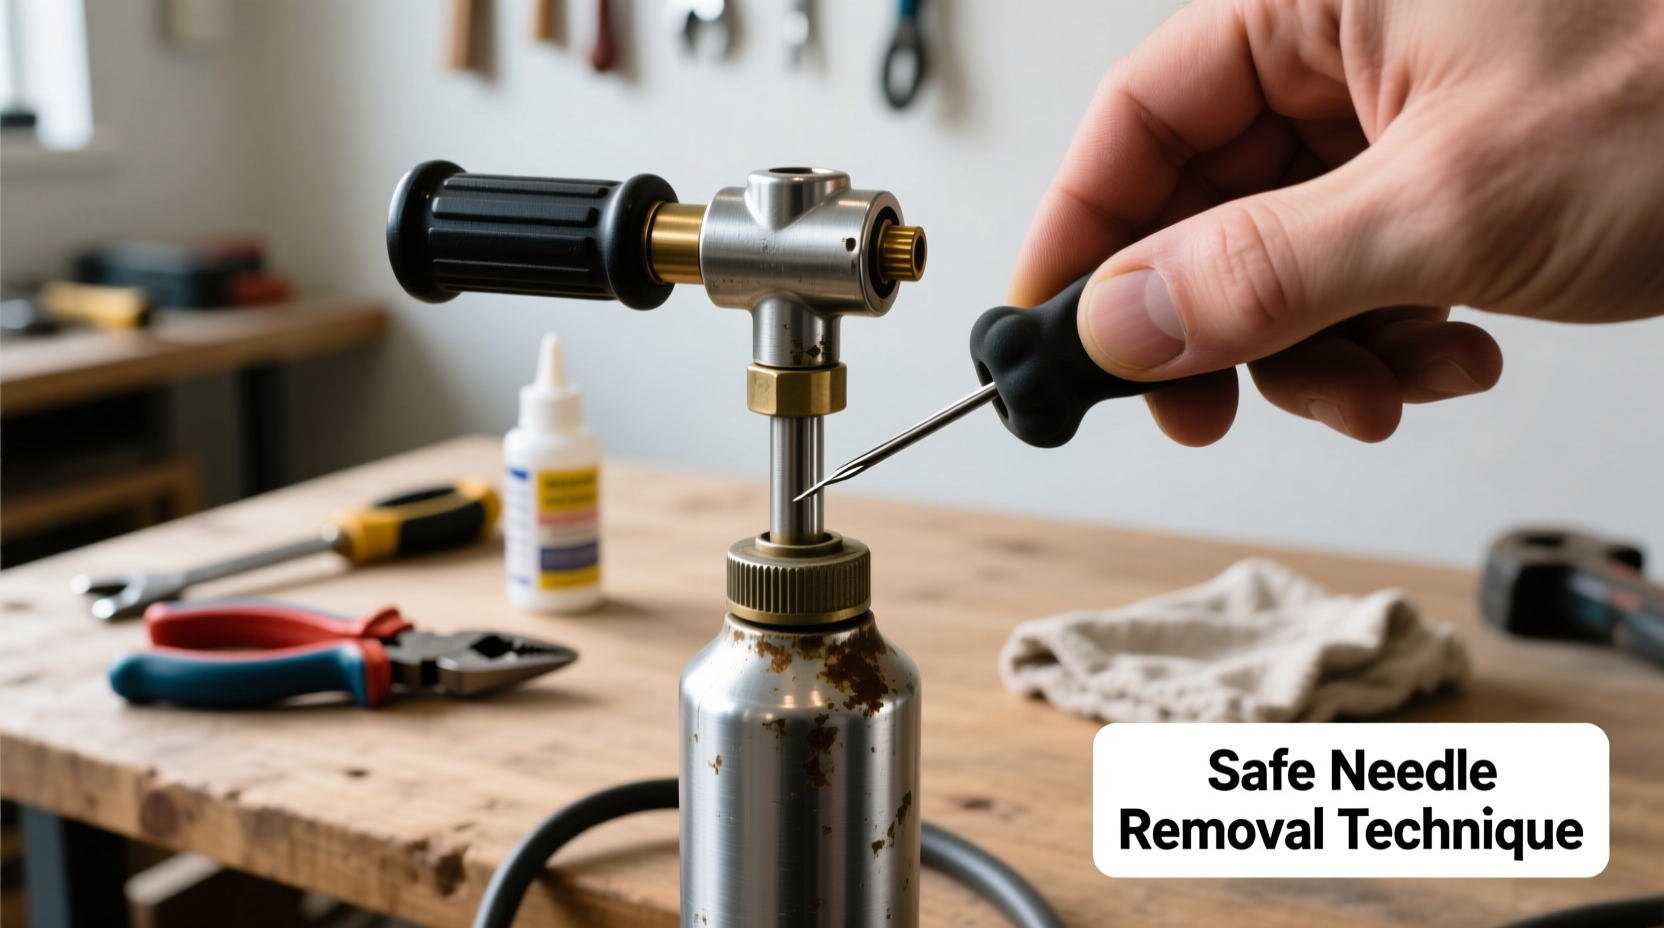
Step-by-Step Guide to Safely Remove a Stuck Needle
Follow this structured sequence to increase your chances of success without causing damage:
- Stop pumping immediately. Continuing to inflate increases internal pressure, which can wedge the needle tighter.
- Release air slowly. Deflate the item using the valve’s release mechanism. Lower pressure reduces tension on the needle.
- Stabilize the pump and object. Hold both firmly so they don’t shift during removal attempts.
- Apply gentle rotational motion. Try turning the needle *very slightly* clockwise and counterclockwise—no more than 5 degrees each way. This can break the seal without stripping the rubber.
- Pull straight out with steady pressure. Use even force along the axis of insertion. Avoid wiggling, which can tear the valve.
- If resistance persists, proceed to advanced methods below.
Advanced Techniques for Stubborn Cases
Sometimes, basic pulling isn’t enough. These safe, non-destructive methods can resolve persistent jams:
Use Lubrication to Reduce Friction
A small amount of silicone-based lubricant applied around the base of the needle can ease removal. Avoid oil-based lubes as they degrade rubber valves. Let the lubricant sit for 1–2 minutes to penetrate before attempting removal again.
Apply Heat Gently
Rubber contracts slightly when cooled and expands when warmed. Using a hairdryer on low heat, warm the area around the valve for 15–20 seconds. This softens the rubber and may loosen its grip. Do not overheat—excessive heat can melt plastic components or weaken seals.
Use a Rubber Band for Better Grip
If your fingers can’t get a firm hold, wrap a wide rubber band around the needle shaft. This improves traction and allows more controlled pulling force without slipping.
Reverse Pressure Method
Reattach the pump and briefly pressurize the chamber again—not enough to inflate, just enough to create outward push. Then immediately switch to deflate mode. The fluctuation in pressure can dislodge a tightly bound needle.
“I once recovered a needle stuck in a volleyball for three days using only warm water and gradual twisting. Patience beats brute force every time.” — Lila Tran, Recreation Equipment Manager at Metro Parks District
Do’s and Don’ts: Quick Reference Table
| Action | Recommended? | Reason |
|---|---|---|
| Pull straight out with steady pressure | ✅ Yes | Minimizes valve damage and maintains alignment |
| Twist the needle sharply | ❌ No | Can shred internal valve lining |
| Use silicone lubricant | ✅ Yes | Reduces friction without harming materials |
| Apply pliers directly | ❌ No | High risk of bending or breaking the needle |
| Warm the valve gently with a hairdryer | ✅ Yes | Softens rubber for easier release |
Real Example: Recovering a Needle from an Air Mattress Valve
Jamal, a campsite coordinator, faced a recurring issue during summer setup: multiple air mattresses had stuck needles after being inflated with shared pumps. One unit had a needle embedded so deeply that initial tugging only caused the plastic housing to crack.
Instead of replacing the entire pump head, he followed a careful process: deflated the mattress completely, wrapped the needle base with a rubber band for grip, applied a drop of silicone lube, and used slow back-and-forth rotation. After about 90 seconds of patient manipulation, the needle slid free. He later replaced the worn rubber gasket in the pump, preventing further incidents.
This case highlights how combining gentle technique with preventive maintenance avoids costly replacements.
Checklist: How to Prevent Future Needle Issues
- ✔️ Inspect the needle and valve for debris or wear before each use
- ✔️ Insert the needle straight—avoid angling or forcing it
- ✔️ Do not over-inflate beyond manufacturer recommendations
- ✔️ Clean the needle periodically with mild soap and water
- ✔️ Replace worn rubber gaskets or O-rings in the pump assembly
- ✔️ Store the pump with the needle detached or capped
Frequently Asked Questions
Can I cut the needle if it won’t come out?
No. Cutting should never be attempted. It risks damaging the valve irreparably and leaves metal fragments inside, which could puncture the inflatable or contaminate the system. Always prioritize extraction over destruction.
Is it safe to leave a needle in overnight?
It’s not recommended. Residual pressure and temperature changes can cause the rubber to conform tightly around the metal, increasing the chance of it seizing. Always remove the needle after use.
What if part of the needle breaks off inside?
If the tip snaps off inside the valve, stop all inflation attempts. Carefully examine the opening. If visible and accessible, use fine-tipped tweezers with steady hands. Otherwise, consult a repair specialist or replace the valve unit. Never blow compressed air into the valve hoping to dislodge it—that can force shards deeper.
Final Thoughts and Call to Action
Dealing with a stuck inflation needle doesn’t have to mean ruined equipment or wasted time. By understanding the mechanics behind the jam and applying calm, methodical techniques, you can resolve most situations safely. The key is patience—rushing leads to broken parts and avoidable expenses.
Now that you know how to handle this common problem, take a moment to inspect your current pump setup. Are the valves worn? Is your needle clean and straight? A few minutes of maintenance today can save hours of frustration tomorrow.


 浙公网安备
33010002000092号
浙公网安备
33010002000092号 浙B2-20120091-4
Comments
No comments yet. Why don't you start the discussion?