
Customizing personal devices has become a popular way to express individuality, and the Apple Watch is no exception. While many users opt for off-the-shelf bands in various colors and materials, some take customization further by modifying their bands themselves. One method that’s gained attention—though often misunderstood—is using a drill to create unique holes, patterns, or attachment points. However, drilling into an Apple Watch band requires precision, the right tools, and strict adherence to safety practices. Done incorrectly, it can ruin the band, compromise durability, or even pose risks to the wearer.
This guide outlines practical, tested strategies for safely and effectively using a drill to personalize your Apple Watch band. Whether you're aiming for improved breathability, aesthetic flair, or compatibility with third-party accessories, these tips ensure your project enhances both style and function—without unnecessary risk.
Understanding Your Band Material
Before touching a drill, identify the material of your Apple Watch band. Different materials react differently to drilling, and choosing the wrong technique can lead to cracking, fraying, or structural failure.
| Material | Drill Bit Type | Speed Setting | Risk Level |
|---|---|---|---|
| Silicone/Flexible Polymer | Brad-point or small twist bit (1–3mm) | Low to medium | Moderate (tearing if not supported) |
| Fluoroelastomer (Sport Band) | Sharp carbide bit | Medium | Low (if cooled properly) |
| Leather | Brad-point or spur-point bit | Low | Moderate (fraying edges) |
| Stainless Steel/Metal | High-speed steel or cobalt bit | Medium-high with coolant | High (work-hardening, overheating) |
| Nylon/Weave Bands | Not recommended | N/A | Very High (delamination, unraveling) |
For most DIY enthusiasts, silicone, fluoroelastomer, or leather bands are the safest starting points. Metal bands require specialized tools and cooling methods and are generally not advised unless you have experience with metalworking.
Essential Tools and Safety Precautions
Using a drill on a small, flexible object like a watch band demands control and preparation. Rushing the process increases the chance of slipping, which could damage the band or injure you.
- Cordless Drill or Rotary Tool: A Dremel or similar rotary tool offers better precision than a standard drill for small holes.
- Clamp or Vise: Secure the band firmly between two wooden blocks to prevent movement and backing material tear-out.
- Masking Tape: Apply tape over the drilling area to reduce surface splitting, especially on leather or silicone.
- Safety Glasses: Protect your eyes from flying debris, particularly when working with metal or hardened plastics.
- Coolant (for metal): Use water or cutting fluid when drilling metal bands to prevent overheating and bit dulling.
“Precision matters more than power when modifying wearable tech. A steady hand and proper setup prevent costly mistakes.” — Jordan Lee, Industrial Designer & Wearable Tech Consultant
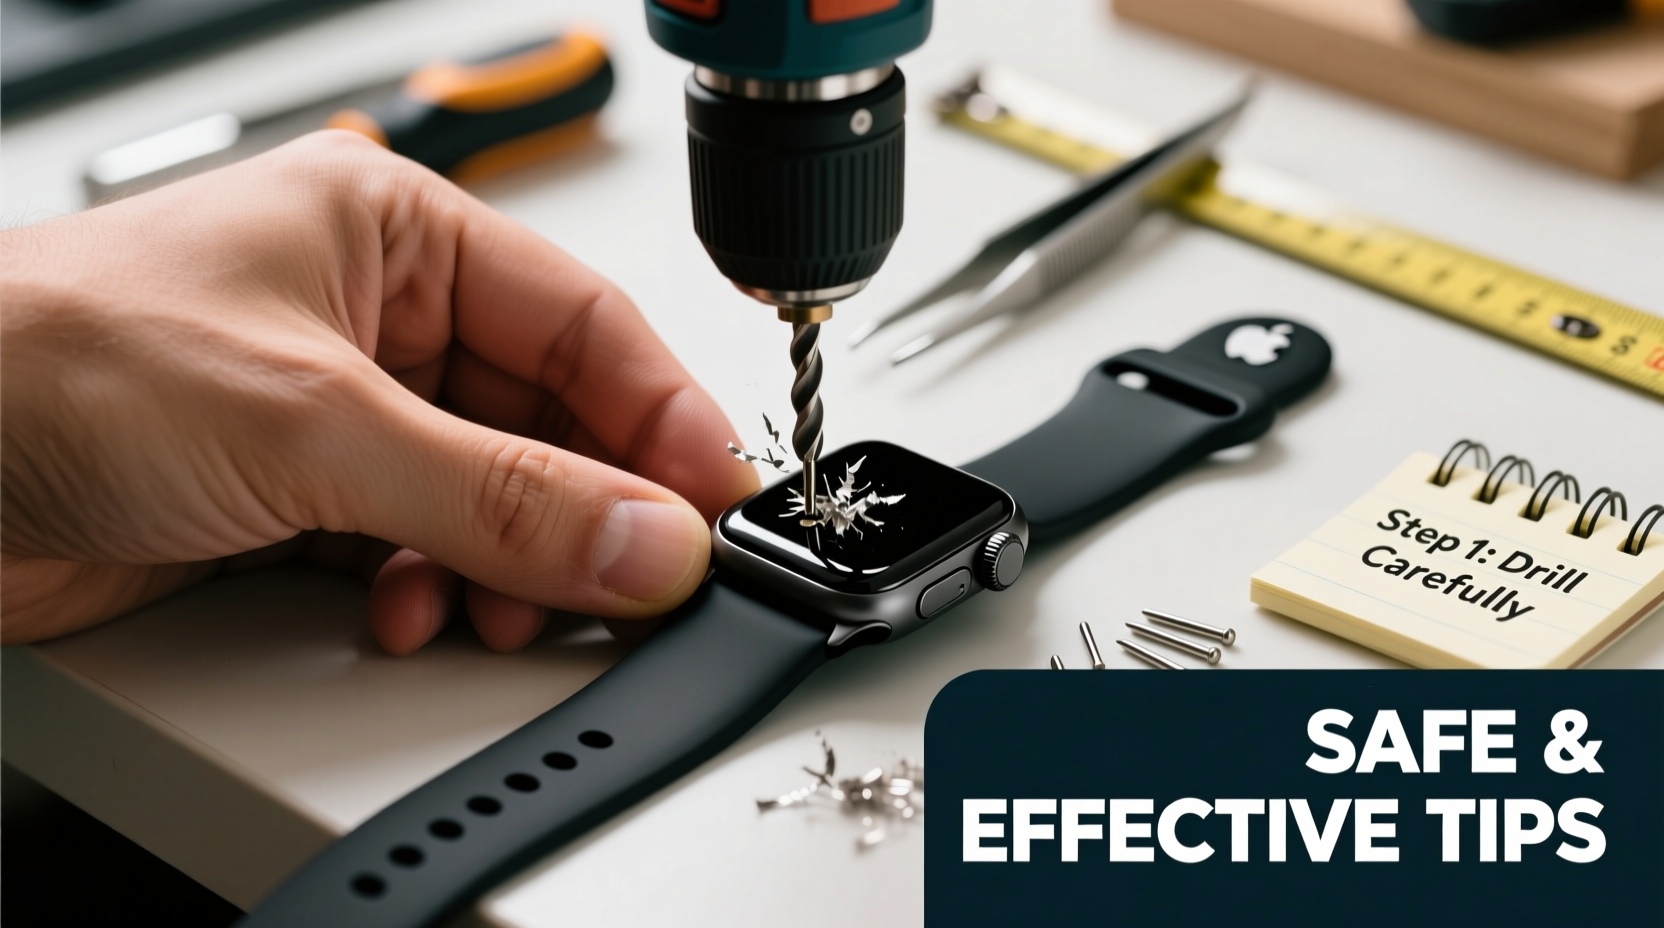
Step-by-Step Guide to Drilling Your Apple Watch Band
Follow this sequence to minimize errors and maximize clean results:
- Mark Your Spot: Use a fine-tip marker and ruler to mark exact hole locations. For symmetry, measure from the edge of the band and use a protractor if creating angled patterns.
- Secure the Band: Place the band between two soft wood or plastic blocks and clamp them tightly in a vise. This prevents flexing and supports the backside during drilling.
- Apply Masking Tape: Cover the entry and exit points with tape to reduce material tearing.
- Select the Right Bit: Choose a bit slightly larger than needed if finishing holes by hand (e.g., with a reamer). Start with a pilot hole for larger diameters.
- Drill at Controlled Speed: Begin slowly to establish the hole, then increase speed gradually. Avoid forcing the drill—let the bit do the work.
- Cool as Needed: Pause every 5–10 seconds when drilling metal or thick plastic to prevent melting or bit damage.
- Deburr and Finish: Use a small file or sandpaper to smooth rough edges. For leather, apply a thin coat of edge finish to seal exposed fibers.
Common Customization Goals and Realistic Outcomes
People customize watch bands for various reasons. Understanding your goal helps determine whether drilling is appropriate and how to approach it.
- Ventilation Holes: Adding small holes to silicone bands improves airflow during workouts. Space holes evenly, avoiding stress zones near the lugs.
- Attachment Points: Some users drill side holes to attach lanyards or security tethers. Reinforce these areas with grommets if possible.
- Aesthetic Patterns: Geometric or personalized hole designs can make a band stand out. Use stencils or templates for consistency.
- Compatibility Modifications: Rarely, users attempt to adapt bands for non-Apple hardware. This often voids warranties and risks misalignment.
Mini Case Study: Enhancing a Sport Band for Summer Use
Mark, a fitness instructor in Miami, wanted his Apple Watch Sport Band to stay cooler during long training sessions. He decided to add ventilation holes along the top edge. Using a 2mm brad-point bit, he marked six symmetrical points on each side of the band, clamped it between pine blocks, and drilled slowly with light pressure. After smoothing the edges with fine sandpaper, he wore the modified band for two weeks. He reported a noticeable reduction in sweat buildup and no degradation in band integrity. The key to his success was spacing the holes away from flex zones and avoiding over-drilling.
Checklist: Safe Drilling Preparation
Before you begin, verify the following:
- ☑ Band material is suitable for drilling (avoid nylon and woven fabrics)
- ☑ You have the correct drill bit and size
- ☑ Band is securely clamped with backing support
- ☑ Work area is well-lit and free of distractions
- ☑ Safety glasses and gloves are worn
- ☑ Test hole completed on scrap material
- ☑ Cooling method ready (especially for metal)
Frequently Asked Questions
Can drilling void my Apple Watch warranty?
Modifying the band does not void the Apple Watch warranty, as bands are considered separate accessories. However, if debris from drilling enters the watch casing or damages the connectors, that resulting damage may not be covered.
What size hole should I drill for ventilation?
For silicone or rubber bands, 1.5mm to 3mm holes are sufficient for airflow without compromising strength. Avoid overlapping holes or placing them too close together—maintain at least 4mm between centers.
Are there safer alternatives to drilling?
Yes. For ventilation, consider perforated aftermarket bands designed for breathability. For aesthetics, use paint, dyes, or adhesive overlays instead of structural modifications. If you need accessory mounts, explore commercial magnetic or clip-on solutions that don’t require altering the band.
Final Thoughts and Responsible Customization
Personalizing your Apple Watch band with a drill can yield impressive results when approached with care and planning. The difference between a successful mod and a ruined accessory lies in preparation, patience, and respect for the material’s limits. While the temptation to rush through the process is real, taking time to measure, secure, and test ensures a professional-looking outcome that lasts.
Remember: customization should enhance usability, not hinder it. If a modification makes the band uncomfortable, unstable, or unsafe to wear, its value diminishes regardless of appearance. Stick to proven techniques, prioritize safety, and embrace incremental improvements over drastic changes.


 浙公网安备
33010002000092号
浙公网安备
33010002000092号 浙B2-20120091-4
Comments
No comments yet. Why don't you start the discussion?