
Dog tags serve an essential purpose—carrying vital identification information that can help reunite a lost pet with its owner. However, there are times when you need to remove them: perhaps for cleaning, replacing outdated information, switching collars, or attaching new accessories. While it may seem like a minor task, removing dog tags improperly can lead to bent rings, damaged clasps, or even weakened attachment points on the collar. Doing it right ensures both the longevity of your dog’s gear and the safety of their identification.
With the right tools and techniques, removing dog tags is a quick, safe process that requires minimal effort. Whether you're a first-time pet owner or have been managing canine accessories for years, understanding proper removal methods prevents unnecessary wear and tear. This guide walks you through reliable, non-damaging approaches tailored to different tag and collar types.
Understanding Dog Tag Attachments
Before attempting removal, it’s important to recognize how dog tags are typically attached. Most use one of three common mechanisms:
- Spring-loaded split rings: Small metal loops with a gap that expands when pressure is applied. These are the most common and allow tags to be clipped onto the collar D-ring.
- Screw-in or threaded bolts: Used in military-style tags or more secure setups where tags are fastened together before being mounted.
- Lobster clasps or swivel hooks: Less common but found on higher-end or specialty collars; these offer easier access but require careful handling to avoid spring damage.
The method you choose depends on which attachment type your dog uses. Misapplying force or using improper tools can deform split rings or strip screw threads, rendering them ineffective for future use.
Step-by-Step Guide to Safely Remove Dog Tags
Follow this detailed sequence to ensure no damage occurs during tag removal. The process applies primarily to standard split-ring attachments, which make up over 90% of dog tag systems.
- Gather necessary tools: Needle-nose pliers (preferably smooth-jawed), a small flathead screwdriver (optional), and a soft cloth to protect finishes.
- Stabilize the collar: Lay the collar flat on a surface or hold it securely so the D-ring doesn’t twist during removal.
- Locate the split ring gap: Rotate the tag until you see the small opening in the metal ring. This is where separation begins.
- Insert the tool gently: Slide the tip of the needle-nose pliers into the gap. Open the pliers slightly to widen the ring just enough to slide it off the D-ring.
- Slide the ring sideways: While keeping tension, move the widened end of the ring laterally away from the D-ring until it clears the edge.
- Remove completely: Once detached, carefully release pressure on the pliers and set the tag aside.
- Inspect components: Check both the split ring and the collar’s D-ring for bending or stress marks. Replace if compromised.
This method preserves the integrity of reusable parts and avoids scratching leather or nylon collars.
Alternative Methods for Stubborn or Rusted Tags
Sometimes, moisture, dirt buildup, or prolonged exposure causes split rings to seize up or corrode. In such cases, standard removal may not work without risking breakage.
Try these alternatives:
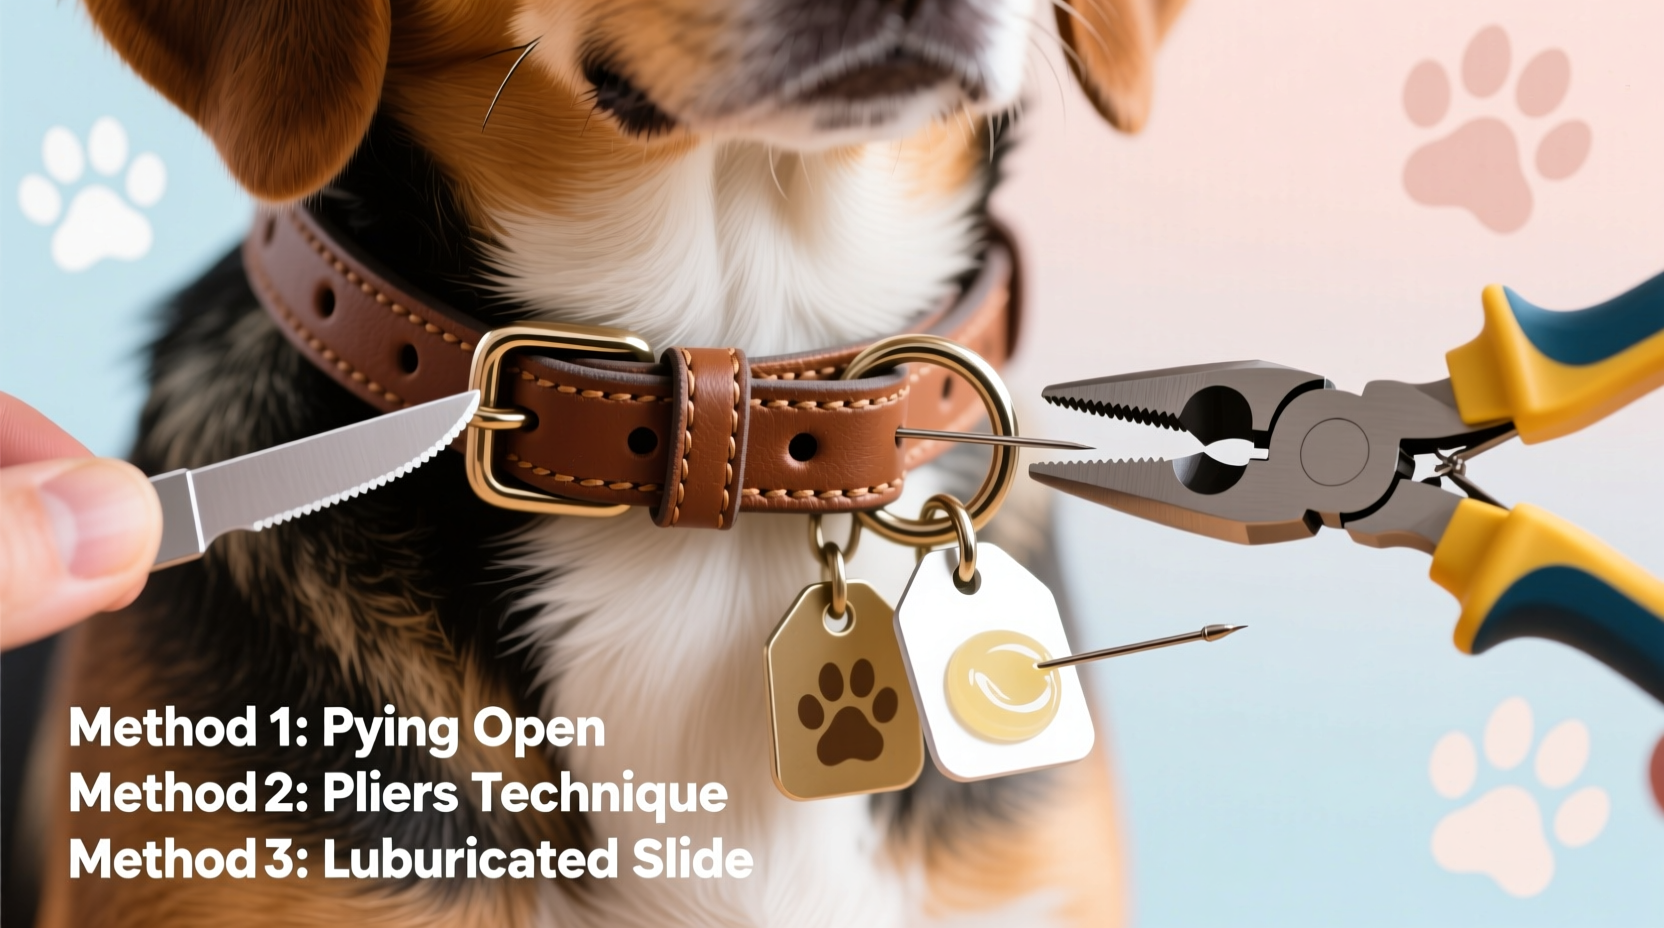
- Apply penetrating oil: A drop of WD-40 or similar lubricant on the ring joint can loosen rust. Wait 2–3 minutes before attempting removal with pliers.
- Use heat cautiously: Gently warming the ring with a hairdryer (not a lighter) can expand metal slightly and free stuck connections. Never apply direct flame.
- Cut as a last resort: If the ring is already damaged or non-reusable, use precision wire cutters to snip the ring at the seam. Avoid cutting near the collar fabric.
“Many owners pull or pry tags off by hand, which often bends the ring beyond reuse. Using proper tools takes seconds and saves money in replacements.” — Dr. Laura Simmons, Veterinary Technician & Pet Product Safety Advisor
Do’s and Don’ts When Removing Dog Tags
| Do’s | Don’ts |
|---|---|
| Use smooth-jawed needle-nose pliers to prevent scratches | Use teeth or fingernails to pry open rings |
| Lubricate stiff rings before applying force | Apply excessive pressure that could warp the D-ring |
| Store removed tags in a labeled pouch for reattachment | Leave tags unattended where they can be lost or chewed by pets |
| Replace worn split rings with heavy-duty stainless steel versions | Reuse cracked, bent, or fatigued rings |
| Check collar stitching around the D-ring after repeated use | Ignore signs of collar degradation near hardware |
Real-Life Example: A Preventable Mistake
Mark, a dog owner in Portland, tried removing his German Shepherd’s tags after noticing mud buildup. Without tools, he used a pocketknife to lever the split ring open. The ring snapped, sending the tag flying across the yard—and worse, the knife slipped and gouged the nylon collar near the D-ring. Within days, the weakened area frayed further, forcing him to replace the entire collar prematurely.
After consulting a groomer, Mark learned that a $10 pair of needle-nose pliers would have made the job safer and cleaner. He now keeps a small pet care toolkit in his garage, including spare split rings and a mini lubricant bottle.
When to Replace Instead of Reuse
Not all components should be reused. Over time, repeated opening and closing weakens split rings. Signs it’s time to replace include:
- Visible gaps when the ring is closed
- Difficulty staying latched on the D-ring
- Rust spots or pitting on the surface
- Twisting or warping that prevents smooth rotation
High-quality stainless steel replacement rings are inexpensive and widely available online or at pet stores. Upgrading to double-locking split rings adds durability for active dogs who frequently rub or snag their collars.
FAQ
Can I remove dog tags without tools?
It’s possible with very small hands or flexible fingers, but not recommended. Manual removal risks injury to your fingers and increases the chance of dropping or damaging the tag. Tools provide better control and reduce strain on the hardware.
How often should I remove and clean dog tags?
Monthly cleaning helps maintain legibility and hygiene. Dirt and saliva buildup can corrode metal over time. Remove tags gently every 4–6 weeks, wipe with a damp cloth, dry thoroughly, and reattach.
Are there collars that don’t require tag removal for cleaning?
Yes—some modern collars feature side pockets or silicone tag holders that let you slide tags in and out without detaching hardware. These are ideal for frequent travelers or outdoor dogs exposed to mud and water.
Final Thoughts and Action Steps
Removing dog tags safely isn’t just about convenience—it’s part of responsible pet ownership. Proper technique protects your investment in quality collars and ensures your dog’s ID remains secure and readable when it matters most. With minimal tools and attention to detail, you can perform this routine task efficiently and without damage.
Start today by inspecting your dog’s current setup. Are the split rings stiff? Is the D-ring secure? Gather the right tools, follow the steps outlined here, and consider upgrading to more durable hardware if needed. Small actions now prevent bigger issues later.


 浙公网安备
33010002000092号
浙公网安备
33010002000092号 浙B2-20120091-4
Comments
No comments yet. Why don't you start the discussion?