
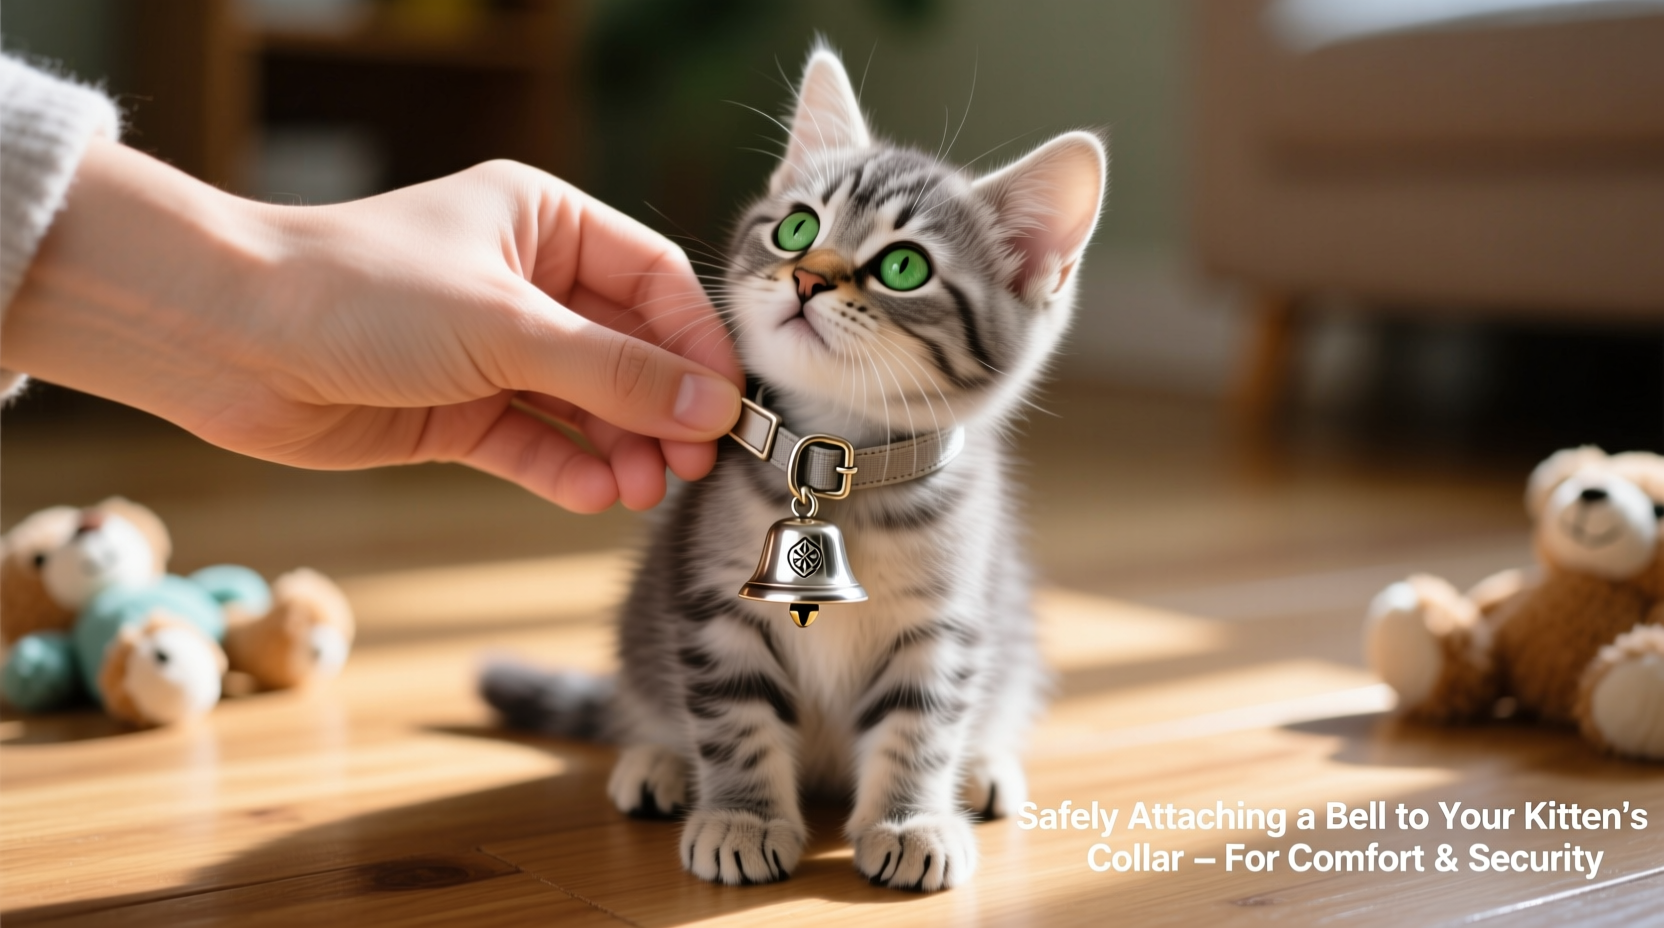
Adding a bell to your kitten’s collar is a common practice among pet owners, often used to alert wildlife or family members to the cat’s presence. While bells can offer practical benefits—especially for outdoor or semi-outdoor cats—they must be attached thoughtfully to avoid discomfort, injury, or stress. A poorly secured bell can chafe, snag, or become a choking hazard. This guide walks through the essential considerations for safely attaching a bell to your kitten’s collar while prioritizing their comfort, safety, and well-being.
Why Use a Bell on a Kitten’s Collar?
Bells serve several purposes depending on your living environment and your kitten’s behavior. For indoor-outdoor cats, a bell may reduce hunting success by alerting birds and small animals before an ambush. This can help protect local wildlife. Inside the home, a bell helps locate a playful kitten hiding under furniture or darting down hallways—especially useful in multi-pet households.
However, not all kittens need a bell. Indoor-only cats in quiet homes may find the constant jingling stressful. The decision should balance utility with your kitten’s temperament and physical safety.
“Bells can be helpful tools when used responsibly, but they should never compromise a cat’s comfort or mobility.” — Dr. Lena Patel, Feline Behavior Specialist
Selecting the Right Collar and Bell
The foundation of a safe bell attachment starts with choosing appropriate gear. Not all collars are created equal, and kittens require specially designed options that account for their rapid growth and delicate necks.
Kitten-Specific Collars
- Breakaway design: Essential for safety. If the collar snags on furniture or branches, it should release under pressure to prevent strangulation.
- Adjustable fit: Kittens grow quickly; ensure the collar can be resized weekly.
- Soft, lightweight materials: Nylon or polyester blends are ideal. Avoid stiff leather or thick fabrics.
Choosing a Safe Bell
The bell itself should be proportionate to your kitten’s size. A large, heavy bell can strain their neck or cause imbalance during play.
- Smooth edges: Avoid bells with sharp ridges or protruding parts that could irritate the skin.
- Enclosed design: Some bells come in plastic housings that muffle sound slightly but prevent direct contact with fur and skin.
- Quiet vs. loud: Test the volume. You should hear it from another room, but it shouldn’t startle your kitten when they move.
Step-by-Step Guide to Attaching a Bell Safely
Proper installation ensures the bell remains secure without restricting movement or causing irritation. Follow these steps carefully:
- Inspect the collar: Check for fraying, weak clasps, or worn stitching. Replace if necessary.
- Test the fit: Slide two fingers comfortably under the collar. It should be snug but not tight.
- Choose attachment method: Use one of the following:
- A small split ring (like those used for keychains)
- A pre-looped bell with a built-in clasp
- Sewing the bell directly onto the collar (advanced, requires durable thread)
- Attach the bell: Open the split ring, thread it through the collar’s D-ring or loop, then hook the bell into the ring. Close securely.
- Trim excess: If sewing, ensure no loose threads remain that could tangle.
- Monitor initial reaction: Observe your kitten for 15–30 minutes after wearing the bell. Look for signs of pawing at the neck, hiding, or reluctance to move.
Do’s and Don’ts of Bell Use on Kitten Collars
| Do’s | Don’ts |
|---|---|
| Use a breakaway collar with a lightweight bell | Attach a heavy or oversized bell |
| Check collar fit weekly as your kitten grows | Forget to inspect the bell attachment for looseness |
| Introduce the bell gradually over a few days | Leave the bell on 24/7 without breaks |
| Remove the bell during sleep or rest periods if noise seems disruptive | Use glue or tape to secure the bell—these can fail or damage fur |
| Clean the collar and bell monthly with mild soap and water | Ignore signs of redness, hair loss, or scratching at the neck |
Real-Life Example: Introducing a Bell to Luna, a Curious 12-Week-Old Kitten
Luna, a curious tabby mix adopted at eight weeks, had a habit of sneaking into closets and startling guests. Her owner, Sarah, wanted a way to track her movements without being intrusive. After consulting her veterinarian, Sarah chose a soft blue breakaway collar and a tiny enclosed bell weighing just 3 grams.
She introduced the collar without the bell first, letting Luna wear it for short periods over two days. Once Luna showed no signs of distress, Sarah added the bell using a miniature split ring. For the first hour, Luna froze each time she heard the jingle. But within a day, she adapted completely—now the gentle ringing alerts Sarah when Luna climbs onto the kitchen counter.
Sarah removes the collar and bell every night for cleaning and gives Luna a “bell-free” day once a week to prevent sensory fatigue. This balanced approach has worked seamlessly for both of them.
Frequently Asked Questions
Can a bell hurt my kitten’s ears or cause hearing damage?
No evidence suggests that typical cat bells cause hearing damage. The sound level is usually below 60 decibels—similar to normal conversation. However, extremely sensitive kittens may find constant ringing irritating. Monitor behavior and remove the bell if your kitten appears anxious or avoids interaction.
Should I leave the bell on all the time?
It’s best to limit bell use to active hours. Remove it during naps, overnight, or when your kitten is in a confined, safe space. This prevents overstimulation and allows for quiet rest, which is crucial for young cats still developing their nervous systems.
What if the bell falls off or gets lost?
Regularly inspect the attachment point. If the bell detaches frequently, consider switching to a sewn-on model or a collar with a built-in bell compartment. Keep spare bells on hand, especially for active kittens who play roughly.
Final Checklist Before Attaching a Bell
- ✅ Collar has a breakaway clasp
- ✅ Bell weighs less than 5 grams
- ✅ No sharp edges on the bell or attachment
- ✅ Collar fits properly (two-finger test passed)
- ✅ Kitten has worn the collar without a bell for at least 48 hours
- ✅ You’ve observed initial reactions closely
- ✅ Plan to rotate or remove the bell periodically
Conclusion: Safety First, Always
Attaching a bell to your kitten’s collar can enhance awareness and even protect local wildlife, but only if done with care. Prioritize lightweight materials, secure fittings, and your kitten’s behavioral response. Remember, what works for one cat may not suit another. Regular monitoring, thoughtful selection, and flexibility are key to maintaining both comfort and security.


 浙公网安备
33010002000092号
浙公网安备
33010002000092号 浙B2-20120091-4
Comments
No comments yet. Why don't you start the discussion?