
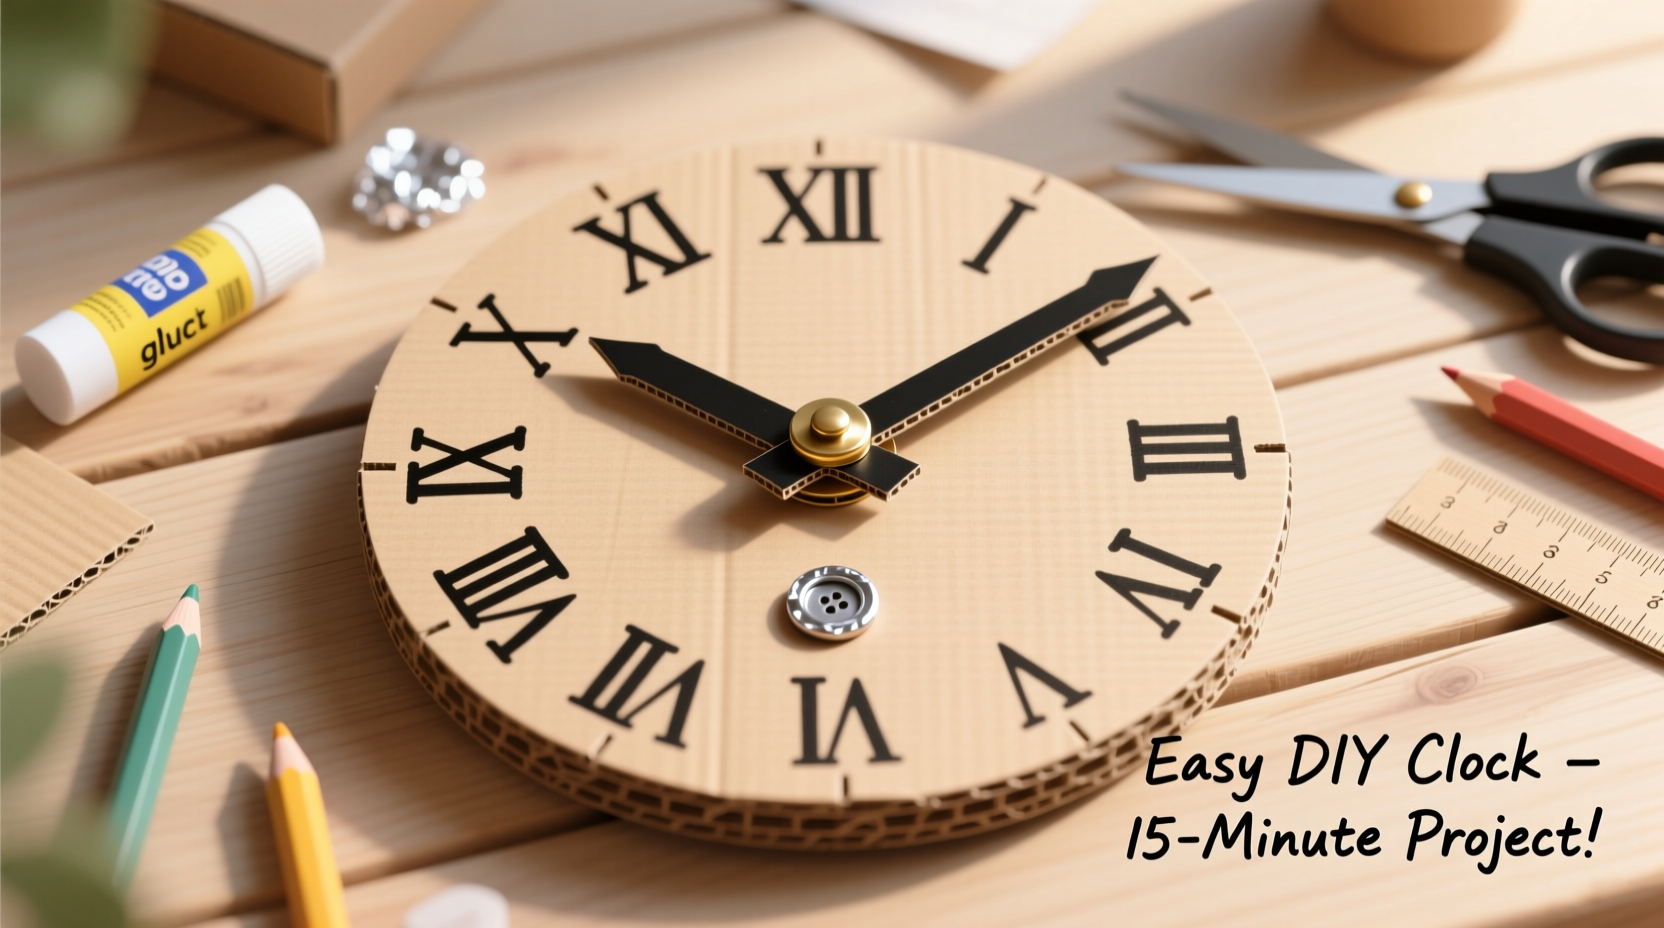
Creating your own wall clock doesn’t require expensive materials or advanced crafting skills. With a few sheets of cardboard, basic tools, and a bit of creativity, you can build a stylish, functional timepiece that doubles as home decor. This project is perfect for beginners, eco-conscious crafters, or anyone looking for a meaningful handmade gift. Not only is it budget-friendly, but repurposing cardboard also supports sustainable living.
The beauty of a cardboard clock lies in its simplicity and customizability. You can shape it into geometric forms, paint it to match your room’s palette, or add cut-out numerals for a modern twist. What starts as a humble material transforms into a conversation piece—proof that thoughtful design elevates everyday objects.
Why Build a Cardboard Clock?
Cardboard is often overlooked as a crafting medium, but it’s surprisingly durable when layered and sealed properly. It’s lightweight, easy to cut, and widely available—often free from packaging waste. By turning discarded boxes into a functional clock, you reduce landfill contributions while exercising creativity.
Beyond sustainability, building a cardboard clock enhances spatial awareness and fine motor skills. For children and adults alike, this hands-on project fosters patience and problem-solving. The result isn’t just a clock; it’s a symbol of resourcefulness and personal expression.
“Simplicity in design doesn’t mean lack of thought—it means clarity of purpose.” — Lena Park, Sustainable Product Designer
Materials and Tools Checklist
Before starting, gather all necessary supplies. Most items are likely already in your home.
- Corrugated cardboard (2–3 thick sheets)
- Ruler or measuring tape
- Pencil and compass (or a round object for tracing)
- Utility knife or box cutter
- Hot glue gun or strong craft glue
- Sandpaper (medium grit)
- Acrylic paint and brushes (optional)
- Clear sealant spray (mod podge or varnish)
- Quartz clock mechanism kit (includes hands, shaft, and nut)
- Small drill or hole punch (to fit clock shaft)
- Decorative elements: washi tape, stickers, fabric scraps
Step-by-Step Construction Guide
- Design the Clock Face
Decide on the size—8 to 12 inches in diameter works well. Trace a circle using a plate, bowl, or compass. Mark the center point clearly. - Cut Two Identical Circles
Cut out two identical circles from the cardboard. These will form the front and back layers, adding rigidity. - Create the Inner Core (Optional for Thickness)
Cut a third ring (donut shape) slightly smaller than the full circle. Glue it between the two main layers to give depth and strength. - Reinforce the Center
At the center point, glue a small square or disc of extra cardboard. This prevents the clock mechanism from tearing through over time. - Drill the Center Hole
Use a drill bit or sharp tool to make a hole at the center large enough for the clock shaft to pass through snugly. - Attach Front and Back Layers
Glue the two main circles together with the reinforcement layer sandwiched in between. Clamp or weigh them down until dry. - Sand the Edges
Smooth rough edges with sandpaper. Wipe away dust with a dry cloth. - Add Numbers or Markers
Use a stencil, printouts, or hand-draw numerals. Position them evenly around the face using a protractor or divide the circle into 12 equal 30-degree sections. - Paint or Decorate
Apply acrylic paint in your chosen color scheme. Allow to dry completely before adding a second coat. Seal with varnish for durability. - Install the Clock Mechanism
Insert the clock shaft through the front, place the hour markers (if included), then attach the hour, minute, and second hands according to kit instructions. Secure the mechanism from behind with the provided nut. - Hang and Test
Attach a small sawtooth hanger or loop of twine to the back. Hang the clock and set the correct time.
Design Ideas and Creative Variations
Once the basics are mastered, explore unique styles to personalize your clock:
- Geometric Shapes: Replace the circle with a hexagon, star, or house silhouette.
- Numerals: Use Roman numerals, braille dots, or even family photos labeled with numbers.
- Layered Depth: Stack multiple cut-out rings with painted edges for a 3D effect.
- Natural Finish: Skip paint and highlight the cardboard’s texture with a clear matte sealant.
- Interactive Elements: Add movable flaps or rotating sections for kids’ learning clocks.
| Design Style | Ideal For | Difficulty Level |
|---|---|---|
| Classic Round with Arabic Numerals | Beginners, minimalist interiors | Easy |
| Abstract Cut-Outs (e.g., sun rays) | Modern living rooms, nurseries | Moderate |
| Color-Blocked Segments | Kids' rooms, playful spaces | Moderate |
| Textured Surface (fabric, paper collage) | Artistic displays, gifts | Advanced |
Common Pitfalls and How to Avoid Them
Even simple projects can go off track without proper planning. Here are frequent issues and solutions:
- Warping Over Time: Humidity causes cardboard to bend. Prevent this by sealing both sides and edges thoroughly.
- Loose Hands: Ensure the clock hands are firmly pressed onto the shaft. If they wobble, gently squeeze the attachment collar with pliers.
- Uneven Numbers: Use a printed template or draw light guidelines with a pencil first. Erase marks after painting.
- Weak Structure: Single-layer cardboard may sag. Always use at least two glued layers for stability.
Real Example: A Teacher’s Classroom Clock Project
Ms. Rivera, a third-grade teacher in Portland, used this DIY method to help her students learn time-telling. She led a class activity where each child designed a cardboard clock face using their favorite colors and themes—dinosaurs, space, ocean life. After assembling the mechanisms, the clocks were hung in the hallway.
“The kids weren’t just reading time—they understood how clocks work,” she said. “One student realized the minute hand moves faster than the hour hand because it’s longer. That moment of discovery? Priceless.”
The project took two 45-minute sessions, cost under $20 total, and became a highlight of the school newsletter. Parents reported children proudly explaining clock mechanics at home.
Frequently Asked Questions
Can a cardboard clock last long-term?
Yes, if properly sealed and kept in a dry, low-humidity environment. Applying 2–3 coats of water-resistant sealant significantly extends lifespan—many last over two years with minimal wear.
Where can I buy a clock mechanism kit?
These kits are widely available online (Amazon, Etsy, craft stores) or at hardware shops. Look for \"quartz clock movement replacement\" kits—they typically cost $5–$10 and include hands, shaft, and mounting hardware.
Is this safe for kids to make?
With adult supervision, yes. Replace utility knives with safety scissors for younger children, and use glue sticks instead of hot glue guns. Pre-cut the main shapes if needed.
Final Thoughts and Encouragement
A handmade cardboard clock is more than a timekeeper—it’s a testament to ingenuity and mindful creation. In a world saturated with mass-produced goods, taking the time to craft something functional from humble materials brings quiet satisfaction. Whether you’re teaching a child, decorating a studio apartment, or simply enjoying a weekend project, this DIY idea proves that creativity thrives within limits.
The process teaches patience, precision, and the joy of seeing an idea become tangible. And when you glance at your clock each day, you’ll not only see the time—you’ll remember the care you put into making it.


 浙公网安备
33010002000092号
浙公网安备
33010002000092号 浙B2-20120091-4
Comments
No comments yet. Why don't you start the discussion?