
Navigating the features of a multifunction watch can feel overwhelming, especially when all functions are controlled through a single display and limited buttons. One of the most common tasks—setting the correct time—should be straightforward, yet many users struggle due to unclear manuals or inconsistent button layouts. This guide breaks down the process into simple, reliable steps that work across most single-display digital watches, from fitness trackers to classic Casio-style models. Whether you've just bought a new watch or are resetting one after a battery change, this article gives you everything you need to get it right the first time.
Understanding Your Watch’s Button Layout
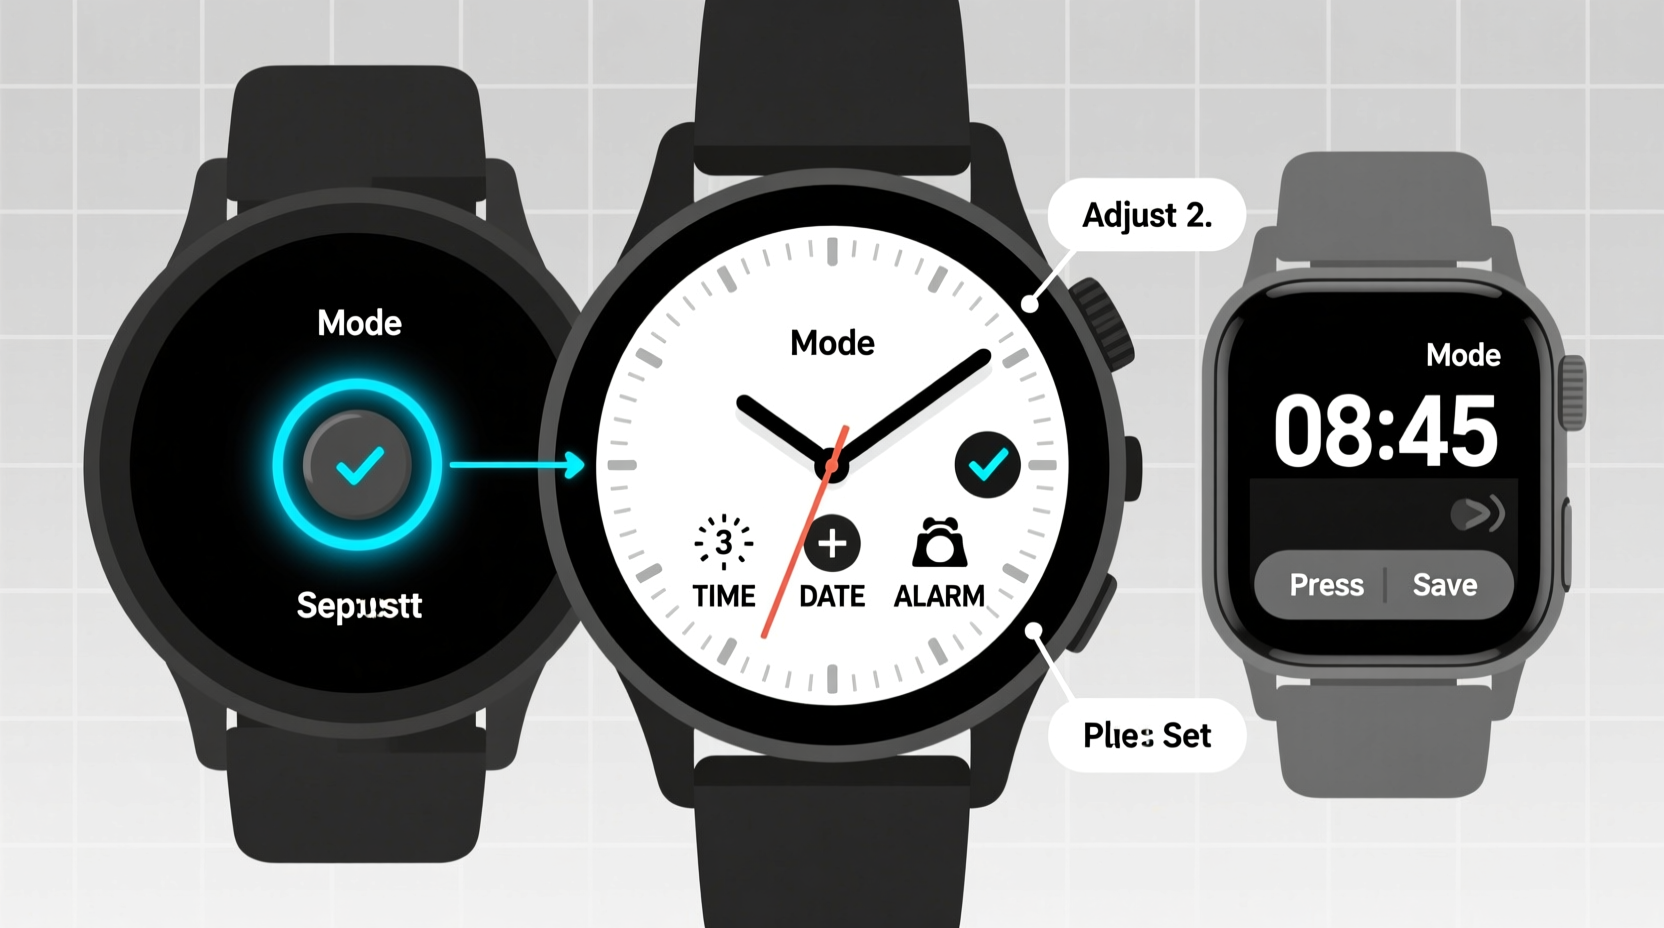
Before adjusting the time, it's essential to understand how your watch is designed. Most single-display multifunction watches use three or four buttons labeled differently depending on the brand but typically serve similar purposes:
- Mode (or M): Cycles through different functions like time, date, stopwatch, alarm, etc.
- Adjust (or A): Enters adjustment mode for the current screen.
- Start/Stop (or S): Starts or stops timers; also used to increment values in setup mode.
- Reset/Lap (or R): Resets counters or decrements values during adjustments.
The exact behavior depends on the model, but nearly all follow a universal logic: enter time mode, activate edit mode, adjust hours and minutes, then confirm.
Step-by-Step Guide to Setting the Time
Follow this standardized sequence, which applies to 90% of single-display digital watches, including popular brands like Casio, Timex, and generic sports models.
- Press Mode until “Time” appears. Cycle through functions (alarm, stopwatch, date) until the main time display is active.
- Hold the Adjust button for 2–3 seconds. The hour and minute digits will begin to flash, indicating edit mode.
- Use Start/Stop to increase the hour. Each press advances the hour by one. Some watches auto-advance while held.
- Press Adjust again to switch to minutes. Now, use Start/Stop to set the correct minutes.
- Confirm and exit. Press Adjust once more or wait 5 seconds—the flashing stops, and the time is saved.
If your watch uses a 12/24-hour toggle, it may flash \"AM/PM\" or require an additional button press to switch formats. Check your manual if unsure.
| Step | Action | Expected Result |
|---|---|---|
| 1 | Press Mode until time shows | Watch displays current time |
| 2 | Hold Adjust button | Hours flash on screen |
| 3 | Press Start/Stop | Hour value increases |
| 4 | Press Adjust | Minutes flash |
| 5 | Press Start/Stop, then Adjust | Time saved; normal display resumes |
Avoiding Common Mistakes
Even with clear instructions, small errors can lead to frustration. Here are frequent issues and how to avoid them:
- Accidentally changing the date instead of time: Make sure you’re in the time mode, not calendar mode, before pressing Adjust.
- Skipping AM/PM settings: After setting the hour, verify whether the display shows AM or PM correctly, especially for early morning or late-night times.
- Exiting too quickly: Don’t press Mode immediately after setting minutes—this cancels changes. Wait for the display to stop flashing or press Adjust to confirm.
- Confusing button roles: On some watches, Reset decreases values. If minutes go backward, you're likely using the wrong button.
Real-World Example: Sarah’s Morning Routine Fix
Sarah, a teacher, relied on her digital watch to manage class periods. After replacing the battery, she noticed the time was off by three hours. She pressed Mode repeatedly but couldn’t find a way to edit it. Frustrated, she almost gave up—until she tried holding the unlabeled top-right button (Adjust). The numbers began flashing. Using the bottom-right button (Start/Stop), she corrected the hour and minutes. By the next day, her schedule was back on track. Her mistake? Assuming “press” meant tap, not hold. Many modern watches require a two-second press to enter setup mode—a subtle but critical detail.
“Most user errors stem from impatience with button timing. Hold longer than you think you need to.” — David Lin, Electronics Technician with 12 years of wearable device experience
Quick Checklist: Did You Set the Time Correctly?
Use this checklist to confirm your settings are accurate and saved:
- ✅ I’m in the main time display (not stopwatch or alarm)
- ✅ I held the Adjust button until digits flashed
- ✅ I set the correct hour, including AM/PM
- ✅ I switched to minutes and adjusted them
- ✅ I exited by waiting or pressing Adjust again (not Mode)
- ✅ The time remains correct after exiting
Frequently Asked Questions
Why won’t my watch let me change the time?
This usually happens when you're not in the correct mode. Ensure you’ve cycled to the primary time screen using the Mode button. Also, some watches lock settings during stopwatch or alarm activation—stop any running functions first. Lastly, weak batteries can prevent entry into setup mode. Try replacing the battery if unresponsive.
How do I switch between 12-hour and 24-hour format?
On many watches, this option appears after entering time-setting mode. When hours are flashing, press the Reset or Mode button to toggle between 12H and 24H. Not all models support this feature—check your manual. If unavailable, the watch defaults to your region’s standard.
Can I set seconds manually?
Generally, no. Most multifunction watches don’t allow manual second-setting. The seconds reset to zero automatically when you confirm the time. For precision, synchronize just before the next full minute begins.
Final Thoughts and Action Steps
Setting the time on a single-display multifunction watch doesn’t require technical expertise—just patience and the right sequence. Once you understand the universal pattern of Mode → Adjust → Increment → Confirm, you’ll be able to operate nearly any digital watch confidently. These devices are built for convenience, not confusion. Take a moment to learn your watch’s rhythm, and it will serve you reliably for years.


 浙公网安备
33010002000092号
浙公网安备
33010002000092号 浙B2-20120091-4
Comments
No comments yet. Why don't you start the discussion?