
Peeling hard boiled eggs should be a straightforward task, yet it often turns into a frustrating battle with stubborn shell fragments clinging to the white. Whether you're preparing deviled eggs, packing lunch, or making a salad, no one wants to spend extra minutes picking tiny shell pieces off an otherwise perfectly cooked egg. The good news is that with the right approach, peeling can be quick, clean, and nearly effortless. The key lies not just in how you peel, but in how you cook, cool, and handle the eggs from start to finish.
The Science Behind Easy Egg Peeling
The difficulty of peeling a hard boiled egg largely depends on its freshness and pH level. Fresh eggs have a lower pH, meaning the albumen (egg white) is more acidic and tends to bind tightly to the inner membrane of the shell. As eggs age, they absorb air and lose carbon dioxide, which raises their pH and makes the membrane less adhesive. This is why older eggs—typically those 7 to 10 days old—are much easier to peel than fresher ones.
Cooking method also plays a major role. Rapid temperature changes help separate the shell from the egg. When eggs are plunged into boiling water and then immediately cooled in ice water, the rapid contraction of the interior pulls the membrane away from the shell. Understanding this principle allows you to adjust your technique for consistently smooth results.
“Many people blame their peeling skills, but the real issue is usually the cooking and cooling process.” — Dr. Linda Struck, Food Scientist at the Culinary Research Institute
Step-by-Step Guide to Perfectly Peeled Eggs
Follow this detailed sequence to minimize frustration and maximize success:
- Select the right eggs: Use eggs that are at least 7 days old. If you buy them fresh, store them in the fridge for a week before boiling.
- Start with room-temperature eggs: Cold eggs straight from the fridge may crack when dropped into boiling water. Let them sit out for 15–20 minutes.
- Use a rolling boil: Bring a pot of water to a full, rolling boil before gently lowering the eggs in using a spoon.
- Boil for 9–12 minutes: For medium eggs, 9 minutes; large eggs, 11 minutes; extra-large, 12 minutes. Set a timer—overcooking leads to rubbery whites and gray-green yolks.
- Shock in ice water: Immediately transfer the eggs to a bowl of ice water for at least 10–15 minutes. This stops the cooking and causes the egg to contract slightly.
- Crack and roll: Gently tap each egg on the counter to create cracks, then roll it between your palms to loosen the shell all over.
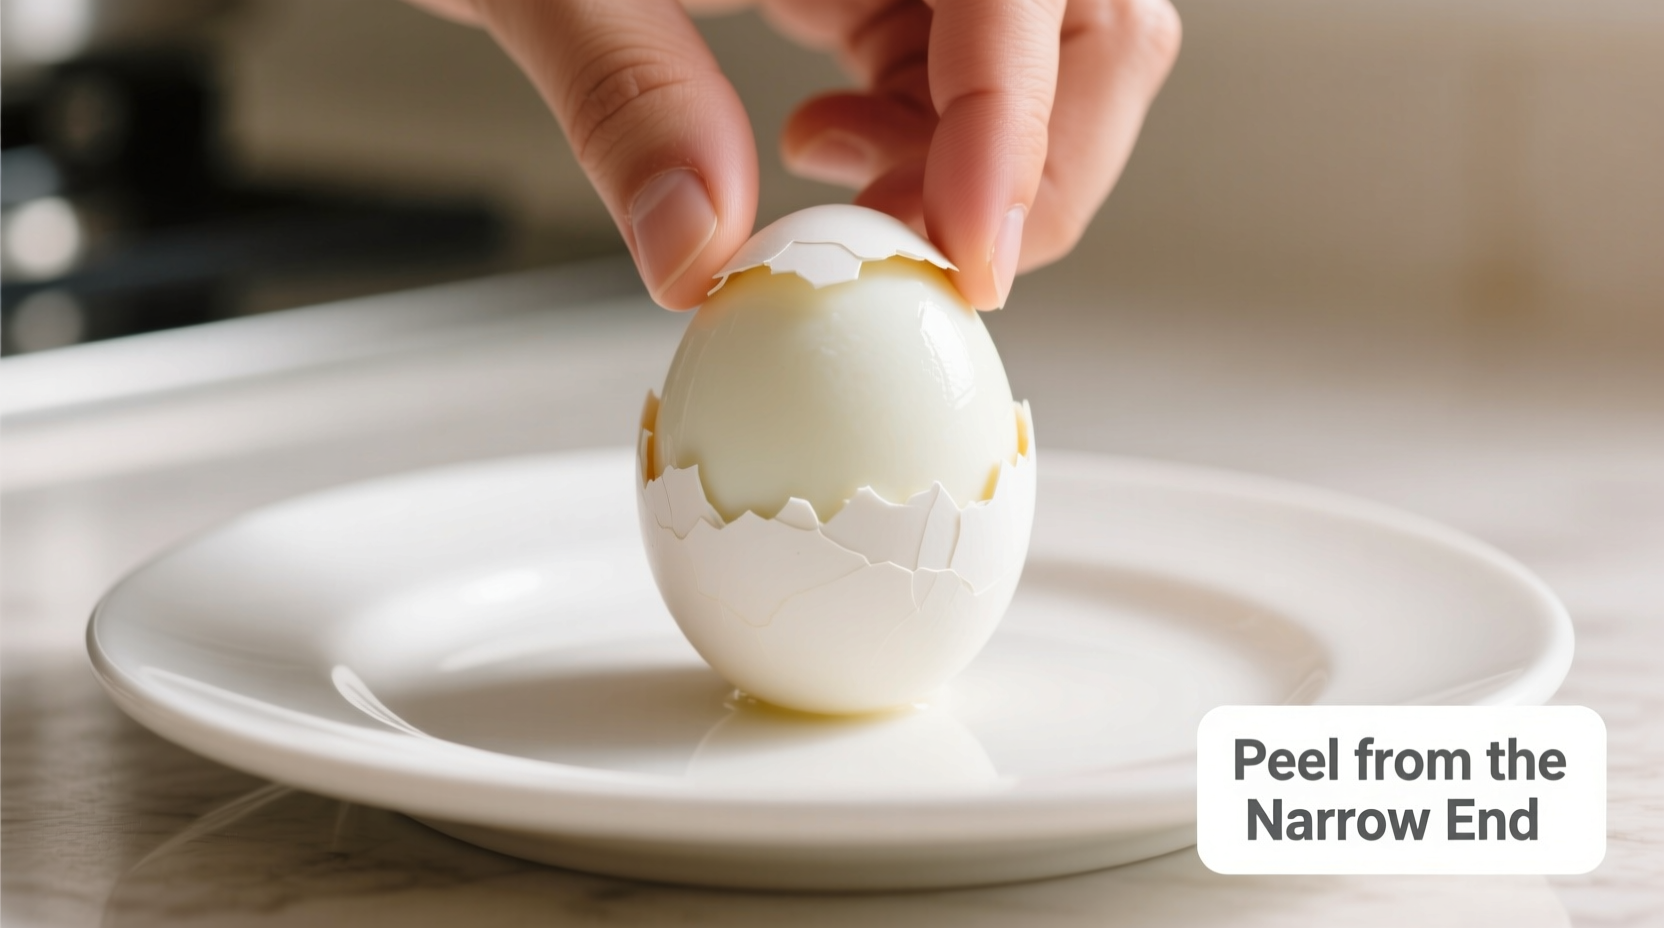
- Peel under running water: Start peeling from the wider end, where the air pocket is located. Running water helps wash away small shell fragments.
Alternative Methods for Stubborn Shells
Sometimes even well-cooked eggs resist peeling. These alternative techniques can rescue a tricky batch:
- Water Shake Method: Place cracked eggs in a sealed container filled with cold water. Shake vigorously for 10–15 seconds. The motion helps dislodge the shell and membrane.
- Peel Underwater: Submerge the egg in a bowl of water while peeling. Buoyancy reduces adhesion, and water flushes away debris instantly.
- Use a Spoon: Slide a spoon between the shell and the egg white, rotating it around the egg. This works especially well for the rounded bottom end.
- Vinegar Soak (for emergencies): If shells are sticking badly, soak the peeled halves in a mix of water and vinegar (1 tbsp per cup) for 5 minutes to dissolve residue.
Real Example: A Meal Prep Cook’s Breakthrough
Jamie, a home cook who prepares weekly lunches for her family, used to dread making hard boiled eggs. “I’d waste half the batch trying to get the shells off cleanly,” she recalls. After switching to a method involving older eggs, baking soda in the water, and a 15-minute ice bath, her success rate jumped dramatically. “Now I can peel six eggs in under three minutes with almost no white damage. It’s changed my meal prep game.”
Do’s and Don’ts of Egg Peeling
| Do’s | Don’ts |
|---|---|
| Use eggs that are 7–14 days old | Use ultra-fresh eggs from the farmers market |
| Add salt or baking soda to boiling water | Overcrowd the pot—give eggs space |
| Shock eggs immediately after boiling | Let eggs sit in hot water after cooking |
| Peel under running water or in a bowl of water | Peel dry—this increases sticking |
| Store unpeeled eggs in the fridge for up to one week | Peel eggs far in advance and leave them uncovered |
Frequently Asked Questions
Why do some hard boiled eggs stick no matter what I do?
Eggs laid within the past few days have a lower pH, causing the egg white to bond tightly to the inner membrane. Even perfect cooking can't fully overcome this. Always use eggs at least a week old for boiling.
Can I make eggs easier to peel by piercing them before boiling?
Piercing the shell with a pin or needle at the wider end may allow air to escape and reduce cracking, but it doesn’t significantly improve peeling. It also risks introducing bacteria. A better solution is proper aging and cooling.
Is there a way to prepare multiple eggs efficiently for easy peeling?
Absolutely. Boil a batch using the ice bath method, then store them unpeeled in a covered container in the refrigerator. When ready to use, peel them under cold running water. They’ll peel just as easily days later as they did the day they were cooked.
Checklist for Frustration-Free Egg Peeling
- ☑ Use eggs aged 7–14 days
- ☑ Bring eggs to room temperature before boiling
- ☑ Add 1 tsp baking soda or 1 tbsp vinegar to boiling water
- ☑ Boil for exactly 9–12 minutes depending on size
- ☑ Prepare an ice bath before boiling ends
- ☑ Cool eggs for at least 10–15 minutes
- ☑ Tap and roll eggs to crack shell evenly
- ☑ Peel under cold running water starting at the wide end
- ☑ Store unpeeled eggs in the fridge if not using immediately
Conclusion: Master the Method, Not the Mess
Removing hard boiled egg shells doesn’t have to be a tedious chore. With attention to egg age, precise timing, and proper cooling, you can achieve clean, smooth peeling every single time. The techniques outlined here are backed by food science and tested by home cooks who’ve moved from frustration to confidence. Once you adopt these habits, you’ll wonder why you ever struggled with a shell fragment in your salad.


 浙公网安备
33010002000092号
浙公网安备
33010002000092号 浙B2-20120091-4
Comments
No comments yet. Why don't you start the discussion?