
Cherry keychains have become more than just accessories—they’re expressions of personality, charm, and even good luck. Whether you received one as a gift, bought it as a keepsake, or simply love its vibrant design, attaching it securely to your car keyring ensures it stays with you without risk of loss or interference with your keys. The challenge lies in balancing aesthetics with functionality: the attachment must be both visually pleasing and mechanically sound.
Many people simply loop their keychains through the ring, only to find them slipping off after a few weeks or getting tangled with other keys. A poorly attached cherry keychain can not only be frustrating but may also scratch your keys or jam your ignition. This guide walks through practical, tested methods to fasten your cherry keychain safely and stylishly—methods that mechanics, key technicians, and everyday drivers use to keep small accessories intact.
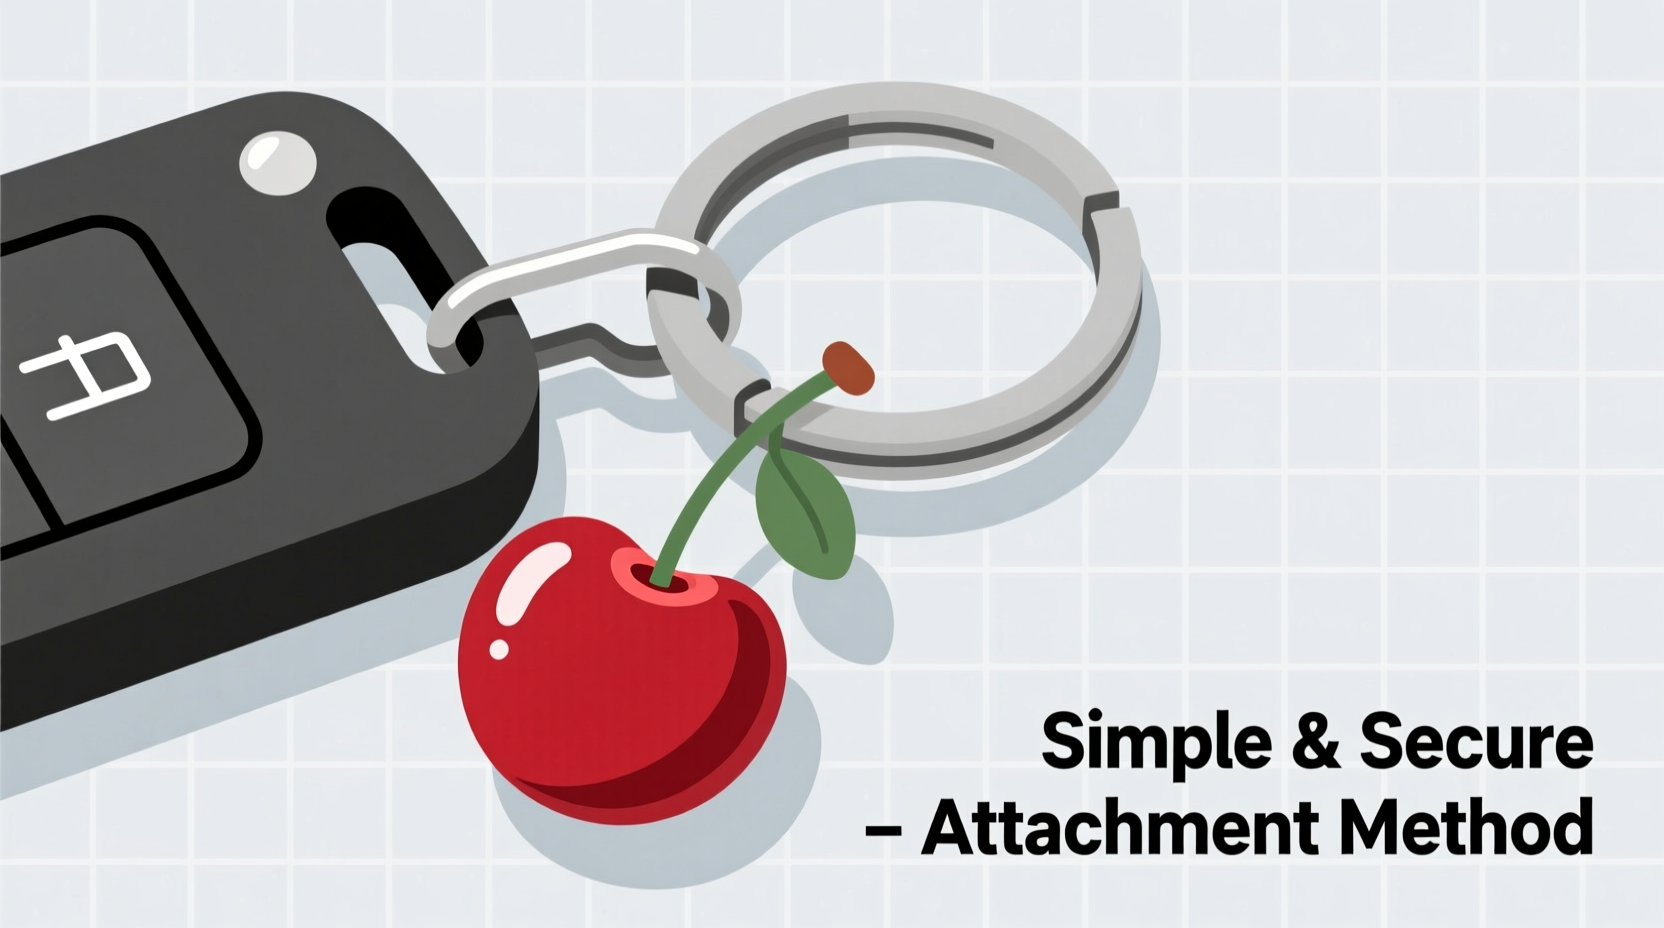
Why Secure Attachment Matters
A dangling keychain might seem harmless, but loose attachments can lead to real problems. Over time, constant motion from driving—bumps, vibrations, and jostling—can weaken weak links. In extreme cases, excessive weight or poor placement can even interfere with electronic key fobs, especially if the keychain blocks sensors or buttons.
According to automotive locksmith Mark Reynolds, “I’ve seen dozens of cases where customers thought their fob battery died, only to realize the added keychain was pressing against the unlock button inside their pocket, draining the power.” Proper attachment isn’t just about keeping the charm—it’s about preserving the function and longevity of your entire key system.
“Secure doesn’t mean bulky. A well-placed charm adds character without compromising reliability.” — Mark Reynolds, Automotive Locksmith & Key Systems Specialist
Step-by-Step Guide: How to Attach Your Cherry Keychain Safely
Follow this logical sequence to ensure your cherry keychain is attached correctly the first time—and stays put.
- Evaluate your keyring type: Is it a split ring, a rotating barrel ring, or a smart key holder? Smaller rings limit space; larger ones allow more flexibility.
- Inspect the cherry charm’s loop: Most cherries come with a metal jump ring or a small chain link. Check for sharp edges or weak soldering.
- Remove unnecessary items: Clear clutter from your keyring. Fewer items reduce strain on connections and minimize snagging.
- Choose your attachment method (see below): Decide whether to use direct looping, double-looping, split-ring threading, or a locking clasp.
- Test mobility and clearance: After attaching, shake the keyring gently. The cherry should move freely but not dangle excessively.
- Monitor for the first week: Check daily for signs of loosening, especially if driving on rough roads.
Top 4 Secure Attachment Methods Compared
Not all attachment techniques are equal. Some look neat but fail under stress; others are durable but bulky. Below is a comparison of four reliable methods based on ease, security, and compatibility.
| Method | Tools Needed | Security Level | Best For |
|---|---|---|---|
| Direct Looping | None | Low-Medium | Lightweight cherries, temporary use |
| Double-Looping with Jump Ring | Small pliers, spare jump ring | High | Daily drivers, heavier charms |
| Split-Ring Threading | Needle-nose pliers | Very High | Smart keys, minimal-profile setups |
| Locking Clasp Extension | Mini lobster clasp, chain | Very High | Collectible or sentimental cherries |
Method 1: Direct Looping (Simple but Risky)
Slide the cherry’s built-in loop directly onto the keyring. This works best when the keyring opening is wide enough and the cherry is lightweight. However, repeated stress can widen the loop over time, leading to slippage.
Method 2: Double-Looping with a Reinforced Jump Ring
Replace the original flimsy jump ring with a thicker, soldered stainless steel one. Use pliers to open the new ring, thread both the keyring and the cherry through it, then close securely. This creates a dual-point connection that resists twisting and pulling.
Method 3: Split-Ring Threading (Most Secure for Car Keys)
Unscrew or carefully pry open the split ring using needle-nose pliers. Thread the cherry’s loop onto the ring before closing it back. This embeds the charm into the ring structure itself, making accidental detachment nearly impossible.
Method 4: Locking Clasp Extension (Premium Protection)
Add a short chain with a lobster clasp. Attach one end permanently to your keyring via a split ring, then clip the cherry onto the clasp. This allows easy swapping and protects delicate charms while maintaining full security.
Checklist: Pre-Attachment Safety Review
- ✅ Confirm the cherry’s metal components are corrosion-resistant (e.g., stainless steel, coated brass)
- ✅ Ensure no sharp edges could scratch your hand or damage upholstery
- ✅ Verify the total weight of added accessories doesn’t exceed 1.5 oz (42g), which is the recommended limit for most OEM key fobs
- ✅ Test that buttons on smart keys remain fully accessible
- ✅ Choose a position where the cherry hangs outward, not inward toward the key blade or fob body
Real Example: Sarah’s Commute Fix
Sarah, a graphic designer from Portland, received a handmade cherry keychain from her sister. She loved it but lost two similar charms within a month—both snapped off during her bumpy morning commute. Frustrated, she consulted a local key repair shop. The technician showed her how to use a reinforced jump ring and reposition the charm away from high-friction zones. Using this method, her current cherry has lasted over nine months despite daily use. “It’s still shiny, hasn’t scratched anything, and gets compliments every time I start my car,” she says.
Common Mistakes to Avoid
Even small errors can compromise the safety and lifespan of your attachment. Steer clear of these pitfalls:
- Overloading the ring: Adding multiple heavy charms increases leverage and wear.
- Using cheap connectors: Thin, unsoldered jump rings bend easily and fail quickly.
- Ignoring material compatibility: Mixing metals like copper and steel can cause galvanic corrosion over time.
- Forgetting seasonal changes: Cold weather makes plastics brittle; heat can loosen adhesives in composite cherries.
FAQ
Can I attach a cherry keychain to a smart key fob?
Yes, but with caution. Avoid placing any part of the charm over the fob’s buttons or antenna area. Use lightweight materials and secure attachment points to prevent internal button activation or signal interference.
How do I clean my cherry keychain without damaging the attachment?
Use a soft cloth dampened with mild soapy water. Wipe gently and dry immediately. Do not soak or use ultrasonic cleaners unless you remove the charm from the keyring first.
Is glue ever acceptable for securing a keychain?
Generally not recommended. Adhesives degrade with temperature swings and moisture. Mechanical fasteners like closed jump rings or threaded clasps are far more reliable.
Conclusion: Style Meets Security
A cherry keychain shouldn’t be a liability. With the right technique, it becomes a lasting symbol of joy, memory, or personal flair—without compromising your vehicle access or key function. Whether you choose the precision of split-ring threading or the convenience of a locking clasp, the goal remains the same: secure, elegant, and enduring attachment.


 浙公网安备
33010002000092号
浙公网安备
33010002000092号 浙B2-20120091-4
Comments
No comments yet. Why don't you start the discussion?