
Sunglasses are more than a fashion statement—they're a critical defense against harmful ultraviolet (UV) radiation. Prolonged exposure to UV rays increases the risk of cataracts, macular degeneration, and photokeratitis. While most reputable brands label their lenses as offering \"UV400 protection,\" not all do—and counterfeit or low-quality sunglasses may falsely claim this feature. Fortunately, you don’t need a lab or expensive equipment to verify UV protection. With a few household items and smart observational techniques, you can conduct reliable DIY tests at home to ensure your eyes are truly shielded.
Understanding UV400 Protection
UV400 refers to lenses that block 99–100% of UVA and UVB rays with wavelengths up to 400 nanometers—the full spectrum of harmful UV light. This standard is considered the benchmark for effective eye protection. Sunglasses without proper UV filtering can be more dangerous than wearing none at all: dark lenses cause pupils to dilate, allowing more unfiltered UV light into the eye if the lenses lack adequate protection.
The American Academy of Ophthalmology recommends wearing sunglasses labeled “UV400” or “100% UV protection” whenever outdoors during daylight hours. However, labels can be misleading or absent, especially with generic or vintage frames. That’s where DIY verification becomes essential.
“Even if lenses are very dark, they must have a UV-blocking coating. Darkness alone does not equal protection.” — Dr. Laura Chen, Optometrist and Vision Health Specialist
Step-by-Step Guide: 5 Reliable DIY Tests for UV400 Protection
Below are five practical, science-backed methods you can use at home to assess whether your sunglasses meet UV400 standards. These tests vary in accuracy but collectively provide a strong indication of lens quality when used together.
1. The UV Flashlight and Banknote Test
This method uses fluorescence—a property activated by UV light—to detect whether your lenses block UV rays.
- Find a genuine banknote (e.g., a $20 bill) that has UV-reactive security features. Under UV light, these elements glow.
- Turn off the lights and shine a UV flashlight (available online for under $10) on the note. Observe the glowing pattern.
- Place your sunglass lens between the flashlight and the banknote.
- If the glow remains bright, the lens allows UV light to pass through—meaning it lacks UV400 protection.
- If the glow disappears or significantly dims, the lens is likely blocking UV rays effectively.
2. The Shadow Test (Polarization & Indirect UV Clue)
While not a direct UV test, the shadow test helps identify polarized lenses, which often—but not always—come with UV400 protection. Polarization reduces glare, improving visual comfort and clarity.
- Stand outside on a sunny day.
- Look at a reflective surface like water, glass, or a car hood.
- Rotate your sunglasses 60 degrees clockwise or counterclockwise while keeping them in front of your eyes.
- If the intensity of the reflection changes dramatically—or nearly vanishes—the lenses are polarized.
Polarized lenses aren't automatically UV-protected, but reputable manufacturers typically combine both features. If your glasses pass this test, check for a “UV400” stamp or perform another test to confirm UV filtering.
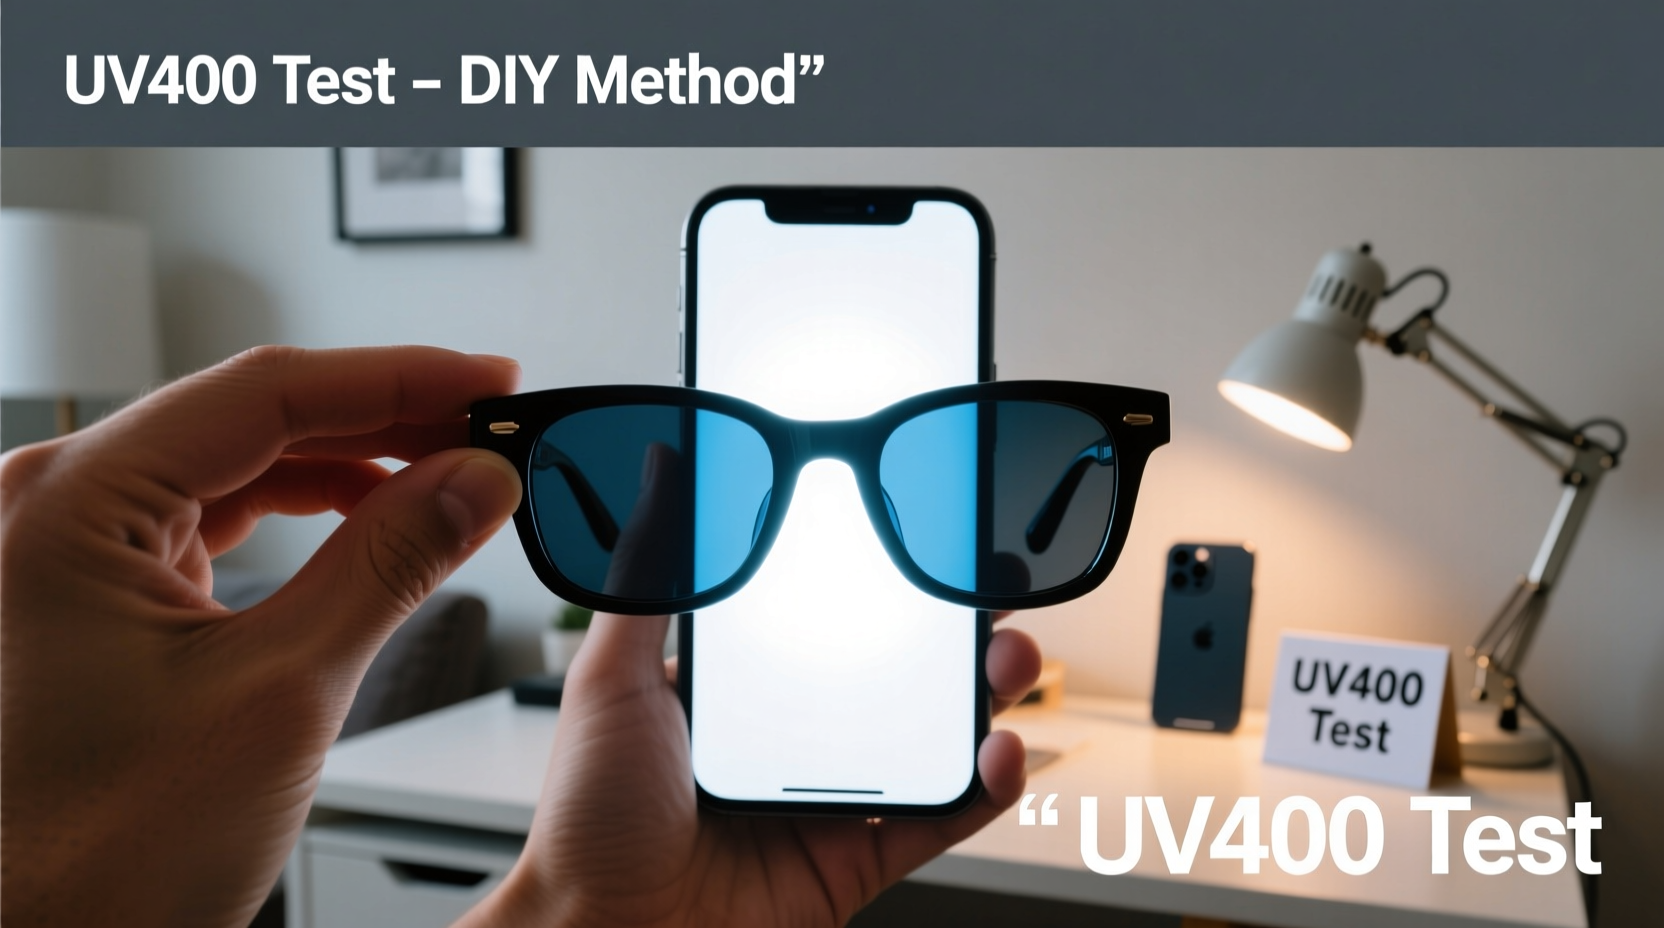
3. The Digital Screen Reflection Test
Liquid crystal displays (LCDs) emit polarized light. This test leverages that property to assess lens polarization, indirectly supporting confidence in overall lens quality.
- Turn on your smartphone or tablet screen.
- Tilt your head sideways (about 45–60 degrees) while looking at the screen through your sunglasses.
- If the screen appears black or severely dimmed, your lenses are polarized.
Again, polarization doesn’t guarantee UV protection, but consistent optical performance across multiple tests suggests higher manufacturing standards, increasing the likelihood of genuine UV400 coverage.
4. The Lens Material and Label Check
Some materials inherently block UV light. Polycarbonate lenses, commonly used in prescription and sports eyewear, naturally absorb almost all UV radiation up to 380nm. With an added coating, they easily reach UV400.
Check for markings on the lens or frame such as:
- \"UV400\"
- \"100% UV protection\"
- \"Blocks UVA and UVB\"
Absence of labeling doesn’t mean poor protection, but it raises suspicion—especially with non-branded or imported sunglasses. Vintage or fashion-only models often lack proper UV filtering despite their appearance.
5. The Photochromic Reaction Test (For Specific Lenses)
If your sunglasses darken in sunlight (photochromic lenses), their chemical reaction depends on UV exposure. Indoors, without UV light, they stay clear. You can reverse-test this principle:
- Wear the glasses indoors under artificial lighting (no direct sunlight).
- Stand behind a closed window in direct sunlight.
If the lenses do not darken behind glass, it’s because standard windows block most UVB rays. This indicates the lenses respond to UV light—suggesting they’re designed to protect against it. However, this only confirms UV sensitivity, not full UV400 blocking capability. Use this test in combination with others.
Comparison Table: DIY Methods at a Glance
| Test Method | What It Measures | Accuracy Level | Tools Needed |
|---|---|---|---|
| UV Flashlight + Banknote | Direct UV transmission | High | UV flashlight, banknote |
| Shadow Test | Polarization (indirect clue) | Moderate | Sunny day, reflective surface |
| Digital Screen Test | Polarization confirmation | Moderate | Smartphone/tablet |
| Label & Material Check | Manufacturer claims, material type | Low to Moderate | Visual inspection |
| Photochromic Response | UV sensitivity | Low (supportive only) | Sunlight, window |
Mini Case Study: Sarah’s Counterfeit Shades
Sarah bought a pair of designer-style sunglasses from an online marketplace for $18. They looked authentic, came in a branded case, and were labeled “UV Protection.” Curious, she tried the UV flashlight test using her $50 bill. To her surprise, the security strip glowed brightly through the lenses. She repeated the test with her old drugstore pair—labeled “UV400”—and the glow vanished. A trip to her optometrist confirmed: the counterfeit lenses blocked only 65% of UVB rays. She immediately stopped wearing them. This experience led her to advocate for UV testing among friends and start checking labels carefully.
Do’s and Don’ts When Testing Sunglasses
“Never assume darkness equals protection. I’ve seen patients with serious sun damage from ‘stylish’ but unprotected lenses.” — Dr. Rajiv Mehta, Retinal Specialist
| Do | Don’t |
|---|---|
| Use multiple testing methods for cross-verification | Rely solely on lens darkness |
| Look for permanent “UV400” engraving on the lens | Trust packaging claims without verification |
| Test under controlled lighting conditions | Assume polarization means UV protection |
| Replace unverified or damaged lenses | Use scratched or aged lenses regularly |
FAQ: Common Questions About UV Protection Testing
Can I test UV protection without buying any tools?
Yes. The shadow test and digital screen test require no extra tools. While less precise, they help assess lens quality. For definitive results, however, a UV flashlight (under $10) is worth the investment.
Do cheap sunglasses ever offer real UV400 protection?
Yes. Many affordable brands, including those sold at pharmacies, meet UV400 standards. Look for clear labeling. Some budget options even outperform expensive fashion brands lacking proper coatings.
How often should I retest my sunglasses?
Retest if lenses become heavily scratched, discolored, or after prolonged exposure to heat (like leaving them in a hot car). UV coatings can degrade over time, especially with low-quality materials.
Final Checklist: Verify Your Sunglasses Today
- Inspect lenses and frames for “UV400” or “100% UV protection” marking.
- Perform the UV flashlight and banknote test in a dark room.
- Conduct the digital screen test to check for polarization.
- Observe lens behavior in sunlight vs. behind glass (photochromic check).
- Cross-reference results and replace lenses if doubt remains.
Conclusion: Protect Your Eyes with Confidence
Your eyes deserve more than guesswork when it comes to UV protection. With simple, accessible methods, you can verify whether your sunglasses truly guard against harmful radiation. These DIY tests empower you to make informed decisions—especially important for children, outdoor workers, and frequent travelers. Don’t let style overshadow safety. Take 10 minutes today to test your current pair. If they fail, invest in verified UV400 sunglasses and keep your vision healthy for years to come.


 浙公网安备
33010002000092号
浙公网安备
33010002000092号 浙B2-20120091-4
Comments
No comments yet. Why don't you start the discussion?