
Wrapping a gift beautifully is an act of care. A well-tied ribbon adds elegance, personality, and a finishing touch that shows thoughtfulness. You don’t need advanced crafting skills to create stunning bows—just a few minutes, some quality ribbon, and the right technique. Whether you're preparing for a birthday, holiday, or just because, mastering a few simple ribbon tying ideas can elevate your gift presentation from ordinary to unforgettable.
The Magic of a Well-Tied Bow
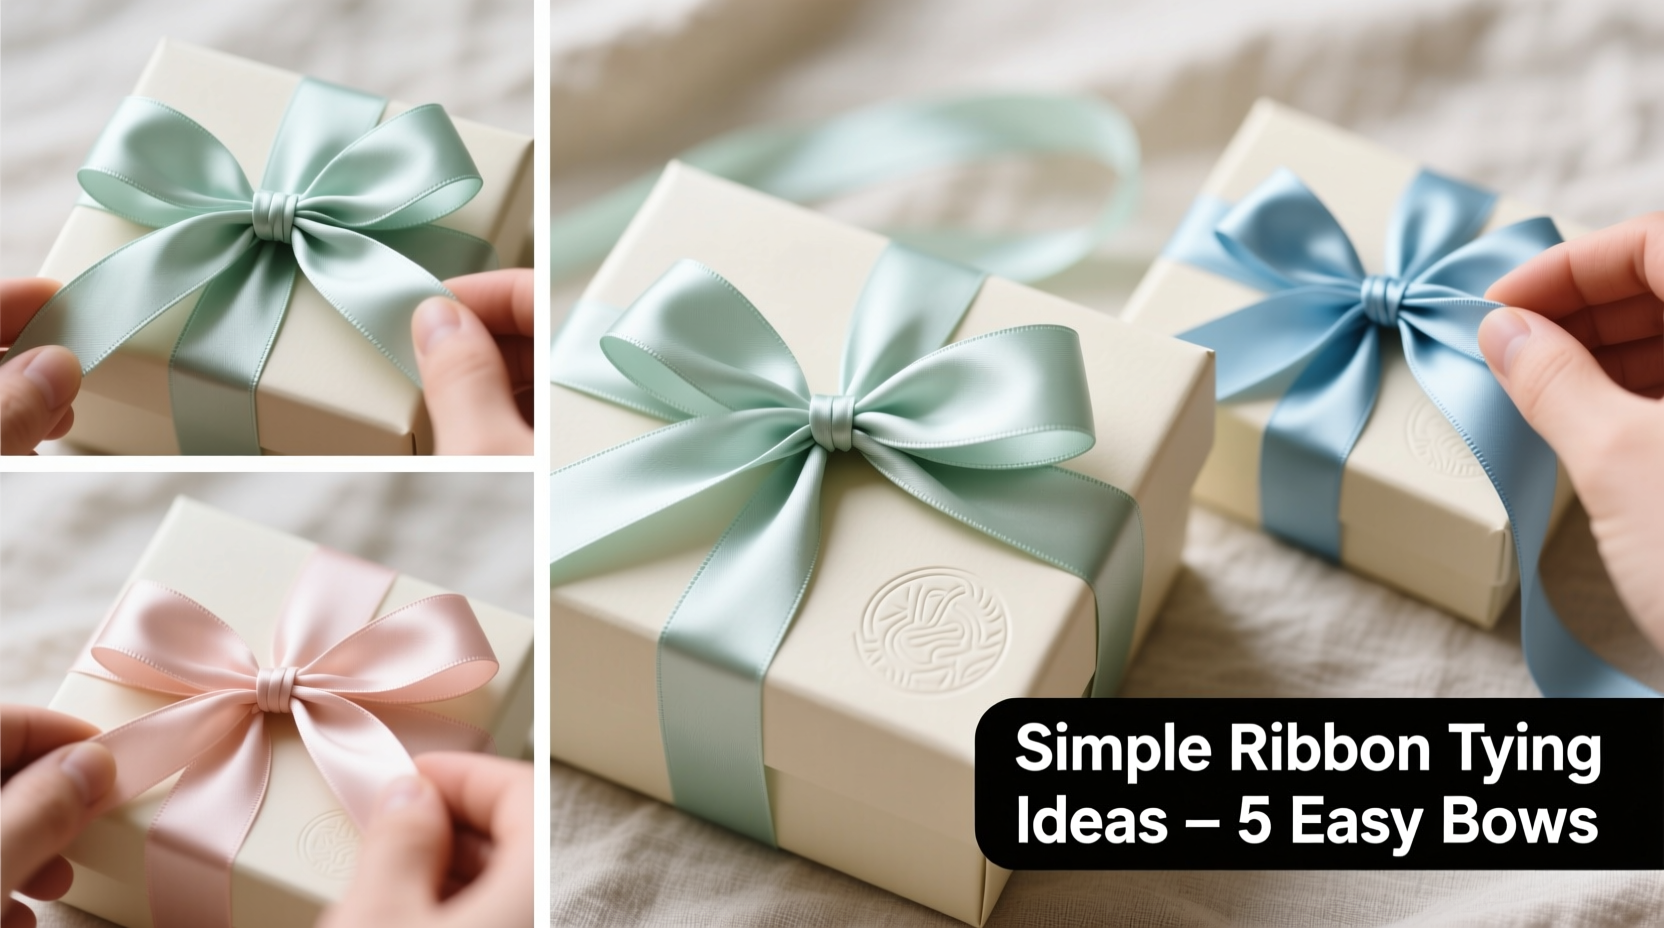
A bow is more than decoration—it’s a signal of anticipation. Before the recipient even opens the box, the bow sets the tone. A crisp satin bow suggests sophistication; a rustic jute twist feels warm and handmade. The key is matching the bow style to the gift and occasion while keeping execution clean and balanced.
Ribbon comes in many materials: satin, grosgrain, velvet, burlap, and wired edge varieties. Each behaves differently when tied. Satin slips easily and benefits from secure knots. Grosgrain holds shape well and is ideal for structured bows. Wired ribbon maintains form perfectly, making it excellent for intricate styles.
Essential Tools and Materials
Before diving into techniques, gather the basics:
- Ribbon: Choose width based on gift size—3/8” for small items, 1.5”–2.5” for larger boxes.
- Scissors: Sharp, precision-bladed scissors ensure clean cuts without fraying.
- Tape or glue dot: For securing ends and keeping tails neat.
- Pencil or dowel: Helps form consistent loops in complex bows.
- Florist wire (optional): Adds structure to large or asymmetrical bows.
Always cut ribbon at a 45-degree angle to reduce fraying and improve appearance.
Step-by-Step: Classic Center-Pull Bow
This timeless bow is beginner-friendly and works with most ribbon types. It creates a full, symmetrical design ideal for gift boxes.
- Cut 36 inches of ribbon. Hold one end in your non-dominant hand.
- Loop the ribbon over two fingers to form a small loop. Pinch the base where the ribbon crosses.
- Repeat on the opposite side, feeding the second loop through the first.
- Pull both loops outward to form “ears.” Adjust tension so they’re even.
- Create additional pairs of loops (3–5 total) by repeating the process around the center knot.
- Flip the bow and trim the tail ends at an angle.
- Secure the back with a glue dot or tape, then attach to your gift.
This method gives you control over fullness. More loops = fuller bow. Fewer loops = minimalist charm.
Three Elegant Ribbon Tying Styles
Variety keeps gift-giving exciting. Try these three distinct approaches for different aesthetics.
1. The Spiral Twist (Modern Minimalist)
Perfect for sleek, contemporary wrapping. Uses narrow ribbon (1/4”–3/8”) and creates subtle texture.
- Tie a basic knot around the box.
- Instead of forming loops, twist the ribbon tightly along one edge like a corkscrew.
- Wrap the twisted strand diagonally across the top or around the perimeter.
- Finish with a tiny knot or tuck the end beneath the spiral.
This style shines on monochrome wraps—think black box with silver twisted ribbon.
2. The Cascading Loop (Romantic & Full)
Ideal for weddings, baby showers, or feminine gifts. Creates a waterfall effect of soft loops.
- Start with 48–60 inches of wide satin or wired ribbon.
- Form a central knot, then create progressively larger loops on one side.
- Let each loop hang freely downward before adding the next.
- Secure the back and let the tails drape naturally.
Add pearl pins or mini charms between loops for extra detail.
3. The Crisscross Wrap (Functional & Stylish)
Combines structural wrapping with decorative flair. Bows are integrated into the ribbon that holds the box closed.
- Wrap ribbon lengthwise and crosswise over a box, intersecting at the center.
- Tie a secure knot at the intersection point.
- Use the excess to form a bow directly on top.
- Trim tails evenly or at angles for polish.
This method ensures the bow stays centered and doubles as closure and decoration.
Do’s and Don’ts of Gift Ribbon Styling
| Do’s | Don’ts |
|---|---|
| Match ribbon color to wrapping paper or theme | Use dull or frayed ribbon |
| Secure loose ends with clear tape or glue dots | Leave raw, unraveling edges |
| Fluff and adjust bows after placement | Overcrowd the package with multiple large bows |
| Store ribbon rolls flat to prevent kinks | Stretch satin ribbon too tightly—it may snap |
| Use wired ribbon for 3D shapes or floral accents | Forget the recipient—choose a style that suits them |
Mini Case Study: Holiday Gift Revamp
Sarah, a graphic designer in Portland, used to buy pre-made bows for her holiday gifts. Last December, she decided to handcraft all her packaging. Using only $12 worth of grosgrain ribbon and leftover craft supplies, she created unique bows for 17 presents.
She applied the cascading loop style to her sister’s jewelry box and the spiral twist to a tech gadget. Friends commented that her gifts looked professionally styled. One even asked if she’d hired a gift-wrapping service. Sarah saved money, reduced waste, and added personal meaning—all through thoughtful ribbon work.
“Presentation isn’t about perfection. It’s about showing someone they matter. A handmade bow says, ‘I took time.’ That’s priceless.” — Lena Torres, Professional Stylist & Gift Designer
Checklist: Perfect Bow in 5 Minutes
Follow this quick checklist before finalizing your gift:
- ☐ Choose ribbon width and color that complements the gift
- ☐ Cut ribbon cleanly with sharp scissors
- ☐ Form balanced loops—check symmetry from all angles
- ☐ Secure the center knot tightly
- ☐ Trim tails at an angle to prevent fraying
- ☐ Attach with tape or wire, ensuring it won’t shift
- ☐ Fluff and adjust loops for fullness
Frequently Asked Questions
How do I keep my bow from falling apart?
Ensure the center knot is tight and reinforced with a dot of hot glue or clear tape. For heavy ribbons, wrap thin floral wire around the center and twist it tightly at the back.
Can I reuse decorative bows?
Yes, especially if made with wired ribbon. Gently untwist the back, store flat in a compartmentalized box, and avoid crushing. Satin bows are less reusable due to creasing.
What’s the best ribbon for beginners?
Grosgrain ribbon is ideal for learning. It holds its shape, doesn’t slip easily, and is forgiving when adjusting loops. Its matte finish also hides minor imperfections.
Final Touches That Make All the Difference
A great bow isn’t just about technique—it’s about attention to detail. Press out wrinkles in the ribbon before starting. Align the bow precisely with the box’s center. Consider adding a sprig of faux greenery, a cinnamon stick, or a handwritten tag nestled beside the knot.
For group gifts, tie multiple small matching bows in a line. For kids’ presents, use playful patterns and oversized loops. The goal isn’t perfection but intentionality. A slightly lopsided bow made with care often means more than a flawless store-bought one.


 浙公网安备
33010002000092号
浙公网安备
33010002000092号 浙B2-20120091-4
Comments
No comments yet. Why don't you start the discussion?