
Drawing doesn’t require years of training or natural talent. With the right approach, anyone can learn to draw simple, fun subjects like candy. For beginners, candy offers a perfect starting point—its bold shapes, vibrant colors, and playful designs make it both accessible and enjoyable to recreate. Whether you're sketching for relaxation, preparing art for greeting cards, or helping a child explore creativity, this guide breaks down the process into clear, manageable steps. No prior experience needed—just a pencil, paper, and a willingness to try.
Why Drawing Candy Is Perfect for Beginners
Candy is an ideal subject for novice artists because it combines geometric simplicity with imaginative flair. Most candies follow predictable shapes—circles for gumballs, spirals for lollipops, rectangles for chocolate bars—that are easy to sketch. At the same time, candy invites creativity in color, shading, and decoration, allowing beginners to experiment without pressure.
Additionally, drawing candy helps develop core artistic skills:
- Shape recognition: Identifying basic forms like circles, ovals, and curves.
- Proportion: Learning how elements relate in size and placement.
- Shading: Practicing light and shadow to add depth.
- Color blending: Exploring how hues interact on paper.
Essential Tools You’ll Need
You don’t need an expensive art kit to begin. A few basic supplies are enough to get started and produce satisfying results.
| Tool | Purpose | Beginner-Friendly Options |
|---|---|---|
| Pencil (HB or 2B) | Light sketching and outlines | Standard #2 pencil works fine |
| Eraser | Correcting mistakes gently | White vinyl or kneaded eraser |
| Paper | Drawing surface | Printer paper or sketchpad |
| Colored pencils or markers | Adding color and vibrancy | Washable markers or affordable colored pencils |
| Ruler (optional) | Guiding straight lines for wrappers | Any small ruler or straight edge |
Keep your workspace well-lit and clutter-free. Natural daylight is best for accurate color perception, but a warm white desk lamp works well indoors.
Step-by-Step Guide to Drawing a Classic Lollipop
Let’s walk through a complete example using one of the most recognizable candies—a spiral-swirl lollipop. This project introduces foundational drawing principles while delivering a fun, colorful result.
- Draw the stick: Lightly sketch a long, thin rectangle vertically on your page. This will be the lollipop stick. Keep lines soft so they’re easy to erase later if needed.
- Sketch the candy base: At the top of the stick, draw a large circle overlapping slightly. Use gentle strokes—this doesn’t need to be perfect.
- Add the spiral pattern: Starting from the center of the circle, draw a loose spiral moving outward. Think of it like a coiled spring viewed from the front. Don’t worry about precision; slight wobbles add charm.
- Outline clearly: Once you’re happy with the shape, go over your sketch with a slightly darker line to define the final form. Erase any stray guidelines.
- Add dimension: Shade the bottom half of the lollipop slightly to suggest roundness. Use your pencil to gently darken one side, leaving the top lighter as if hit by light.
- Color creatively: Use two contrasting colors (e.g., red and white) to fill in alternating sections of the spiral. Outline the entire candy with a dark marker or black pencil to make it pop.
- Finish the stick: Color the stick brown or wood-toned. Add subtle vertical lines to mimic grain texture.
Expanding Your Candy Collection: Three More Easy Designs
Once you’ve mastered the lollipop, challenge yourself with other common candies. Each introduces a new skill while remaining beginner-friendly.
Jawbreaker or Gumball
A layered sphere with concentric rings. Draw a circle, then add curved lines inside to represent layers. Shade one side to show depth, and use bright colors like blue, green, or purple.
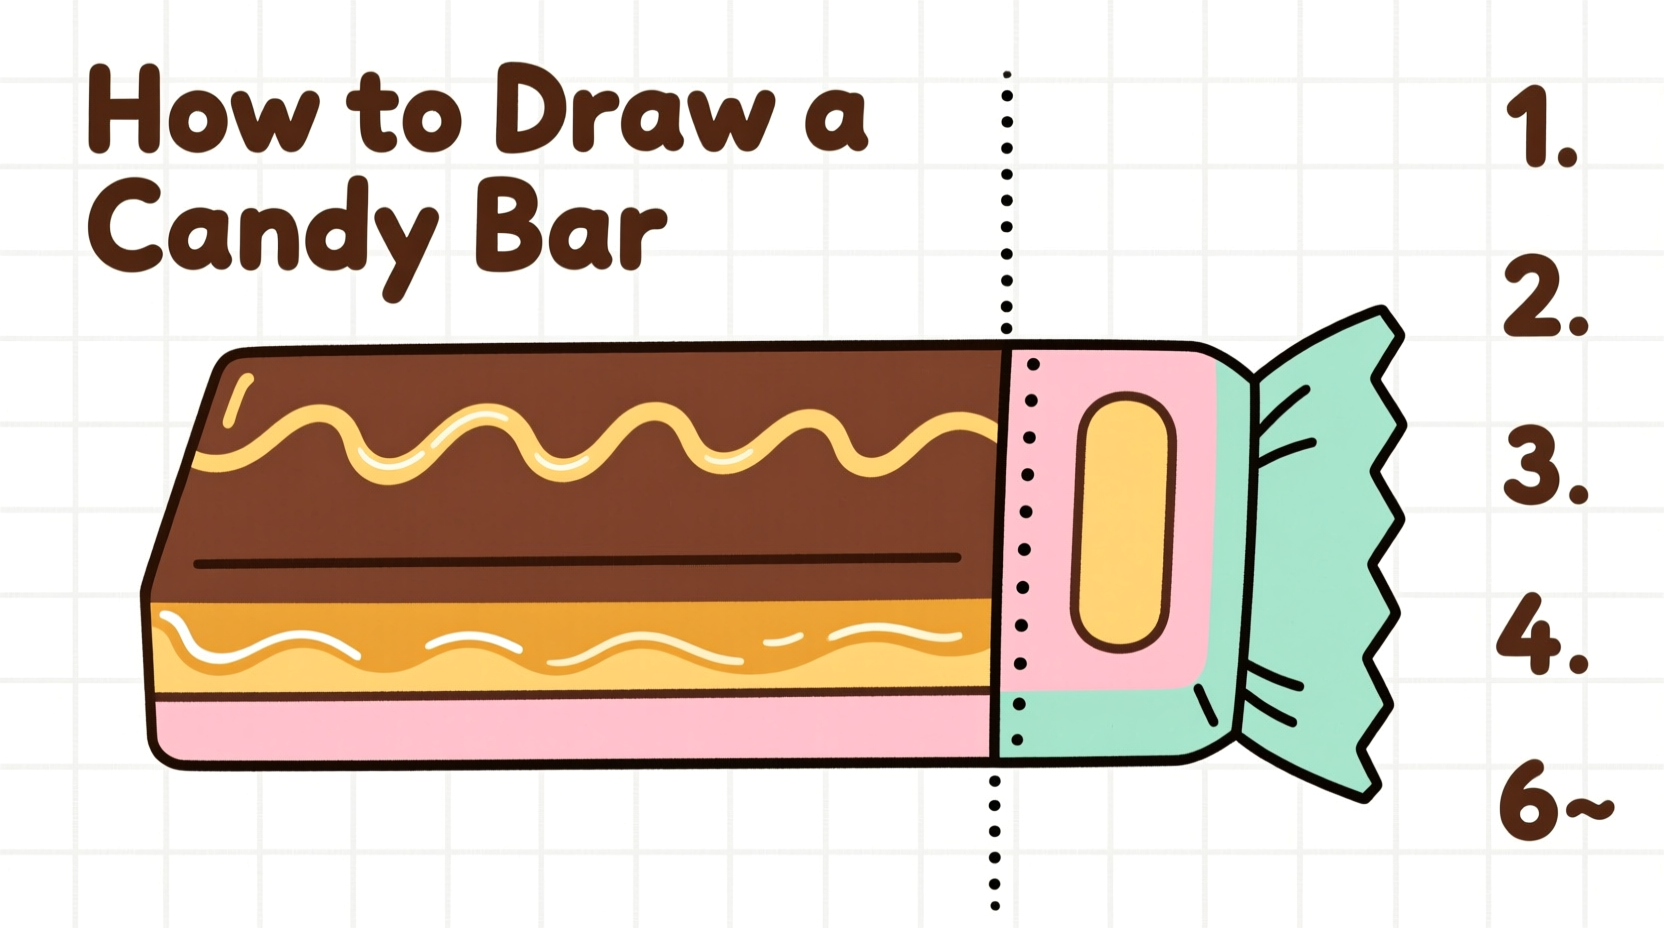
Chocolate Bar
Start with a rectangle. Divide it into smaller squares or rectangles to simulate segments. Draw a wrapper fold at the top and bottom. Add text like “DELUXE” or “CRUNCH” for realism.
Jelly Bean
Sketch an elongated oval. Add a subtle curve down the center to indicate a seam. Color one side darker than the other for shine, and include a tiny highlight dot in white to simulate gloss.
“Simple subjects like candy allow beginners to focus on technique without being overwhelmed by complexity. The joy of seeing a recognizable object emerge from a blank page builds motivation fast.” — Lena Torres, Art Educator and Children’s Illustration Coach
Checklist: First-Time Candy Drawing Success
Follow this quick checklist before and after your drawing session to stay organized and confident:
- ✅ Gather your pencil, eraser, paper, and coloring tools
- ✅ Choose one type of candy to draw first
- ✅ Sketch lightly in pencil—no heavy lines
- ✅ Focus on shape before color
- ✅ Use reference images if stuck (search “real lollipop photo”)
- ✅ Take breaks if frustration builds
- ✅ Celebrate imperfections—they add character
A Real Example: Sarah’s First Drawing Session
Sarah, a 10-year-old student, had never drawn anything beyond stick figures. Inspired by her favorite sour belts, she decided to try drawing a fruit chew. She began by tracing a real candy onto wax paper placed over it, then transferred the outline to her sketchbook. With help from her teacher, she added color gradients using two shades of yellow and orange. Though the edges weren’t perfect, she was thrilled to see her favorite candy come to life. Within a week, she had drawn six different candies and made a mini comic where they “talked” to each other. Her confidence grew so much that she entered a school art contest—and won second place.
This shows how a simple exercise can spark imagination and lead to bigger creative projects.
Frequently Asked Questions
Do I need to know how to shade to draw candy?
No. Shading adds depth, but it’s optional for beginners. Start with flat colors and clean outlines. As you grow comfortable, experiment with light and shadow to make your candy look more realistic.
What if my drawing doesn’t look like real candy?
That’s completely normal. Art improves with practice. Focus on enjoying the process rather than perfection. Many professional illustrators embrace stylized or exaggerated versions of candy—it’s part of the charm.
Can I use digital tools instead of paper?
Absolutely. Apps like Procreate, Adobe Fresco, or even basic drawing programs on tablets let you sketch and color digitally. The same principles apply: start with shapes, build outlines, then add color and effects.
Final Tips for Continued Progress
Consistency matters more than talent when learning to draw. Set aside just 15 minutes a day to sketch a new candy or refine an old one. Over time, you’ll notice improvements in control, accuracy, and creativity.
Try these challenges to keep growing:
- Draw five different candies in one sitting.
- Create a candy jar scene with multiple pieces overlapping.
- Invent your own candy with unique colors and packaging.


 浙公网安备
33010002000092号
浙公网安备
33010002000092号 浙B2-20120091-4
Comments
No comments yet. Why don't you start the discussion?