
Drawing food doesn’t require years of art school or natural talent. With a few foundational techniques and consistent practice, anyone can learn to sketch appetizing meals in no time. Whether you're doodling for fun, creating a recipe journal, or exploring illustration as a hobby, this guide breaks down the process into clear, manageable steps. From choosing your tools to adding realistic details, you’ll gain confidence with every stroke.
Start with the Right Tools and Mindset
The first step in learning to draw food is gathering the basics. You don’t need expensive supplies—just a pencil, eraser, and paper. A mechanical pencil offers precision, while a standard HB pencil works well for soft lines and shading. Use a kneaded eraser to lift graphite gently without damaging the paper.
Equally important is your mindset. Many beginners hesitate because they believe their drawings must look perfect immediately. But drawing is a skill built over time. Focus on progress, not perfection. Each sketch teaches you something new about shape, proportion, and texture.
Break Food Down into Simple Shapes
All complex objects, including food, are made up of basic geometric shapes: circles, ovals, rectangles, triangles, and cylinders. Training your eye to see these underlying forms makes drawing much easier.
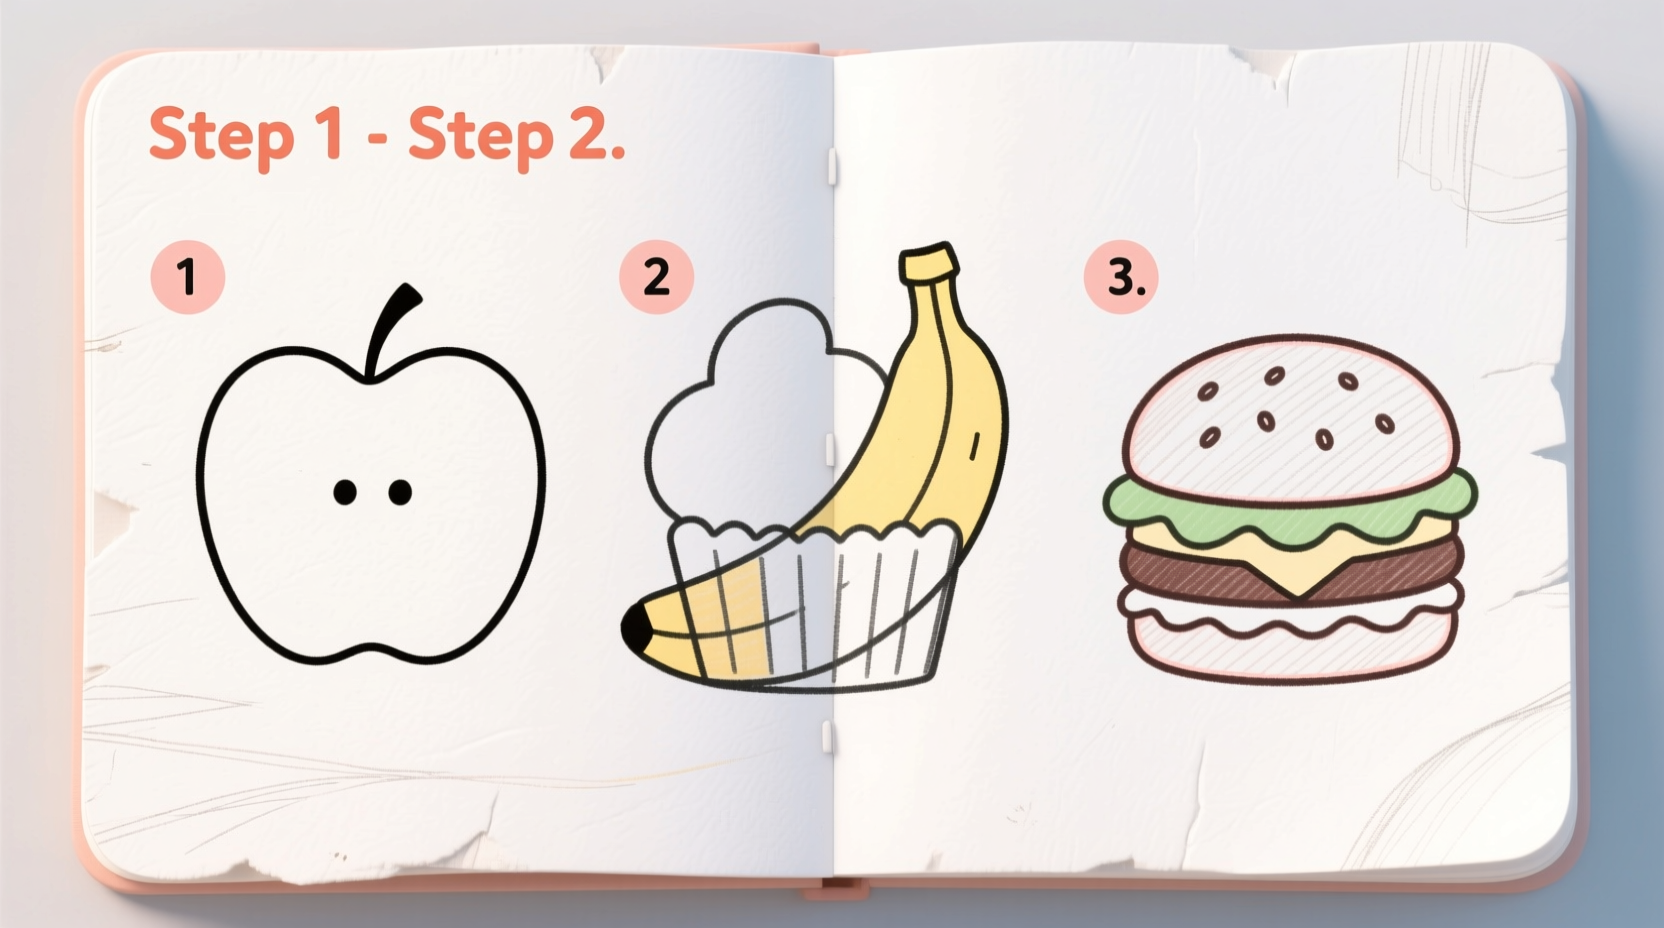
For example, an apple is essentially a circle with a small stem (a short rectangle) and a curved line for the indentation at the top. A sandwich? Two rectangles stacked with diagonal lines to suggest a bite. A banana starts as a long, curved cylinder, then refined into smooth edges.
This technique, known as \"construction drawing,\" simplifies the process and helps maintain correct proportions. Start every drawing by lightly sketching these base shapes before adding details.
“Seeing objects as combinations of simple forms is the foundation of visual literacy in drawing.” — David Pagano, Art Instructor at Brooklyn Creative Lab
Step-by-Step Guide: Drawing a Slice of Pizza
Follow this practical example to apply the principles above. This five-step process turns a blank page into a recognizable, appealing food sketch.
- Draw the crust outline. Lightly sketch a triangle with slightly wavy edges to represent the pizza slice. The unevenness adds realism—real food isn’t perfectly symmetrical.
- Add the cheese layer. Inside the triangle, draw a smaller, parallel shape with bumpy edges to mimic melted cheese. Leave small gaps for toppings.
- Place the toppings. Add small circles for pepperoni, irregular blobs for mushrooms, or tiny dots for herbs. Vary their size and position to avoid a uniform, artificial look.
- Define edges and add depth. Go over the outer crust with a slightly darker line. Use light crosshatching or circular motions to shade the cheese, especially near the crust where shadows naturally form.
- Finalize and clean up. Erase unnecessary construction lines. Add tiny details like oil gloss on pepperoni using small white dots (leave them blank) or very light highlights.
Common Mistakes and How to Avoid Them
Even simple drawings can go wrong if certain pitfalls aren’t addressed early. Awareness of these issues accelerates improvement.
| Mistake | Why It Happens | How to Fix It |
|---|---|---|
| Overcomplicating details too soon | Rushing to add texture before establishing shape | Stick to basic forms first. Add details only in later stages. |
| Incorrect proportions | Poor initial layout or freehand without guidelines | Use light construction lines and compare ratios (e.g., “Is the tomato twice as wide as the stem?”) |
| Flat-looking food | Lack of shading or contrast | Identify a light source and shade the opposite side. Even simple food has volume. |
| Too rigid or mechanical appearance | Over-relying on rulers or tracing | Draw freehand with relaxed wrist movements. Slight imperfections make food look natural. |
Practice with a Drawing Checklist
Consistency leads to improvement. Use this checklist every time you draw a new food item to build strong habits.
- ✅ Choose one food item to draw (start simple: egg, lemon, cupcake).
- ✅ Observe a real photo or actual object for 1–2 minutes.
- ✅ Identify the main shapes (circle, oval, rectangle, etc.).
- ✅ Lightly sketch the base structure with faint lines.
- ✅ Refine outlines and add key features (stem, slice marks, frosting swirls).
- ✅ Apply light shading on one side to create dimension.
- ✅ Review: Does it look balanced? Are proportions accurate?
- ✅ Sign and date your sketch.
Real Example: From Struggle to Success
Sophie, a 28-year-old office worker, wanted to illustrate her homemade meals for a personal blog. Her first attempt at drawing a bowl of ramen was messy—noodles looked like tangled wires, and the egg had no depth. Discouraged, she almost quit.
She started applying the shape-based method: treating the bowl as a wide cylinder, the broth as a flat oval, and the egg as a centered circle. She added steam with wavy upward lines and shaded the underside of the bowl to ground it visually. Within three weeks of daily 10-minute sketches, her drawings became recognizable and lively. Now, her food illustrations attract hundreds of likes online.
Her breakthrough came not from talent, but from breaking down complexity into manageable parts.
Frequently Asked Questions
Can I draw food if I’ve never drawn before?
Absolutely. Drawing food is one of the best starting points for beginners because shapes are familiar and forgiving. Start with items like fruit, toast, or cookies—simple forms with clear outlines. Practice five minutes a day, and noticeable improvement comes within two weeks.
How do I make my food drawings look more realistic?
Focus on three elements: shape accuracy, shadow placement, and texture hints. Even a simple dot can suggest a sesame seed on a bun. Use a single light source (like a window) when observing real food to understand where shadows fall. Realism comes from observation, not intricate detail.
Should I use color as a beginner?
Begin with pencil only. Master line, form, and shading first. Adding color too soon can distract from foundational skills. Once you’re comfortable with shapes and shadows, introduce colored pencils gradually—start with one or two tones per drawing.
Keep Drawing, Keep Eating
Learning to draw food is more than just artistic development—it deepens your appreciation for everyday objects. A banana isn’t just a snack; it’s a curved prism with subtle gradients and textures worth studying. Each drawing trains your eye to see the world differently.
The most important ingredient is consistency. Set aside ten minutes a day. Draw what you eat for lunch. Sketch your morning toast. Celebrate small wins—a well-proportioned cupcake, a convincing avocado half. Progress compounds silently but surely.


 浙公网安备
33010002000092号
浙公网安备
33010002000092号 浙B2-20120091-4
Comments
No comments yet. Why don't you start the discussion?