
Learning how to tell time is a foundational skill for children, but it can be abstract and challenging without visual aids. A hands-on approach often makes the difference between confusion and understanding. One of the most effective tools for teaching time is a paper clock—a simple, low-cost, customizable model that turns abstract numbers into tangible concepts. This guide walks through the process of creating a functional, educational paper clock using basic supplies found at home or in the classroom.
Gathering Your Materials
The beauty of a paper clock lies in its simplicity. No special tools or expensive materials are required. Most items can be sourced from a standard school supply kit or recycled household products. Before beginning construction, assemble the following:
- Cardstock or thick paper (for durability)
- Scissors
- Pencil and eraser
- Ruler
- Compass or circular object (like a bowl or plate) for tracing
- Brass fastener (a small paper clip can work in a pinch)
- Markers, crayons, or colored pencils
- A protractor (optional, for precise number placement)
Step-by-Step Construction Process
Follow this clear sequence to build a functional paper clock that accurately represents the passage of time.
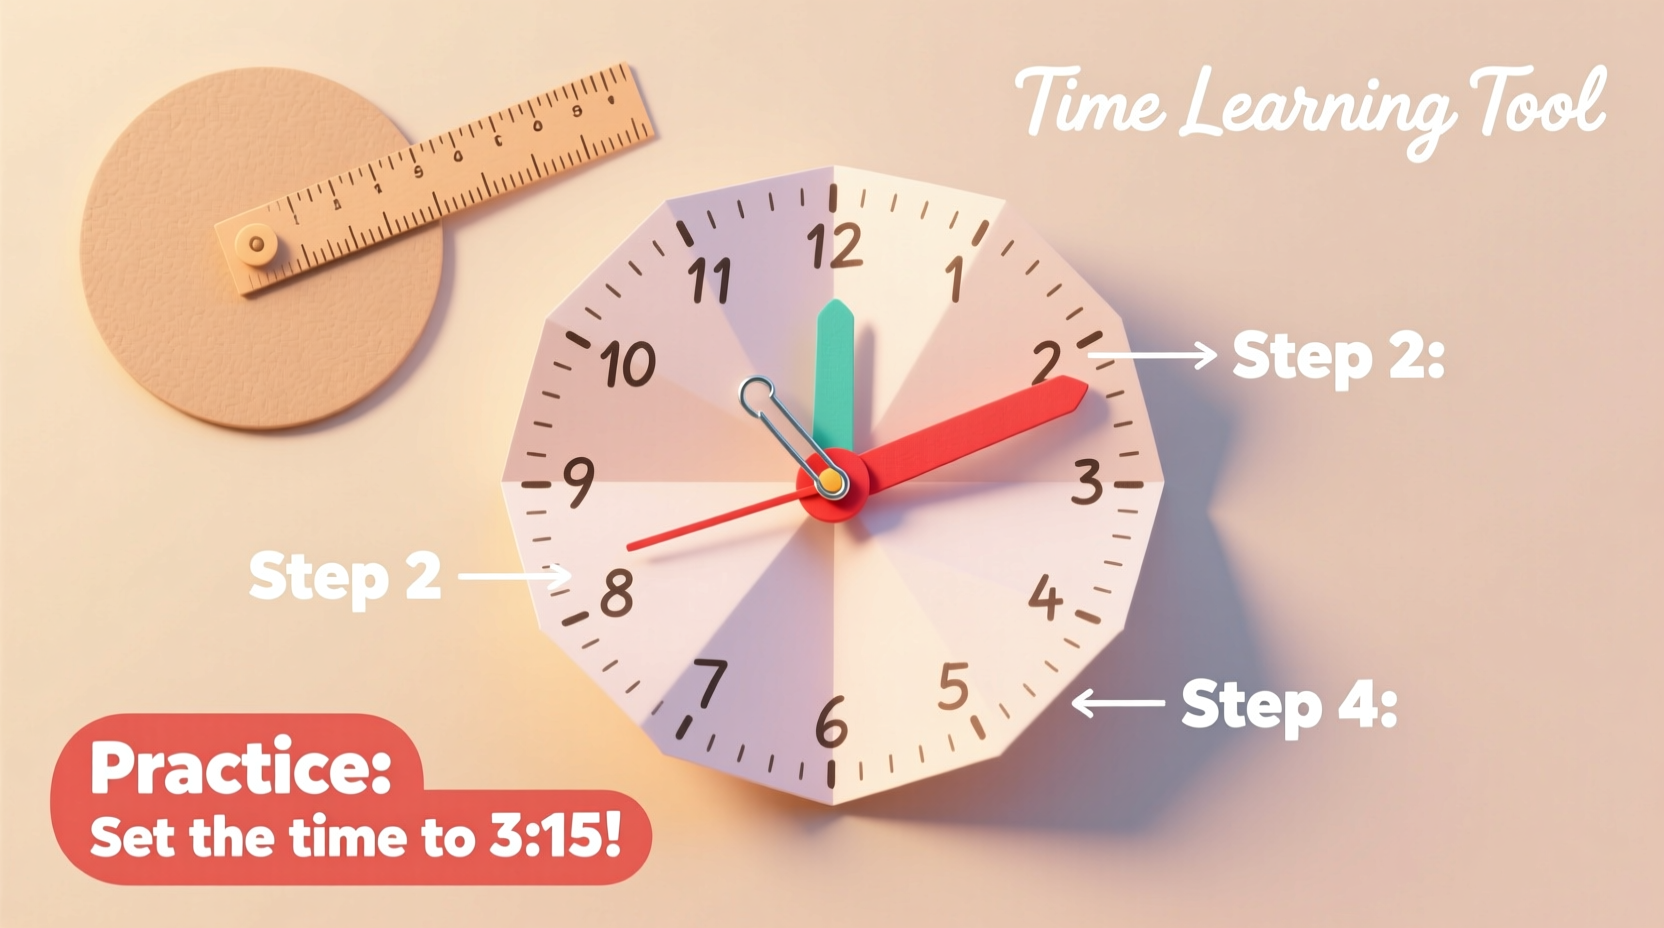
- Draw the Clock Face: Trace a circle onto the cardstock using a compass or any round object. A diameter of 8–10 inches works well for visibility.
- Mark the Numbers: Divide the circle into 12 equal sections. You can do this by drawing a vertical line from top to bottom (12 and 6), then a horizontal line (3 and 9). These four points form the base. Estimate the remaining numbers evenly spaced between them. Write the numbers 1 through 12 in order around the edge.
- Add Minute Marks (Optional): For more advanced learners, draw small lines between each number to represent five-minute intervals. You may also add all 60 marks for precision.
- Cut Out the Hands: On a separate piece of cardstock, draw an hour hand (short and wide) and a minute hand (long and narrow). Cut them out carefully.
- Assemble the Clock: Place the hands on top of the clock face, aligning their ends with the center. Pierce a hole through the center of the clock face and both hands. Insert the brass fastener through the holes and spread the ends on the back to allow smooth rotation.
- Label Key Concepts: Add labels such as “hour,” “minute,” and “o’clock” near the appropriate areas. You might also include phrases like “half past” or “quarter to” around the outer edge.
Educational Benefits and Teaching Applications
A paper clock is not just a craft—it’s a dynamic learning tool. Unlike digital clocks, analog models teach spatial reasoning, fractions, and sequencing. When children manipulate the hands themselves, they internalize how time progresses.
Teachers and parents can use the paper clock to demonstrate:
- The difference between hour and minute hands
- How 5-minute increments add up to 60
- The meaning of “quarter past,” “half past,” and “quarter to”
- Different times of day (morning, afternoon, bedtime)
“Hands-on manipulation of time-telling tools significantly improves retention in early elementary students.” — Dr. Laura Simmons, Early Childhood Education Researcher
By integrating storytelling—such as “It’s 3:15, time for soccer practice”—educators make abstract numbers relatable. The tactile experience reinforces cognitive connections far more effectively than passive observation.
Customization Ideas for Engagement
To keep children engaged, personalize the clock. Creativity enhances ownership and motivation to learn. Consider these variations:
| Theme | Design Idea | Educational Bonus |
|---|---|---|
| Animal Faces | Turn the clock into a cat, owl, or bear with ears and eyes at 12 and 6 | Encourages imaginative play while reinforcing number positions |
| Color-Coded Hours | Use a rainbow pattern for numbers; each hour a different color | Helps visual learners associate colors with specific times |
| Activity Clock | Replace numbers with daily routines (e.g., breakfast, school, dinner) | Teaches time management and daily structure |
| Glitter & Stickers | Let kids decorate freely with safe embellishments | Boosts fine motor skills and pride in their creation |
These adaptations make the clock not only a learning device but also a keepsake of a child’s developmental milestone.
Real Example: Classroom Implementation
In Ms. Thompson’s second-grade class in Portland, Oregon, students struggled with telling time on analog clocks. After introducing a 30-minute paper clock workshop, she observed a dramatic shift. Each student built their own clock using animal-themed templates. During the next two weeks, daily 10-minute “Clock Time” sessions involved setting the hands to match verbal cues (“Show me 4:30”) and matching clocks to story events (“When did the character eat lunch?”).
Within three weeks, 87% of her students could accurately read time to the nearest five minutes, up from 42% before the activity. More importantly, engagement during math lessons increased, with students volunteering to demonstrate time changes on their personal clocks.
Common Pitfalls and How to Avoid Them
Even simple projects can go off track. Here are common issues and practical solutions:
| Problem | Why It Happens | Solution |
|---|---|---|
| Hands won’t turn smoothly | Hole is too tight or fastener is bent | Widen the hole slightly; ensure fastener prongs are flat |
| Numbers are unevenly spaced | Freehand spacing leads to inaccuracies | Use a protractor or fold paper to find quadrants first |
| Clock face tears at the center | Poor paper quality or excessive twisting | Use cardstock; reinforce with tape or a paper washer |
| Child confuses hour and minute hands | Lack of visual distinction | Paint hands different colors; label them clearly |
Frequently Asked Questions
Can I laminate the paper clock?
Yes, laminating adds durability and allows you to use dry-erase markers on the surface. Just trim the edges after lamination and re-punch the center hole.
What age is best for making a paper clock?
Children aged 5 to 8 typically benefit most, as this is when time-telling is introduced in most curricula. However, younger children can participate with help, and older students can use advanced versions for reviewing elapsed time.
How can I use this at home?
Place the clock near your child’s bedroom or study area. Use it during daily routines: “Let’s set the clock to when we leave for school.” Turn it into a game: “I’m thinking of a time between 2 and 3 o’clock—can you guess it?”
Final Checklist Before Teaching
Ensure your lesson runs smoothly with this quick preparation checklist:
- ✅ All materials are pre-cut or ready for use
- ✅ Fasteners are tested for smooth movement
- ✅ Sample clock is assembled for demonstration
- ✅ Clear instructions are written or printed
- ✅ Extra supplies are available for mistakes or repairs
- ✅ Learning objectives are defined (e.g., “Students will tell time to the half-hour”)
Conclusion: Start Ticking Toward Understanding
A paper clock is more than a craft—it’s a bridge between abstract numbers and real-life understanding. By guiding a child through its creation, you’re not just teaching them how to read time; you’re nurturing patience, precision, and problem-solving. Whether used in a classroom, homeschool setting, or rainy-day activity at home, this simple project delivers lasting educational value.


 浙公网安备
33010002000092号
浙公网安备
33010002000092号 浙B2-20120091-4
Comments
No comments yet. Why don't you start the discussion?